Advertisement
Advertisement
Table of Contents

Related Manuals for Retevis RT10


Summary of Contents for Retevis RT10
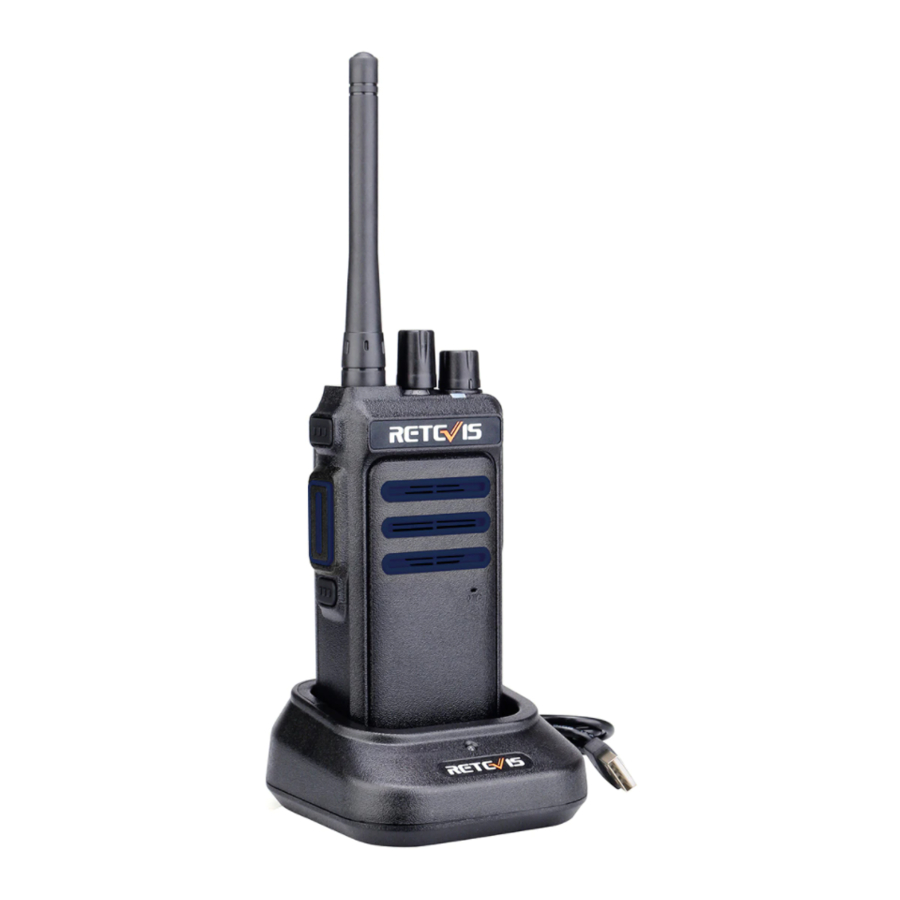
- Page 1 DMR Digital Two Way Radio RT10 USER’S MANUAL...
-
Page 2: Table Of Contents
Unpacking and Checking Equipment Charging The Battery Battery Information Install and Remove Accessories Getting Started Basic Operations Function Specification LED indicator PTT Key Receive and Transmit Call Encryption Function Setting Specification Troubleshooting EU Importer:Germany Retevis Technology GmbH Address:Uetzenacker 29,38176 wendeburg... -
Page 3: Unpacking And Checking Equipment
Unpacking and Checking Equipment Welcome to use our transceiver, before use, we suggest you: ● Check the packing box whether it has been damaged. ● Please unpack the box carefully, and check if it includes all items that supplied below.If any item is found missing or damaged during shipment,please notify your dealer. -
Page 4: Charging The Battery
Charging The Battery Please use our company's official charger, and follow the steps below to charge the battery. 1. Connect the charger to the power supply socket. 2. Install the battery or the transceiver with battery, then the light turns red, indicating that the battery is being charged. 3. -
Page 5: Install And Remove Accessories
3. Before charging, turn off the radio, or it will affect the normal charging. 4. When the battery or radio is wet, do not charge the batterer. Please dry it before use. 5. After the battery has been properly charged, if the battery capacity still can not return to normal capacity, that means battery life is end, please replace it. - Page 6 Insert the top part of the battery pack into the top 2 slots of the transceiver and then button the bottom's buckle . (1) To remove the battery pack, make sure the transceiver has been turned off, and then open the bottom's buckle,Remove the battery when the batter pops up.
-
Page 7: Getting Started
Getting Started... - Page 8 Side Key 1 SP/MIC/ Program Jack (SP/MIC) Side Key 2 Battery Pack for Charging the Radio Remark: Different functions of Side Key 1, Side Key 2,which are used by the long press or a short press, can be defined by programming software.
-
Page 9: Basic Operations
Basic Operations POWER ON and POWER OFF: Rotate the knob clockwise until a “click” is heard, transceiver will have a short beep sound, indicating power on detecting success. Attention: If your transceiver is not power on, please check the battery, and confirm if the battery has been charged and installed correctly. -
Page 10: Function Specification
each zone has 16 channels, Zone can be selected by pre-programmed key. Transmit When going to transmit, press PTT key, keep microphone away from your mouth about 3-4cm, and speak in your usual tone. Receiving Release the PTT key to receive. Adjust the suitable volume to get the best receiving result. - Page 11 After selecting the intercom channel, talk group ID or user ID required Zone setting(If there are multiple Zones in the intercom).Rotary channel selector buttons to select the represen- tative channel, talk group ID or user ID number. Receive and Reply Call You can received or reply call after finished channel / user ID or group ID's setting.
- Page 12 Receive All Call All Call is a call from an individual transceiver calls all transceiv- ers in the same channel. It is used to announce something important that users must pay special attention to.When received all call, LED indicator turns green. Notice: when receiving all call, if you turn to another channel, the transceiver stop to receive all call.
-
Page 13: Encryption Function
Launch All Call This functions allows you to transmit to all users in same channel. The transceiver must be programmed with this function, so that you can send information to every user who are under the channel. 1.Rotate channel knob, using activated all call group ID to select channel. -
Page 14: Specification
SPECIFICATION Frequency Range 902-928MHz 128 Channels (8 Zones, 16 Channels/Zone) Channel Number Wide band Channel Spacing Narrow band Output power Antenna Impedance Operating Temperature Operating Voltage TRANSMITTER Modulation Spurious and Harmonics Free T ime Slot Power Audio Distortion Modulation BER(Bit Emor Rate) RECEIVER Sensitivity Adjacent Channel Selectivity... -
Page 15: Troubleshooting
Troubleshooting Symptom Try This Battery power may have run out, please update battery or recharge it. No Power Battery may not be properly installed, please take it off and re- install. Battery lasts a short time The battery life is over, please replace new battery. - Page 16 RF energy, which when used improperly, can cause biological damage. All Retevis two-way radios are designed, manufactured, and tested to ensure they meet government-established RF exposure levels. In addition, manufacturers also recommend specific operating instructions to users of two-way radios.
- Page 17 Exposure awareness can be facilitated by the use of a product label directing users to specific user awareness information. Your Retevis two-way radio has a RF Exposure Product Label. Also, your Retevis user manual, or separate safety booklet includes information and operating instructions required to control your RF exposure and to satisfy compliance requirements.
- Page 18 CE Requirements: • (Simple EU declaration of conformity) Shenzhen Retevis Technology Co., Ltd. declares that the radio equipment type is in compliance with the essential requirements and other relevant provis-ions of RED Directive 2014/53/EU and the ROHS Directive 2011/65/EU and the WEEE Directive 2012/19/EU;...
- Page 19 France (FR), Croatia (HR), Italy (IT), Cyprus (CY), Latvia (LV), Lithuania (LT), Luxemb-ourg (LU), Hungary (HU), Malta (MT), Netherlands (NL), Austria (AT), Poland (PL), Portugal (PT), Romania (RO), Slovenia (SI), Slovakia (SK), Finl-and (FI), Sweden (SE) and United Kingdom (UK).For the warning information of the frequency restriction, please refer to the package or manual section.
- Page 20 this may damage the radio and may also cause you to exceed RF exposure limits. A proper antenna is the antenna supplied with this radio by the manufacturer or an antenna specifically authorized by the manufacturer for use with this radio, and the antenna gain shall not exceed the specified gain by the manufacturer declared.
- Page 21 • When operating in front of the face, worn on the body, always place the radio in a Retevis approved clip, holder, holster, case, or body harness for this product. Using approved body-worn accessories is important because the use of Non-Retevis approved accessories may result in exposure levels, which exceed the IEEE/ ICNIRP RF exposure limits.
- Page 22 rom the eyes. Keeping the radio at a proper distance is important as RF exposure decreases with increasing distance from the antenna. Phone Mode • When placing or receiving a phone call, hold your radio product as you would a wireless telephone.Speak directly into the microphone.
- Page 23 instruct you to do so,hospitals or health care facilities (Pacemakers, Hearing Aids and Other Medical Devices) may be using equip-ment that is sensitive to external RF energy. • Turn off your radio when on board an aircraft. Any use of a radio must be in accordance with applicable regulations per airline crew instructions.
- Page 24 the skin when the radio is in use, a minor burn can result. Batteries (If appropriate) • When the conductive material such as jewelry, keys or chains touch exposed WARNUNG terminals of the batteries, may complete an electrical circuit (short circuit the battery) and become hot to cause bodily injury such as burns.
- Page 25 Retevis accessories supplied or designated for the product. Use of other accessories may not ensure compliance with the RF exposure WARNING guidelines and may violate regulations. • For a list of Retevis-approved accessories for your radio model, visit the following website: http://www.Retevis.com...
- Page 26 1.This guarantee card should be kept by the user, no replacement if lost. 2.Most new products carry a two-year manufacturer’s warranty from the date of purchase. Further details, pls read http://www.retevis.com/after-sale/ 3.The user can get warranty and after-sales service as below: Contact the seller where you buy.
- Page 27 Shenzhen Retevis Technology Co.,Ltd. 7/F, 13-C, Zhonghaixin Science&Technology Park, No.12 Ganli 6th Road, Jihua Street, Longgang District, Shenzhen, China Web:www.retevis.com E-mail:kam@retevis.com Facebook:facebook.com/retevis MADE IN CHINA...
Need help?
Do you have a question about the RT10 and is the answer not in the manual?
Questions and answers