Advertisement
Quick Links
FULL SERVICE SEAL KIT FOR
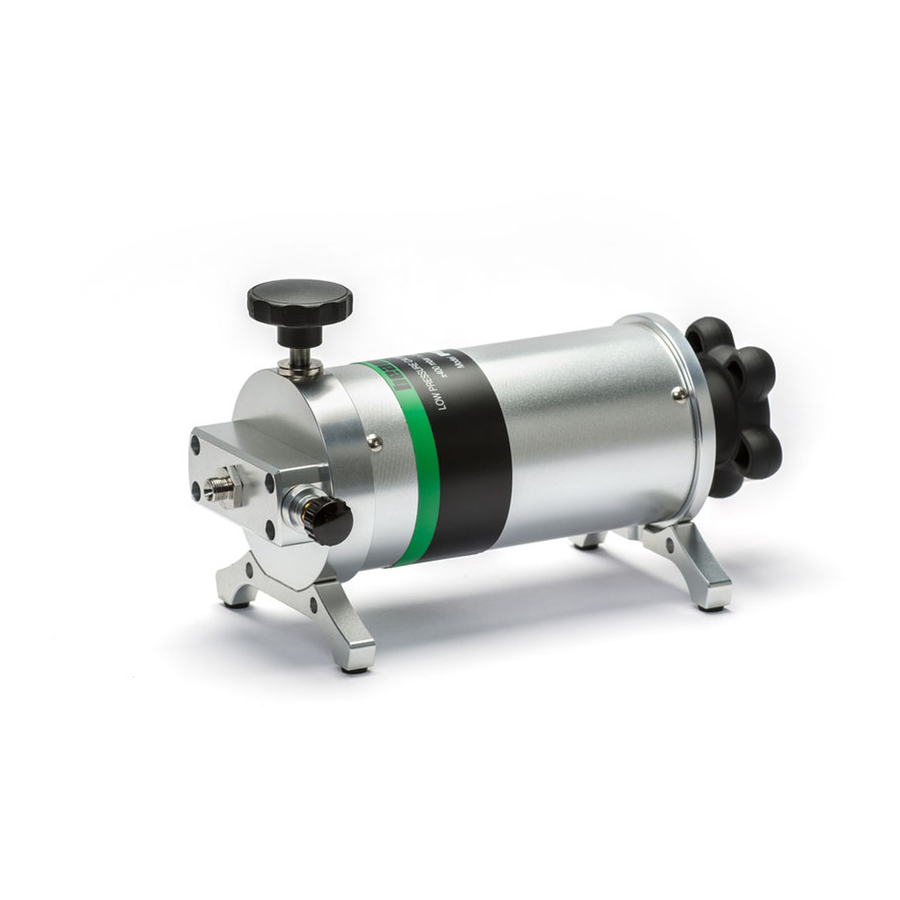
LOWER PRESSURE CALIBRATION PUMP
MODEL PGL
Dear user,
We have made every effort to ensure the accuracy of the contents of this manual. Should
any errors be detected, we would greatly appreciate to receive suggestions to improve
the quality of the contents of this manual.
For more detailed technical data about Beamex PGL Low Pressure Calibration Pump,
please contact the manufacturer.
version 2.0
Advertisement

Subscribe to Our Youtube Channel
Summary of Contents for BEAMEX PGL
- Page 1 We have made every effort to ensure the accuracy of the contents of this manual. Should any errors be detected, we would greatly appreciate to receive suggestions to improve the quality of the contents of this manual. For more detailed technical data about Beamex PGL Low Pressure Calibration Pump, please contact the manufacturer. version 2.0...
- Page 2 Contents of the Service Seal Kit The content of PGL Service Seal Kit is listed in the table below. Seals Size in mm Description Symbol 46,0 * 2,0 Extra o-ring, not relevant for PGL 35,0 * 3,5 Coarse Adjust piston star shape o-ring...
- Page 3 Maintenance and/or repair of the PGL pump must be performed with the Release Valve open. Maintenance and repair must only be performed by authorized personnel. Figure 1. Release Valve seal (A). Replacing the Release Valve seal To replace the Release Valve seal, follow steps below: Remove the Release Valve needle by unscrewing it counterclockwise.
- Page 4 PGL Pump models Before proceeding with next steps, check the pump model of your PGL pump. Old model: Serial number < 12630 New model: Serial number > 12630 Figure 2. Fine Adjust Section seals (old model on the left, new model on the right).
- Page 5 New model Use a 17mm spanner to unscrew the Fine Adjust Section (counterclockwise). Lever the Fine Adjust Knob cap to locate the Fine Adjust base nut inside of the knob. Use needle nose pliers to unscrew the base nut. The Fine Adjust Section will split apart.
- Page 6 Use a 2,5 mm socket head screw driver to unscrew the 4 socket head screws on the flange. Whole piston can be pulled out. Replace the Coarse Adjust piston retainer rings (E) and Coarse Adjust piston star shape o-ring (D). Apply the lubrication (silicone grease) to the piston section.


Need help?
Do you have a question about the PGL and is the answer not in the manual?
Questions and answers