Advertisement
Quick Links
V.20200604
Audax Body Worn Video System
20-1 Chest Camera - User Guide
1. System Components
The system is supplied in a soft case complete with the following:
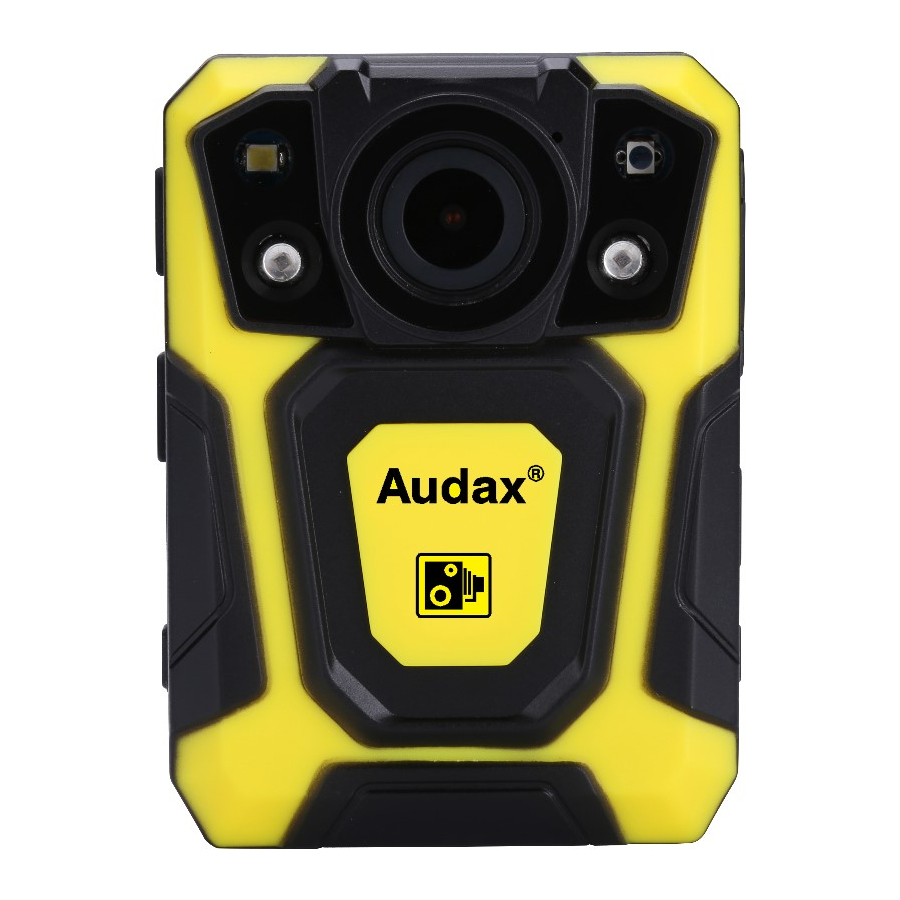
A. Chest Camera
B. Internal (non-removable) 32Gb Solid State memory
(64Gb and 128Gb optional)
C. USB 2.0 cable
D. Wall Socket USB Charger
E. 360̊ crocodile clip
F. Dock / KlickFast type connector
2. System Features
• Full HD video recording
• Solid State memory
• Still image capture
• Audio
• IR (Auto or Manual)
• GPS
• 140° Wide Angle Lens
• Secure, password protected files
• IP67
Advertisement

Related Manuals for AUDAX 20-1


Summary of Contents for AUDAX 20-1
- Page 1 V.20200604 Audax Body Worn Video System 20-1 Chest Camera - User Guide 1. System Components The system is supplied in a soft case complete with the following: A. Chest Camera B. Internal (non-removable) 32Gb Solid State memory (64Gb and 128Gb optional) C.
-
Page 2: Notes / Warnings
6, para Q for details of how to set Passwords). The software will not allow access to settings and downloading without using this password. Audax recommend that this Password is re-set and safely recorded at the earliest opportunity. b. The “Replay” Menu has the initial password set as 000001 (Please see Section 6, para R for details of how to set Passwords). - Page 3 4. Views a. Power (Left) – RED LED shows the device is charging GREEN LED shows the device is ON b. Work – RED LED (flashing) shows the device is Recording Video. This LED will show AMBER (flashing) when recording Audio Only. Front a.
- Page 4 5. General System Operation (please refer to buttons listed above) a. Power On/ Off 1. Press the POWER ON / OFF button for 1 second; the camera will turn on and enter the standby mode (the device will vibrate). IMPORTANT NOTE: Please also see section 6 para S regarding the “LCD auto off” function and para T regarding the “Auto shutdown”...
- Page 5 e. Video Playback The device has been designed and manufactured with a one-touch playback button and quick playback button. When in the “standby” state, press the PLAYBACK button to enter the playback menu. IMPORTANT NOTE: Playback of video, still images and audio only recordings are only available once the correct 6 digit Password has been entered.
- Page 6 h. Optional Components A Single Charging Dock is available as an optional component (at extra cost). This Single Dock can be connected to a PC using the USB Cable supplied with the Camera. IMPORTANT NOTE: Please note that the Single Dock is only used for Charging the camera and cannot be used for downloading data.
- Page 7 6. System Settings Press the MENU button to go to the “SETUP” screen in order to change parameter settings. Please note that the “Settings Menu” is password protected and can only be accessed when the correct password is entered on the Camera. Therefore, only the person / people who know the password can change the Settings.
- Page 8 c. Pre Event Recording Select PRE_RECORD (will be highlighted in RED) and select OK. This gives you the option to select Pre-Event Recording. There are two options to select from: Off – No pre-event recording On – the camera will pre-record for approximately 29 seconds (at 1280 x720) prior to the pressing of the “Record”...
- Page 9 e. Video Duration Select DURATION (will be highlighted in RED) and select OK. This gives you the option to change the video file duration times. There are five time intervals to select from: Off (continuous recording) / 5 / 10 / 15 / 30 minutes Press “Up”...
- Page 10 h. EIS (Electronic Image Stabilisation) Select EIS (will be highlighted in RED) and select OK. This gives you the option to increase the stability of the video (when the wearer is running for example). There are two settings to select from: On and Off Press “Up”...
- Page 11 k. Photo quality Select PHOTO QUALITY (will be highlighted in RED) and select OK. This gives you the option to change the still image quality (bitrate). There are three options to select from: Normal, Fine and S. Fine. This gives different settings dependent on the “Photo Size”...
- Page 12 m. Self Timer Select SELF TIMER (will be highlighted in RED) and select OK. This gives you the option to set a time delay when taking still images. There are six options to select from: Off – no delay. A still image will be taken on press of the PHOTO button 3 –...
- Page 13 o. LCD brightness Select LCD BRIGHTNESS (will be highlighted in RED) and select OK. This gives you the option to select the brightness of the screen. There are three options to select from: High / Medium / Low Press “Up” or “Down” to select the required option and press “OK” to confirm. Press “Back”...
- Page 14 r. PB password Select PB_PASSWORD (will be highlighted in RED) and select OK. This gives you the option to change the “Replay” password. The DEFAULT Password is set as 000001 Press “Up” or “Down” to select the required setting (0 to 9) and press “OK” to confirm each setting.
- Page 15 u. Infrared Switch Select INFRARED SWITCH (will be highlighted in RED) and select OK. This gives you the option to select the use of the IR Illuminators. There are two options to select from: Manual / Auto Press “Up” or “Down” to select the required option and press “OK” to confirm. Press “Back”...
- Page 16 w. Auto shutdown Select AUTO SHUTDOWN (will be highlighted in RED) and select OK. This gives you the option to completely power off the camera off after a certain period (unless any other operation / button is selected). NOTE: this is different to the “LCD Auto off” settings given in para V above. There are four options to select from: Off –...
- Page 17 z. Key tone Select KEY TONE (will be highlighted in RED) and select OK. This gives you the option to enable or disable the audible key tone sound on the device. There are two options to select from: On or Off Press “Up”...
- Page 18 ac. Cardv Select CARDV (Car DV) (will be highlighted in RED) and select OK. This gives you the option to use the Camera in a vehicle. If selected “ON”, when the Camera is connected to a 12v supply in vehicle, the Camera will turn on and start recording when the vehicle ignition is turned on.
- Page 19 Select SERVER IP (will be highlighted in RED) and select OK. This allows you to input the IP address of the Server being used for live Streaming, (such as the Audax Server), using the keypad shown. This is the same procedure as for paras ae and af above Press the buttons to move around the keypad as shown in ae above After entering the correct Server IP, select the “Enter”...
- Page 20 Select SERVER PORT (will be highlighted in RED) and select OK. This allows you to input the correct Port Number of the Server being used for live Streaming, (such as the Audax Server), using the keypad shown. This is the same procedure as for paras ae - ag above Press the buttons to move around the keypad as shown in ae above After entering the correct Server Port, select the “Enter”...
- Page 21 ak. Default setting Select DEFAULT SETTING (will be highlighted in RED) and select OK. This will give you the option to return the Camera back to its original default (factory) settings. IMPORTANT NOTE: Resetting the camera to Default Setting DOES NOT delete any recorded footage.
- Page 22 an. ID Select ID (will be highlighted in RED) and select OK. This gives you the option to set the ID number of the device and/or user. The “Up” or “Down” buttons can now be used to select 0 to 9 or A to Z. Press “OK” to select and confirm each setting.
- Page 23 aq. Version This shows the current Firmware Version on the device. If new firmware updates are released, these can be emailed to you along with the instructions for installation. NOTE: There is no option to alter this setting. Press “Back” to return to standby.
- Page 24 7. Computer Connection Instructions NOTES: a. Only ever use the supplied USB cable when connecting the device to a Computer. b. No additional Drivers or Software are supplied for this device. The camera will work on Operating Systems such as Windows XP / 7 / 8 / 10 and any drivers needed should automatically be installed by Windows.
- Page 25 Audax in the first instance © Audax Global Solutions Ltd 2020 This document is not to be reproduced in part or in whole without the prior permission of Audax Global Solutions Ltd Audax Global Solutions Ltd Plymouth, Devon PL1 3JY T: +44 (0)1752 264950 E: info@audaxuk.com...
Need help?
Do you have a question about the 20-1 and is the answer not in the manual?
Questions and answers