Advertisement
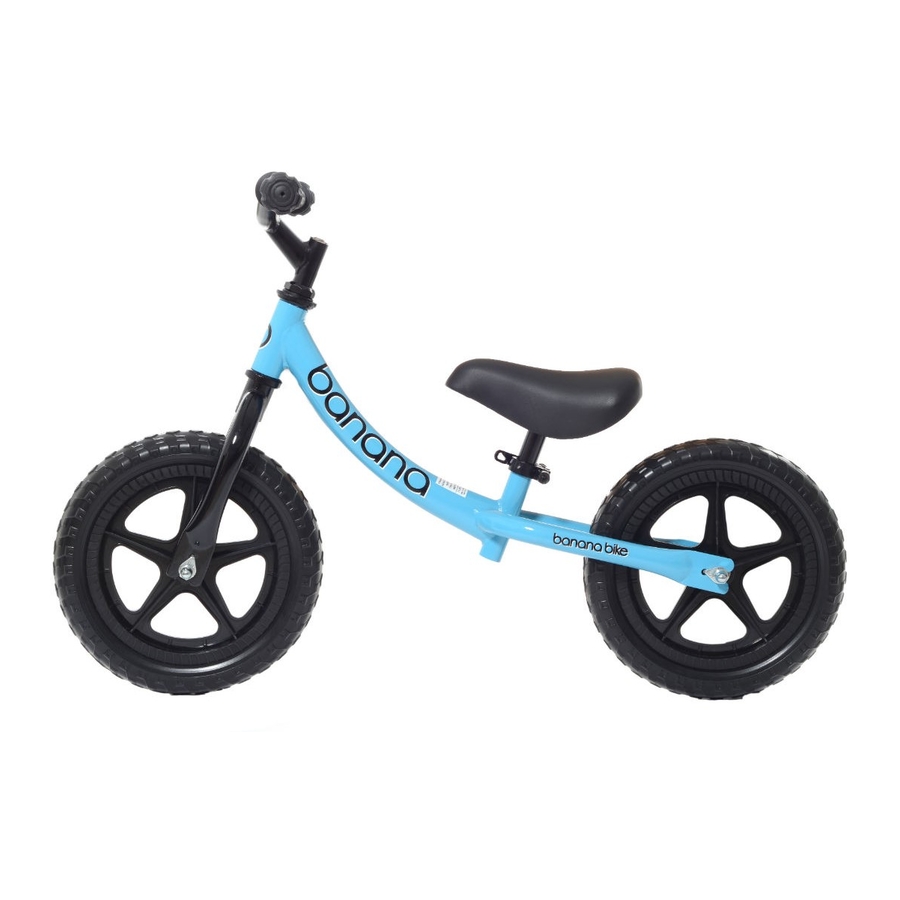
Thank you for choosing Banana Bike. A Banana Bike is a fantastic first bike and a great way for your child
to learn the basics of biking, learning to balance and steer whilst having massive fun!
If you have any questions or issues, please email us at:
Some parts may be preassembled on the forks / frame
F
G
K
H
J
Attach the Forks & Handlebars to the Frame
A
B
C
2
E
C
6
www.banana-bike.com
A
B
E
C
D
I
1. Lay the forks and frame on the floor
D
2. Slide the flat plastic washer (C) over
the fork shaft (E)
3. Slide the bearings (A & B) into the
D
frame head tube
4. Slide the forks through the bearings
B
and frame head tube
5. Slide the domed bearing (D) over the
forks to rest on the top of the bearing
3
(B)
A
6. Stand the bike up on its forks.
Slide the aluminium hex clamp(G) over
the fork shaft
7. Slide the handlebars (F) into the fork
shaft, ensure handlebars are inserted
past the minimum insertion mark
8. Applying a small amount of downwards
pressure to the hex clamp (G), tighten
G
the hex clamp (G), using the hex tool (J)
until it starts to grip the forks and
handlebars
9. Then ensure the forks and handlebars
are parallel
10. Tighten the aluminium hex clamp until
handlebars are secure (Important!)
11. The handlebars and forks should now
be fully joined and have a smooth
turning action
hello@banana-bike.com
A & B – Bearings (Pair)
C – Flat Plastic Washer
D – Domed Plastic Washer
E – Forks
F – Handlebars
G – Aluminium Hex Clamp
H – Seat & Seat Post Unit
I – Spanner
J – Hex Key
K – Quick Release Clamp
L – Frame
M - Wheels
L
M
5
D
B
A
C
4
F
7
8
G
E
1
Advertisement
Table of Contents

Subscribe to Our Youtube Channel
Summary of Contents for Banana Bike LT
- Page 1 Thank you for choosing Banana Bike. A Banana Bike is a fantastic first bike and a great way for your child to learn the basics of biking, learning to balance and steer whilst having massive fun! If you have any questions or issues, please email us at: hello@banana-bike.com...
- Page 2 Fit the Seat 12. Fit the quick release clamp (K) over the top of frame. 13. With the lever open (S), lightly tighten the clamp (T) until the arm no longer hangs down 14. Slide the seat post into the frame until the seat is at the required height.


Need help?
Do you have a question about the LT and is the answer not in the manual?
Questions and answers