Advertisement
Quick Links
Advertisement

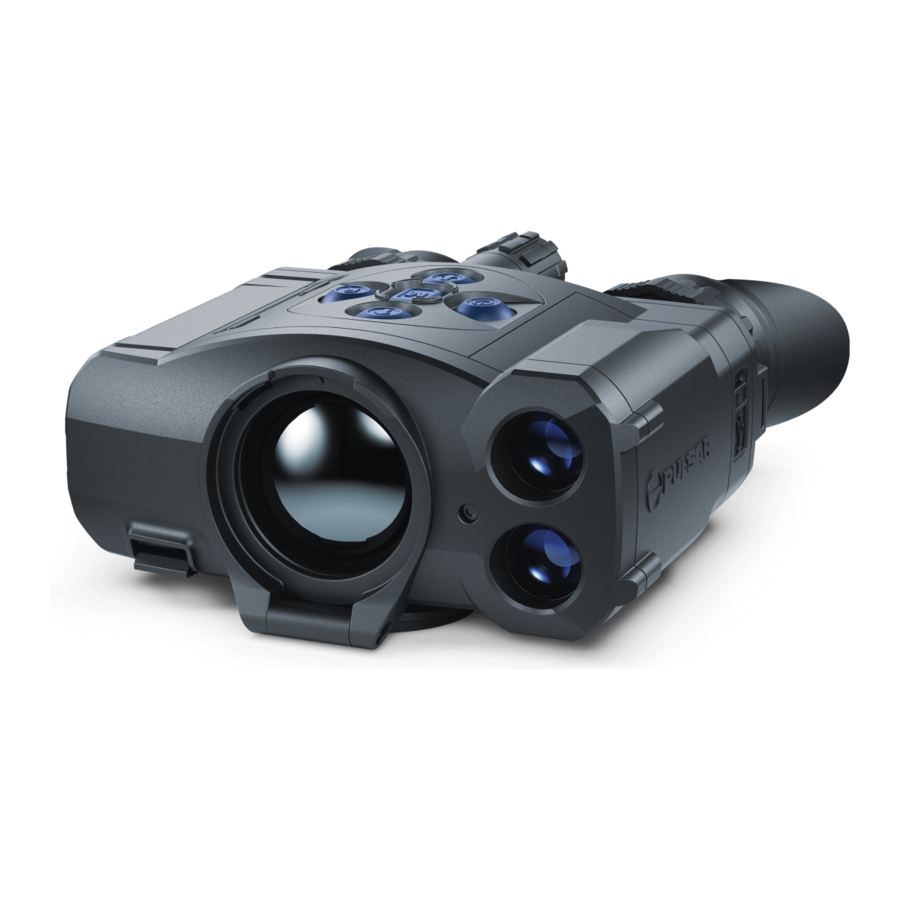
Summary of Contents for Pulsar ACCOLADE 2 LRF XP50 PRO
- Page 1 ACCOLADE 2 LRF USER XP50 PRO MANUAL Thermal Imaging Binoculars...
- Page 2 The product design improvements are possible to make it more appealing for the consumer. Repair of the device is possible within 5 years. Detailed product description and complete user manual are available for download on our official web-page: https://www.pulsar-nv.com/glo/products/33/thermal-imaging-binoculars/accolade-version-2-lrf/ XP50 PRO Thermal Imaging...
- Page 3 Specifications Package Contents MODEL XP50 PRO • Accolade 2 LRF Pro Thermal Imaging Binoculars 77461 • Carrying case MICROBOLOMETER • IPS7 Battery Pack Type uncooled • Battery charger with mains charger Resolution, pixels 640x480 • Micro USB cable Pixel Pitch, µm NETD, mK <...
- Page 4 Components and Controls Power ON/OFF/Calibration button Navigation button UP Button MENU Recording button REC Navigation button DOWN Interpupillary distance adjustment rings Diopter adjustment rings Lens focusing ring Battery Pack Battery Pack latch Tripod mount Radiator cooling system Lens cover Objective lens MicroUSB port MicroUSB cable Integrated laser rangefinder...
- Page 5 Button Operation Using the Battery Pack Accolade 2 LRF Pro thermal imaging binoculars are supplied with a rechargeable Li-Ion Battery Pack IPS7 which OPERATION BUTTON allows operation for up to 9 hours. Please remember to charge the Battery Pack before first use. Power device on short press Battery Charging...
- Page 6 Safety Measures • Select the desired observation mode (Forest, Rocks, Identification or User) by a long press of the DOWN (5) button or in the main menu. User mode allows you to configure and save custom • Only use the charger supplied with your device. •...
- Page 7 Image Detail Boost Main Menu Functions The Image Detail Boost function increases the sharpness of the contours of heated objects, which Enter the Main Menu increases their detail. The result of the function depends on the selected mode and observation conditions: •...
- Page 8 • Wi-Fi Press and hold down the МENU (3) button to enter the main menu. Color Modes Default color mode is White Hot. Activation • Select the Wi-Fi Activation menu option with the UP (2)/DOWN (5) buttons. To select another palette: •...
- Page 9 Wi-Fi Settings This menu option allows you to set up your device for operation in a Wi-Fi network. General Time Time setup Settings • • Press and hold down the МENU (3) button to enter the main menu. Select option Time with UP (2)/DOWN (5) buttons.
- Page 10 General Format Remote Remote control activation (bought separately) This item allows you to format the Flash-card (memory card) of the device Settings Control (this will delete all files from the memory card). Before operating the remote control (RC), remember to activate it as follows: •...
- Page 11 Photo mode. Capturing an image Defective Pixel Restore Default Pixel Map Repair This option allows you to cancel deletion of the defective pixels and return them to the • Switch to the Photo mode with a long press of the REC (4) button. original state. •...
- Page 12 The device keeps running. • if your Pulsar device is not connected to your phone but it’s already in the “My Devices” section, you may use • When the device is on, hold down the ON/OFF (1) button. Display goes out, Wi-Fi to download update.
- Page 13 USB Connection Wireless Remote Control • Connect one end of the USB cable (16) to the Micro-USB (15) port of your device, and the other end to the USB (Bought separately) port of your PC/laptop. Wireless remote control (RC) duplicates the power on function, digital zoom, rangefinder control, and menu •...
- Page 14 Troubleshooting PROBLEM POSSIBLE CAUSE SOLUTION The device does not turn on The Battery Pack is empty. Charge the battery pack. The device does not operate on USB cable is damaged. Replace USB cable. external power supply The external power supply is Charge the external power supply.
- Page 15 pulsar-vision.com...


Need help?
Do you have a question about the ACCOLADE 2 LRF XP50 PRO and is the answer not in the manual?
Questions and answers