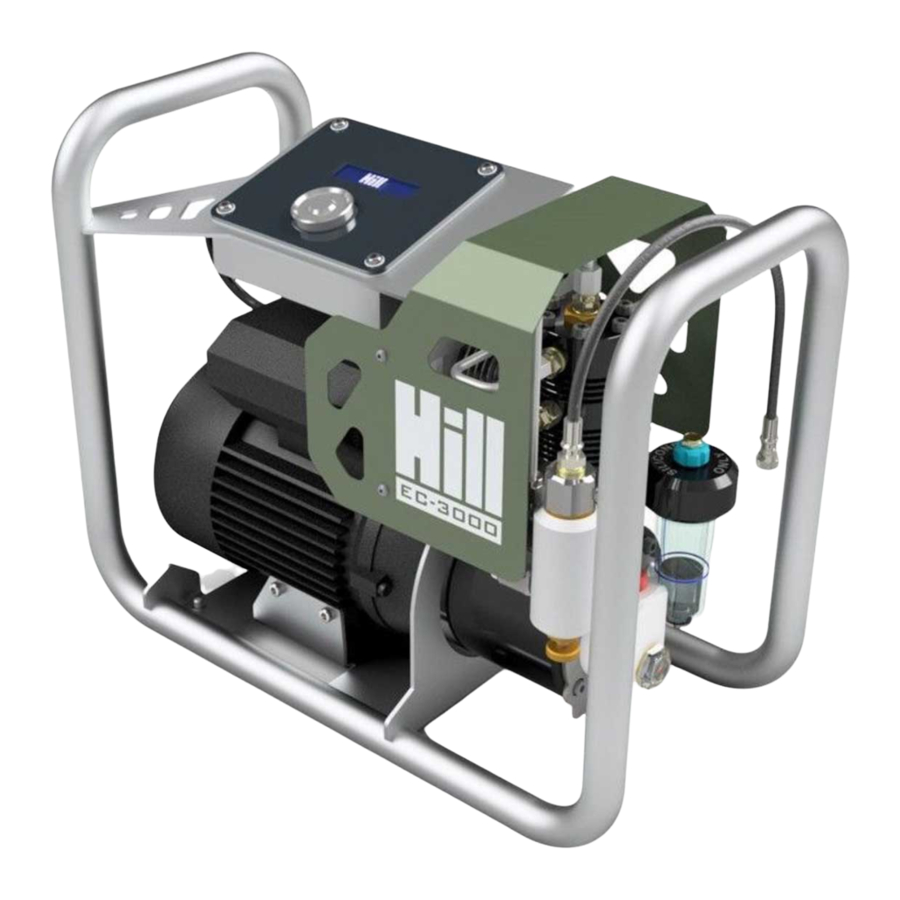
HILL PUMPS EC-3000 Service Maintenance Manual
Hide thumbs
Also See for EC-3000:
- User instruction manual (14 pages) ,
- User instruction manual (9 pages)
Table of Contents
Advertisement
EC-3000 Service & Maintenance Manual
This manual describes how to perform the servicing and maintenance of the EC-3000 Hill
Compressor.
TABLE OF CONTENTS
Overview .................................................................................................................................................. 2
Model Specification ................................................................................................................................. 3
Maintenance Schedule ............................................................................................................................. 3
Theory of Operation ................................................................................................................................. 4
Troubleshooting Chart ............................................................................................................................. 5
Safety ....................................................................................................................................................... 6
Maintenance ............................................................................................................................................ 7
1 - How to disassemble and change the compressor side valves ....................................................... 8
2 - How to disassemble and change the compressor final stage valve .............................................13
3 - How to check and change the piston O-rings ...............................................................................16
4 - How to change the oil ...................................................................................................................21
5 - Crank case maintenance ..............................................................................................................22
6 - Replacing burst disc .....................................................................................................................24
Fuses ......................................................................................................................................................24
REV 2
1
Advertisement
Table of Contents

Related Manuals for HILL PUMPS EC-3000


Summary of Contents for HILL PUMPS EC-3000
-
Page 1: Table Of Contents
EC-3000 Service & Maintenance Manual REV 2 This manual describes how to perform the servicing and maintenance of the EC-3000 Hill Compressor. TABLE OF CONTENTS Overview ..............................2 Model Specification ..........................3 Maintenance Schedule ..........................3 Theory of Operation ..........................4 Troubleshooting Chart .......................... -
Page 2: Overview
Overview... -
Page 3: Model Specification
Model Specification MODEL CODE VOLTAGE POWER 3000-001 0.75 kW 3000-002 0.75 kW 3000-003 (004) 0.75 kW 3000-005 0.75 kW Maintenance Schedule OPERATION TIME PERIOD Change crank oil. 50 hours running time or 1 year's use. Whichever comes first. Replace ball valves. 50 hours running time or if compressor function decreases. -
Page 4: Theory Of Operation
Theory of Operation The compressor has three stages of compression. Each stage compressing the air to a higher pressure than previous. A. The user activates the compressor with the power switch on the side of the machine and attaches the compressor to the cylinder. B. -
Page 5: Troubleshooting Chart
Troubleshooting Chart SYMPTOMS CAUSES POSSIBLE REMEDY • • Air coming out of pressure Issue with top stage Unscrew the bleed release valve. valve screw slightly to • introduce a slight leak. Piston O-ring deteriorated Allow the compressor to run for 10 minutes. •... -
Page 6: Safety
Safety IMPORTANT THIS PRODUCT IS DESIGNED TO FILL PRE-CHARGED PCP AIR GUNS AND PAINTBALL GUNS DIRECTLY. IT CAN ALSO BE USED TO TOP UP SMALL TANKS, BUDDY BOTTLES, AND CYLINDERS UP TO 7 LITRES. LARGE CYLINDERS AND TANKS ABOVE 4 LITRES SHOULD ONLY BE FILLED BY COMPETENT OR QUALIFIED PEOPLE NOT FOLLOWING THE INSTRUCTIONS OR MISUSE OF THE COMPRESSOR WILL VOID YOUR WARRANTY AND MAY RESULT IN DEATH OR INJURY... -
Page 7: Maintenance
Maintenance ALWAYS ENSURE BLEED SCREW IS FULLY UNDONE AND COMPRESSOR IS DISCONNECTED FROM THE CYLINDER BEFORE UNDERTAKING MAINTENANCE. ENSURE COMPRESSOR IS SWITCHED OFF & UNPLUGGED. The cowl should be removed before any maintenance. -
Page 8: How To Disassemble And Change The Compressor Side Valves
1 - How to disassemble and change the compressor side valves During use the valves of the compressor will gradually wear. The EC -3000 has several internal filters that stop any debris entering the compressor or the item you are filling. - Page 9 2. Remove bottom right ball valve housing. 3. Remove the ball from the compressor. It may be necessary to use a small object such as a craft knife to remove the ball from the compressor.
- Page 10 4. Remove the middle right bullet valve housing. 5. Remove pipe on left hand side of compressor head.
- Page 11 6. Remove bottom left bullet valve. 7. Remove middle left ball valve. It may be necessary to use a small object such as a craft knife to remove the ball from the compressor. 8. Replace bullet valves and tighten valves into compressor. 9.
- Page 12 a. Apply a dab of silicon grease onto both ball valve housings. To hold balls to the valve housing. b. Tighten both bullet valves into compressor. 10. Tighten tubes onto compressor head. a. Ensure pressure nuts are not overtightened but are done up securely.
-
Page 13: How To Disassemble And Change The Compressor Final Stage Valve
2 - How to disassemble and change the compressor final stage valve Cleaning or replacing parts in the final stage valve is often required if air is being ejected from the pressure release valve. 1. Remove pipe on top of compressor. 2. - Page 14 3. Remove final stage bullet valve. It may be necessary to use a small object such as a craft knife to remove the valve from the compressor. a. Ensure that any debris or dirt is removed. If the valve is worn, replace. 4.
- Page 15 5. Remove final stage disc valve. a. Ensure that any debris or dirt is removed. If the valve is worn, replace. b. Ensure that that the disc valve is not bent whilst removing it.
-
Page 16: How To Check And Change The Piston O-Rings
3 - How to check and change the piston O-rings 1. Remove all tubes from the compressor. 2. Remove 6 M5 bolts from compressor head. - Page 17 3. Slide up top section. a. Check the piston O-rings and replace if necessary. 4. Slide up bottom section and slide up O-ring.
- Page 18 5. Remove dowel pin with suitable tool.
- Page 19 6. Slide up piston and inspect stage 2 O-ring.
-
Page 21: How To Change The Oil
4 - How to change the oil The crank oil of the compressor should be changed every year or every 50 hours running time, whichever comes first. Top up the silicon oil as required up to the blue line. 1. Place the compressor at an angle. 2. -
Page 22: Crank Case Maintenance
5 – Crank case maintenance 1. Remove silicon oil reservoir. 2. Remove M4 bolts. - Page 23 3. Remove acetal cap. 4. Inspect and clean the inside of the crank case.
-
Page 24: Replacing Burst Disc
This is the most likely fuse to become blown during use. Fuse Specifications 240V Model – 12.5A 5 x 20mm speed T 110V Model – 15A 5 x 20mm Fuses can be ordered through contacting Hill Pumps.
Need help?
Do you have a question about the EC-3000 and is the answer not in the manual?
Questions and answers