Table of Contents
Advertisement
Quick Links
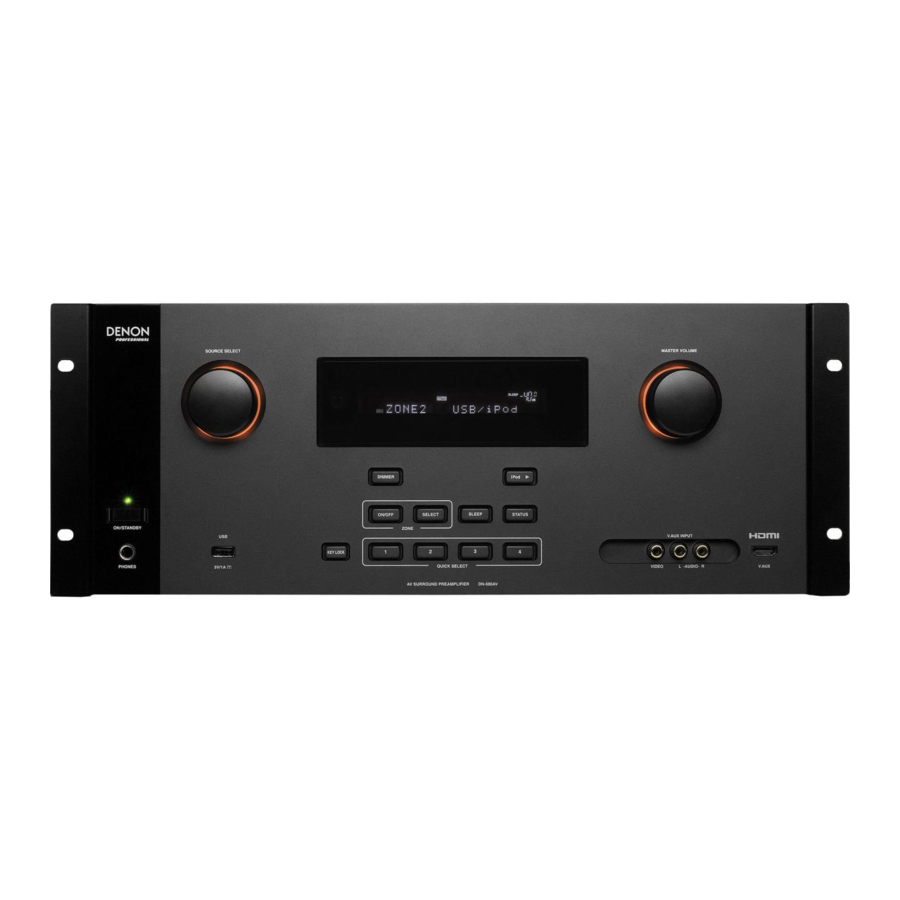
DN-500AV Internet Radio Update Instructions
Tools you will need to update your DN-500AV.
1. Windows PC with a serial port.
2. DB9 serial cable (straight).
3. DN500AV_updater.exe application (included in the zip file).
4. DN500AVUG_mA0220038_I201207260821.bin file (included in the zip file).
Step 1 Connect your DN-500AV to the computer
Confirm the DN-500AV is powered OFF.
Connect the Serial cable from your PC to the "RS232C" Terminal of the receiver.
Step 2 Turn on the receiver
Step 3 Extract the contents of the zip file
Right click on the DN500AV Internet Radio.zip file and chose Extract files...
Advertisement
Table of Contents

Summary of Contents for Denon DN-500AV
- Page 1 DN-500AV Internet Radio Update Instructions Tools you will need to update your DN-500AV. 1. Windows PC with a serial port. 2. DB9 serial cable (straight). 3. DN500AV_updater.exe application (included in the zip file). 4. DN500AVUG_mA0220038_I201207260821.bin file (included in the zip file).
- Page 2 Select the Desktop then click OK Step 4 Run the Updater program Double click the DN500AV_updater.exe icon located on the desktop of your PC. If a popup asks “Do you want to allow the following program from an unknown publisher to make changes to this computer?”...
- Page 3 Select the proper PC serial port for communication then click the "Check Comm." button. When connection is good, then you will see the "Communication check OK." message. If connection is not good, then you will see the "Communication check NG" message. Step 7 Load the firmware into the DN-500AV...
- Page 4 Once communication is verified, click the "Update" button. When the firmware update is completed, the DN500AV turns on automatically and you can see the "Update completed" message within the program. If the firmware update failed, please retry the firmware update from Step 2. NOTICE: Avoid placing the serial cable close to electrical noise sources.


Need help?
Do you have a question about the DN-500AV and is the answer not in the manual?
Questions and answers