Table of Contents
Advertisement
Quick Links
Advertisement
Table of Contents

Subscribe to Our Youtube Channel
Related Manuals for Daikin EKLN140A1


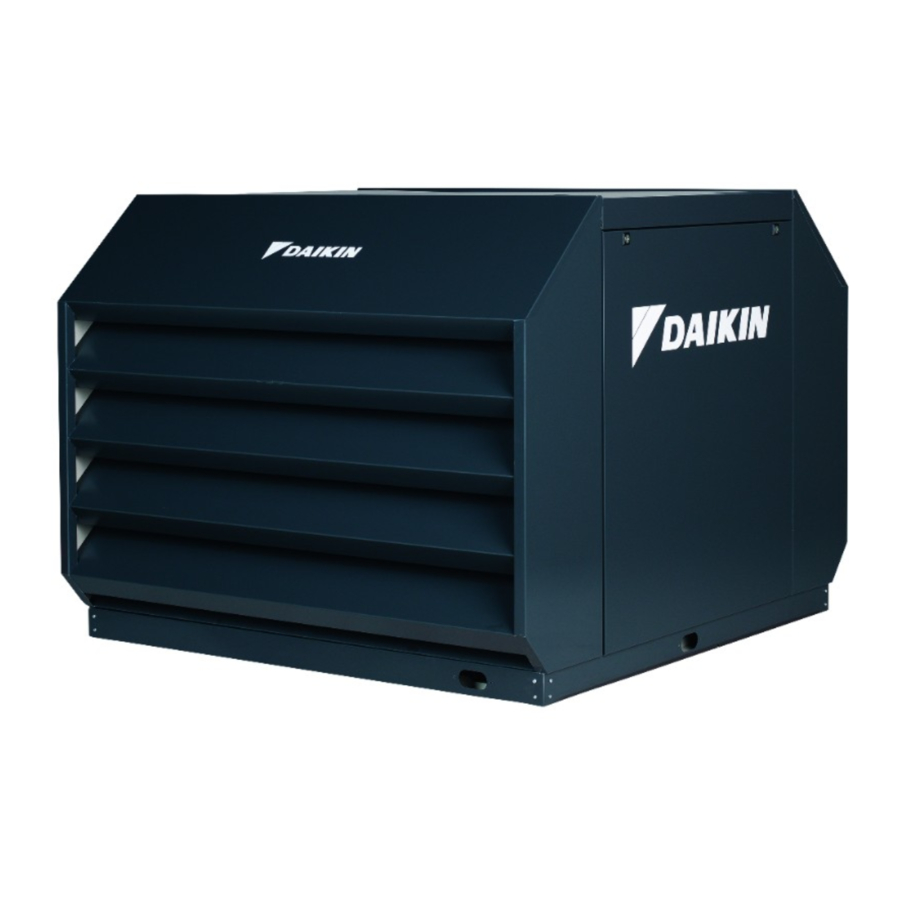
Summary of Contents for Daikin EKLN140A1
- Page 1 Installation manual Low sound enclosure EKLN140A1...
-
Page 2: Table Of Contents
Washer M5 nylon DIN 125 – 1 A Latest revisions of the supplied documentation may be available on the regional Daikin website or via your dealer. Sealing tape 20 mm The original documentation is written in English. All other languages are translations. -
Page 3: About The Unit And Options
Drill with 8 mm masonry bit (if the foundation is made of concrete) Sealing tape (accessory C) Align the base frame perpendicular – a large try square would be most appropriate for this. The corners must be fully perpendicular (90°). EKLN140A1 Installation manual Low sound enclosure 4P650154-1 – 2021.03... - Page 4 5 Nm). Affix 1 strip of sealing tape (accessory C) to both support beams. Affix this in center of the front support beam profile (a) and rear support beam profile (b). Installation manual EKLN140A1 Low sound enclosure 4P650154-1 – 2021.03...
-
Page 5: Wiring
Choose the desired aperture in the base frame for the pipes and electrical wiring. Seal the other openings using the base frame sealing pads provided. Secure with M5 self-tapping bolts (accessory A) and washers (accessory B). EKLN140A1 Installation manual Low sound enclosure 4P650154-1 – 2021.03... -
Page 6: Securing The Heat Pump
Install the lower slats Bend the 3 lips in line by hand. Secure with M5 self-tapping bolts (accessory A) and washers (accessory B). NOTE Tighten them hand-tight (maximum tightening torque = 5 Nm). Installation manual EKLN140A1 Low sound enclosure 4P650154-1 – 2021.03... - Page 7 5 Nm). INFORMATION Dry and degrease the steel sheet to ensure that the D-rubber adheres properly. Cut the rubber to length with scissors. Self-tapping bolt and washer EKLN140A1 Installation manual Low sound enclosure 4P650154-1 – 2021.03...
-
Page 8: Installing The Panels And Recirculation Seal
Tighten them hand-tight (maximum tightening torque = 5 Nm). Fit the self-adhesive D-rubber (accessory P) to both edges of the top panel. Fit the rubber flush with the outside of the sheet edge. INFORMATION Installation manual EKLN140A1 Low sound enclosure 4P650154-1 – 2021.03... -
Page 9: Configuration
So as not to impair the return from the heat pump, there must be no blockages in the ventilation openings. Always remove dirt (such as leaves) and snow. INFORMATION For information on maintaining the heat pump, see the maintenance manual for the respective heat pump. EKLN140A1 Installation manual Low sound enclosure 4P650154-1 – 2021.03... - Page 12 *4P650154-1 0000000J* 4P650154-1 2021.03...
Need help?
Do you have a question about the EKLN140A1 and is the answer not in the manual?
Questions and answers