
Subscribe to Our Youtube Channel
Related Manuals for miseno mfan-9701led


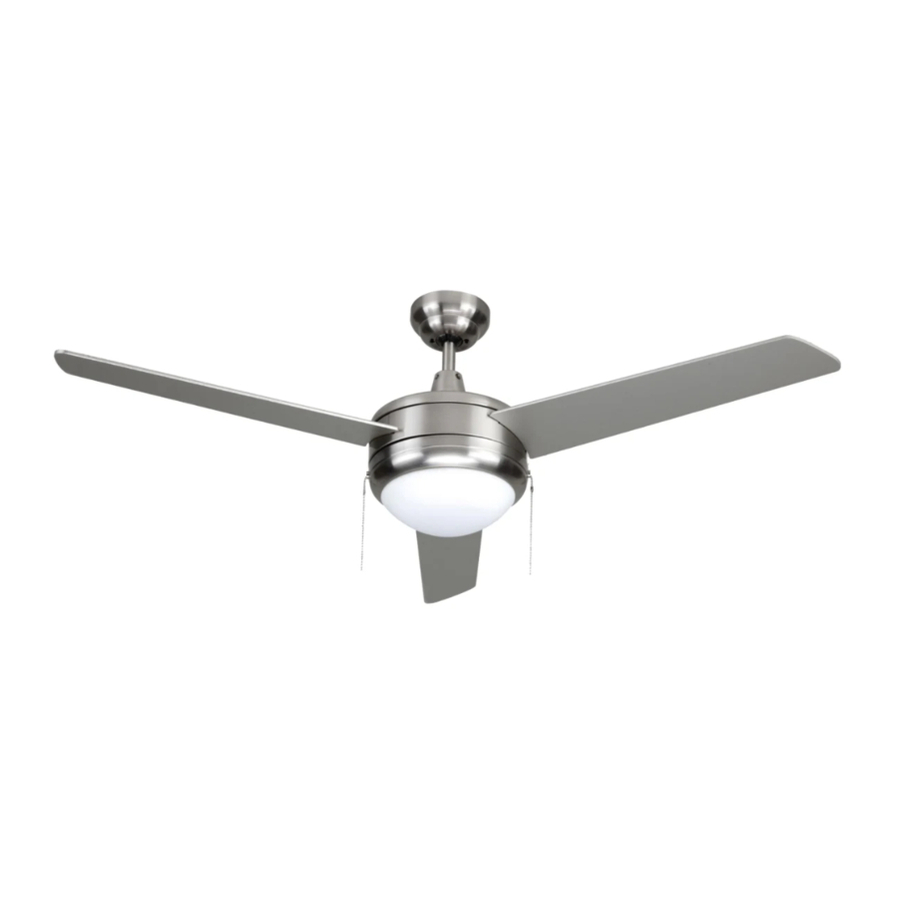
Summary of Contents for miseno mfan-9701led
- Page 1 CEILING FAN INSTALLATION INSTRUCTION FOR FAN MODELS: mfan-9701led, mfan-4001led, mfan-5001led, mfan-8701led, mfan-7001led, mfan-5201led...
-
Page 2: Safty Information
SAFTY INFORMATION 1. To reduce the risk of electric shock, turn the electricity off at main fuse box or circuit breaker before beginning fan installation or servicing the fan. 2. Read all instructions and safety information carefully before installing your fan and save this manual. -
Page 3: Before Installation
TOOL REQUIRED FOR INSTALLATION ˙Philips screwdriver ˙Straight slot screwdriver ˙Wire cutter ˙Adjustable wrench ˙Electrical tape ˙Step ladder BEFORE INSTALLATION ˙Unpack the fan and carefully check the parts in the package. Parts Qantity 1. Mounting bracket 2. Downrod/ ball assembly 3. Ceiling canopy 4. - Page 4 INSTALLING MOUNTING BRACKET & HOOK - Insert security hook through a hole in the outlet box that allows access to the ceiling joist and screw securely into joist. - Secure spark plate and mounting bracket to metal outlet box using outlet box screws and spring washers.
- Page 5 - The ceiling fan must be installed in a location with a minimum of 300mm spacing from the tip of the blade to the nearest objects or walls. - Secure the hanging bracket to the ceiling joist or structure that is capable of carrying a load of at least 40kgs, with two long screws provided.
- Page 6 DOWNROD/BALL ASSEMBELY - Take the downrod ball off from the downrod by loosening the ground wire screw, and remove a bolt(Downrod pin). - Rout the safety cable, white & black wires exiting the downrod, screw the downrod into collar cover upper of the motor housing. - Align the holes at the bottom of the downrod with the holes in the collar cover top of the motor housing.
- Page 7 ATTCHING THE FAN BLADES NOTE: The hole in the foam packaging is designed to assist in holding the pre-assembled fan into position. Insert the canopy cover end into the hole of the foam packaging to sit the motor facing up during assembly. (Fig.
-
Page 8: Installing The Light Kit
INSTALLING THE LIGHT KIT - There are 4 pcs of screws on the switch housing as shown (Fig. 5). Two screws are for the keyholes of light kit plate. Loosen these two screws but do not remove, take off the other 2 screws. - Connect the lead wires of the light kit to the wires from fan motor, Black to Black and White to White. -
Page 9: Hanging The Fan
HANGING THE FAN - Lift up the fan assembly onto mounting bracket. - Ensure the notch of the ball is positioned on the stopper of mounting bracket to prevent fan from rotating when in operation. - Inset loop the safety cable over the hook. ELECTRICAL CONNECTIONS - Connect BLACK wire from the outlet box to BLACK wire(hot) &... -
Page 10: Finishing The Installation
GERNERAL INFORMATION ( FOR OPTIONAL REMOTE CONTROL) Remote control sold separately, choose ON/OFF light control only. FINISHING THE INSTALLATION After completing the electrical connection at the mounting bracket terminal block. Cover the mounting bracket with the canopy. Ensure all electrical wiring is tucked inside the canopy and that they are not damaged during this step. - Page 11 REVERSE SWITCH OPERATING INSTRUCTION ˙A slid reverse switch located on the collar cover control the direction of blades rotation. The up position sets the blades in REVERSE rotation. The down position sets the blades in FORWARD rotation. SUMMER Mode: The reverse switch shall be in the “down” (SUMMER) position to make the fan rotate in an anticlockwise direction.
-
Page 12: Troubleshooting
TROUBLE SHOOTING Problem Solution Fan will not start. - Check circuit fuse or breaker. - Check wire connections to the fan and switch wire connections in the switch housing. * CAUTION: MAKE SURE MAIN POWER IS OFF. Fan sounds noisy. - Make sure all motor housing screws are snug.
Need help?
Do you have a question about the mfan-9701led and is the answer not in the manual?
Questions and answers