Baxi uSense User Manual
Digital clock thermostat
Hide thumbs
Also See for uSense:
- User manual (48 pages) ,
- Installation manual (20 pages) ,
- User manual (16 pages)
Table of Contents
Advertisement
Quick Links
Advertisement
Table of Contents

Related Manuals for Baxi uSense


Summary of Contents for Baxi uSense
- Page 1 United States User Guide Digital clock thermostat uSense...
- Page 2 Dear end user, Thank you for choosing this uSense thermostat. You can control your home heating using the thermostat or also by using an app. You are in the driver’s seat with this thermostat to control the temperature of your home. It’s all about your comfort, just the way you want it.
-
Page 3: Table Of Contents
Introducing the uSense ........ - Page 4 Contents Technical information ................33 Messages overview .
-
Page 5: Introduction
Please note: important information. Reference to other manuals or pages in this manual. Introducing the uSense Intended use. It has a cable connection to the appliance. You can connect it to the internet via a wi-fi connection, so you can operate the thermostat with an app on your mobile device. -
Page 6: The Usense And Its App
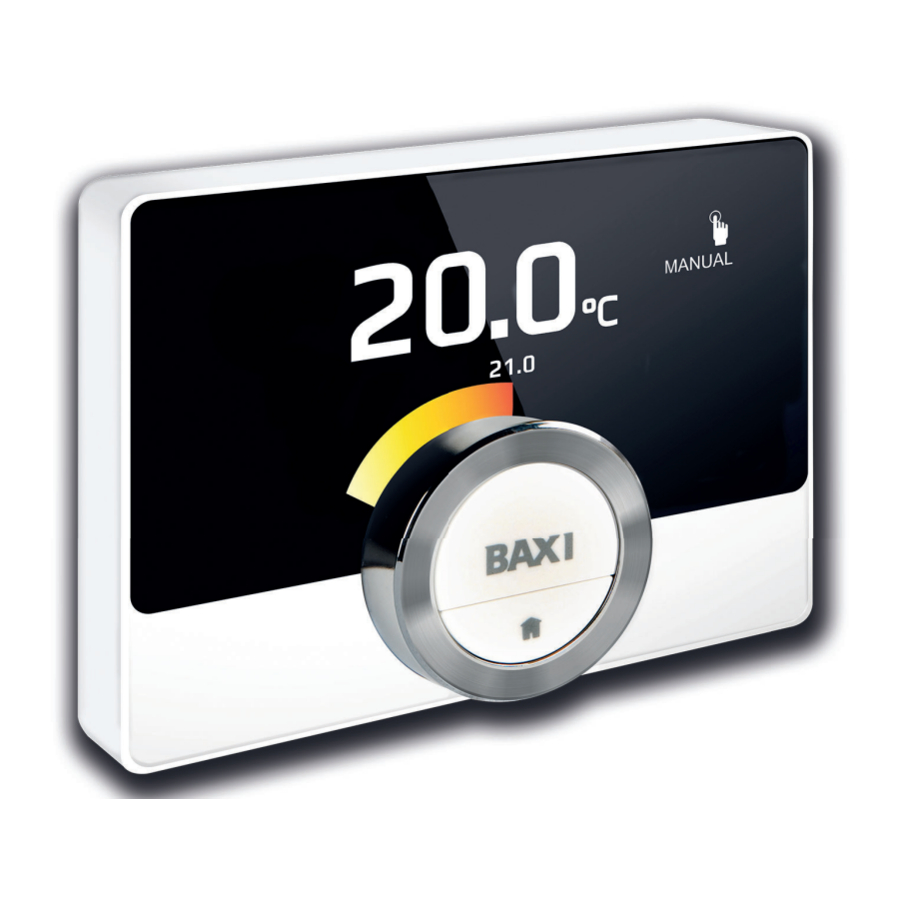
1 Introduction The uSense and its app Fig.1 The climate in your home contributes to your comfort; with the uSense thermostat you can control the temperature in your home the way you want it. 21.0 If you prefer to control your climate with your mobile device (e.g. -
Page 7: Entering The Main Menu And Menu Items
1 Introduction 2. Unlock the thermostat: when you awaken the thermostat, the display may show Screen locked. 2.1. Press the select button for five seconds. The display shows Screen unlocked. 3. Press the select button to enter the main menu. Important If you do not enter the main menu while the display shows the home screen, the thermostat will show no information (black... -
Page 8: Scrolling Through Menu Items And Changing Settings
1 Introduction 1.5.6 Scrolling through menu items and changing settings With the rotary dial you can scroll through menu items and change values, temperatures and time settings. Fig.7 1. Turn the rotary dial to scroll through the menu items. 2. Select the menu item you want to change. 3. -
Page 9: Description Of The Icons In The Display
1 Introduction Important The display shows the current temperature in a large font by default. You can change the display of the temperature to show the target temperature. 1.6.1 Description of the icons in the display Possible icons in the display (the display shows an icon only if your installation is fit for the related function). -
Page 10: Customising The Home Screen Display
1 Introduction Appliance mode: On Enable heating, page 0 Home screen setting, page 23 Appliance mode: Off Disable heating, page 0 Home screen setting, page 23 Appliance mode: Auto Enable heating, page 0 Home screen setting, page 23 Tab.3 Zone icons Basement Bedroom Kitchen... -
Page 11: Messages On The Display
1 Introduction You can also change the display of the temperature to show the current or target temperature. For more information, see Home screen setting, page 23 Display current or desired temperature, page 23 Messages on the display The display of the thermostat can show several messages: Tab.5 Messages on the display Message... -
Page 12: General Use
2 General use General use Next chapter: Customisation, page 18 Previous chapter: Introduction, page 5 Central heating You control the heating of the zone with several modes: manual, scheduling, holiday, frost protection and fireplace mode. The display of the thermostat shows the heating icon when heating is active. 2.1.1 Control heating You can choose from five control modes for heating:... -
Page 13: Holiday Mode
2 General use Start short temperature change While the thermostat is in scheduling mode, you can select a different target temperature for a short period. At the end of the period the thermostat will return to the scheduled temperature. 1. Check that the thermostat operates in scheduling mode: see the icon 23.0 in the top-right corner of the home screen. -
Page 14: Frost Protection
2 General use You can create a holiday schedule also from the Quick Access menu. Change the holiday schedule 1. Enter the main menu. 2. Select Input Holiday Period. 3. Confirm the selection. 4. Select Edit. 5. Confirm the selection. 6. -
Page 15: Hot Tap Water
2 General use Activate frost protection mode Fig.13 1. Enter the main menu. 2. Select Enable Frost Protection....3. Confirm the selection............... The display shows a message that you can change the frost protection temperature. -
Page 16: Combination Boiler
2 General use 5. Confirm the selection. 6. Select the desired water temperature. 7. Confirm the selection. The hot water tank will maintain hot tap water to the set temperature for the active hot water mode. Scheduling mode hot water In scheduling mode a week schedule controls the periods of comfort mode and energy saving mode for each day. - Page 17 2 General use 1. Enter the main menu. 2. Select Hot Water..3. Confirm the selection....4. Select Enable permanent comfort for setting the appliance to comfort mode. In comfort mode the combination boiler maintains a supply of water at the temperature that you set by the Hot water setpoint.
-
Page 18: Customisation
3 Customisation Customisation This chapter helps you with customising the thermostat. You will find even more settings on the app. Next chapter: Messages and data, page 32 Previous chapter: General use, page 12 Temperature schedules A temperature schedule enables you to control your heating and hot tap water appliance in a planned way. -
Page 19: Multiple Schedules
3 Customisation Changing the weekdays of a temperature schedule You can change, add or delete temperature intervals in one or more weekdays of a timer program. For example, you can lower the temperature during the night and when you are out of the house. You can set the switch time and the activity (with its temperature) for each interval of the schedule. -
Page 20: Thermostat Settings
3 Customisation Thermostat settings 3.2.1 Setting country and language You select the country where you are and the language for the text on your display. You select your time zone as well. When you start up the thermostat for the first time, you enter automatically the menu to set the country and language. -
Page 21: Changing The Name Of An Activity
3 Customisation 7. Confirm the selection. 8. Select On or Off. 9. Confirm the setting. Enabling daylight saving You can enable or disable automatic switching to summer time and winter time if your appliance system is fit for this option. 1. -
Page 22: Presence Sensor
3 Customisation 7. Confirm the selection. 3.2.5 Presence sensor The thermostat has a sensor for presence detection. When you pass by or approach the thermostat, the home screen of the display will light up for 5 seconds. This setting is on by default. You can switch off the presence detection. -
Page 23: Home Screen Setting
3 Customisation Home screen setting You can add two information boxes on the home screen, one to the left and one to the right of the rotary dial. 1. Enter the main menu. 2. Select Settings. 3. Confirm the selection. 4. -
Page 24: Turning The Click Sound On/Off
7. Confirm the setting. Thermostat connections You can operate the thermostat with the uSense app on a mobile device or with a home automation application. This allows you to control the appliance(s) in your installation when you are not near the thermostat. You need a wi-fi network and a mobile device with Apple iOS or Android to make the connection. -
Page 25: Downloading The App
The thermostat is now connected to the hidden wi-fi network. 3.3.2 Downloading the app You can install the uSense app on your mobile device. 1. Download the free app in the App Store or Google Play. Refer to the information on the box of the thermostat. -
Page 26: Registering Installer Access
3 Customisation You need an account based on your email address for the connection. During normal operation of the thermostat you can decide to connect or reconnect the home automation application with the thermostat at a later moment. 1. Open the home automation application and create an account for the thermostat. -
Page 27: Check For Software Update
3 Customisation 3.4.2 Check for software update If your thermostat is connected to wi-fi, the internet and the server, software will be updated automatically. You can check the status of the software: 1. Enter the main menu. 2. Select Settings. 3. -
Page 28: Setting The Control Strategy
3 Customisation 1. Enter the main menu. 2. Select Installer. 3. Confirm the selection. Fig.25 4. Select Yes to continue. 5. Confirm the selection..................<1 AD-3001006-01 Fig.26 6. Select Heating Curve.. -
Page 29: Setting The Heating Rate
3 Customisation Fig.29 6. Select Control Strategy....Important ........................The display shows Control Strategy only if your installation is fit for this option. 7. -
Page 30: Setting The Maximum Central Heating Power
3 Customisation 3. Confirm the selection. Fig.32 4. Select Yes to continue. 5. Confirm the selection....6. Select Min. power............... Important The display shows Min. power only if your installation is fit for this option. - Page 31 3 Customisation The thermostat needs the maximum power setting for hot tap water and some other settings to show the total energy consumption. 1. Enter the main menu. 2. Select Installer. 3. Confirm the selection. Fig.36 4. Select Yes to continue. 5.
-
Page 32: Messages And Data
4 Messages and data Messages and data This chapter helps you with navigating to information and data of the thermostat and system. Next chapter: Installation, page 36 Previous chapter: Customisation, page 18 Outdoor temperature You can view the outdoor temperature if your installation has an outdoor temperature sensor or if the appliance receives the outdoor temperature from an internet weather service. -
Page 33: Technical Information
4 Messages and data 2. Select Appliance. 3. Select Water pressure or Current appliance temperature. The display shows the selected appliance data. Technical information The thermostat can display various built-in properties and parameters. 1. Enter the main menu. 2. Select Technical Information. 3. -
Page 34: Service Message
4 Messages and data Fig.39 5. Confirm the selection and read the item for more details. 6. If it is an error message and you cannot solve the problem yourself: .... : 1 .... : 9 .... : 14 1 E.09.14 ... - Page 35 4 Messages and data 5. Confirm the selection. The thermostat will send information to the manufacturer: The error code. Usage data of the thermostat and the appliance from maximum the last four days. The display will show a message: The logging will be sent to the server.
-
Page 36: Installation
You can connect the thermostat and the gateway yourself, or ask your installer. For more information, see Setup procedure, page 38 Standard delivery Fig.44 Tab.9 Thermostat and gateway package uSense room thermostat Mounting bracket Fasteners Plug fittings Quick reference guide Gateway Power supply Installation instructions... -
Page 37: Installation Of The Gateway
5 Installation Fig.46 2. Use the diagram to determine which gateway matches the communication protocol of your appliance: Gateway 16 or 17 R-bus R-bus R-bus AD-3001016-01 Installation of the gateway Warning The installation must be performed by a qualified professional. 1. -
Page 38: Setup Procedure
5 Installation Setup procedure When the thermostat is connected to the electrical power, the display shows the welcome screen within one minute. The thermostat guides you through the setup procedure. 1. Select the country. Important You must select the country where you are to ensure that all functions of the thermostat work well. -
Page 39: Troubleshooting
6 Troubleshooting Troubleshooting This chapter helps you when there is a problem with the thermostat, an error message will appear on the home screen. Next chapter: Maintenance, page 41 Previous chapter: Installation, page 36 Error messages If there is a problem, an error message will appear in the display of the thermostat. - Page 40 6 Troubleshooting Problem Possible cause Solution or answer The thermostat shows a wrong date and The power supply of the appliance Connect the thermostat to the wi-fi net time setting. was interrupted for more than 2 mi work nutes, and to the internet or the wi-fi connection does not func...
-
Page 41: Maintenance
7 Maintenance Maintenance This chapter helps you with cleaning the thermostat and replacing the batteries. Next chapter: Appendix, page 42 Previous chapter: Troubleshooting, page 39 Cleaning When the thermostat needs cleaning: 1. Take a soft cloth, preferably micro fiber. 2. Moist it with a mild (non-abrasive, not-alcoholic) detergent. 3. -
Page 42: Appendix
Tab.13 Power supply Bus connection voltage 24 V ± 5% Maximum power consumption Tab.14 Electrical connection Maximum cable length for dedicated uSense bus 50 m Maximum cable resistance 2 x 5 ohm 7718216 / PN 615000298 - v.04 - 28042020... -
Page 43: Erp Information
2012/19/EU Waste Electrical & Electronic Equipment (WEEE) IEC 60068-2-32 Drop test IP21 Protection classification ErP information 8.4.1 Product fiche Tab.19 Product fiche Baxi - uSense uSense uSense uSense Class Contribution to space heating energy efficiency (1) Combined with On/Off appliance (2) Combined with modulating appliance (3) Combined with modulating appliance and outdoor sensor 7718216 / PN 615000298 - v.04 - 28042020... - Page 44 8 Appendix 7718216 / PN 615000298 - v.04 - 28042020...
- Page 45 8 Appendix 7718216 / PN 615000298 - v.04 - 28042020...
- Page 46 8 Appendix 7718216 / PN 615000298 - v.04 - 28042020...
- Page 47 Original instructions - © Copyright All technical and technological information contained in these technical instructions, as well as any drawings and technical descriptions supplied, remain our property and shall not be multiplied without our prior consent in writing. Subject to alterations.
- Page 48 Baxi N.A. PO Box 4729, Utica, NY 13504 Tel. 844 422 9462 www.baxiboilers.com 7718216 / PN 615000298 - v.04 - 28042020 7718216...
Need help?
Do you have a question about the uSense and is the answer not in the manual?
Questions and answers