Baxi uSense User Manual
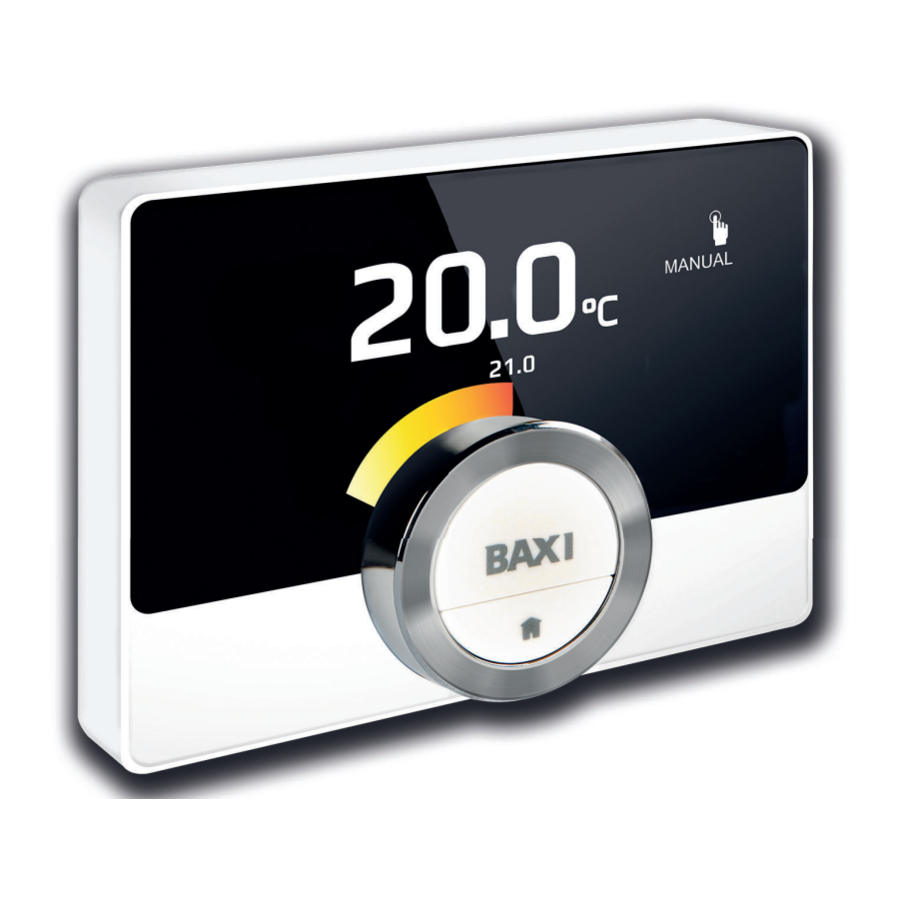
Digital clock thermostat
Hide thumbs
Also See for uSense:
- User manual (48 pages) ,
- Installation manual (20 pages) ,
- User manual (16 pages)
Table of Contents
Advertisement
Quick Links
Download this manual
See also:
Installation Manual
Advertisement
Table of Contents

Related Manuals for Baxi uSense


Summary of Contents for Baxi uSense
- Page 1 United States User Guide Digital clock thermostat uSense Manufactured by: Baxi N.A. 2201 Dwyer Avenue, Utica, NY 13501 Tel. 844 422 9462 www.baxiboilers.com ECR p/n: 615000298...
- Page 2 Thank you for choosing this uSense. You can control your home heating using the uSense or also by using an app. With this uSense, you are in the driver’s seat to control the temperature of your home. It’s all about your comfort, just the way you want it.
-
Page 3: Table Of Contents
Connecting your home automation application with the uSense ....... . . - Page 4 Installation of the uSense ........
-
Page 5: Manual Menu
1 Manual menu Manual menu Fig.1 Introduction Introduction This chapter introduces you to the thermostat. You will find basic information, e.g. how to use the rotary dial and buttons plus how to interpret the information on the screen. Chapter: Introduction, page 6 AD-3001023-01 Fig.2 General use... -
Page 6: Introduction
Reference to other manuals or pages in this manual. Introducing the uSense Intended use. The uSense is designed as a modulating room thermostat with which you can control your heating and cooling system in an efficient way. It has a cable connection to the appliance. You can connect it to the internet via a wi-fi connection, so you can operate the thermostat with an app on your mobile device. -
Page 7: The Usense And Its App
The uSense and its app Fig.8 The climate in your home contributes to your comfort; with the uSense you can control the temperature in your home the way you want it. If you prefer to control your climate with your mobile device (e.g. -
Page 8: Entering The Quick Access Menu And Menu Items
2 Introduction 2.5.3 Entering the Quick Access menu and menu items Fig.11 The Quick Access menu gives you access to a selection of menu items. Long-press the select button to enter the Quick Access menu from the 21.0 home screen. °C Turn the rotary dial forward or backward to select a menu item. -
Page 9: Screen Shows No Information
2 Introduction 2.5.6 Screen shows no information Fig.16 The display turns black when for 30 seconds: the rotary dial is not operated, the select button is not operated, the home button is not operated, and no person moves in front of the thermostat. After these 30 seconds the display is black, but the thermostat is still >30 active and no information is lost. - Page 10 2 Introduction Holiday period: Holiday period is ac tive Changing the mode quickly, page 13 Setting a holiday schedule, page 17 Fireplace mode: Fireplace mode is active Changing the mode quickly, page 13 Activating fireplace mode, page 19 Temperature scheduling: Tempera ture scheduling is active Changing the mode quickly, page 13 Creating a temperature schedule to control the room tem...
-
Page 11: Customising The Main Screen Display
Error messages overview, page 35 Troubleshooting, page 41 Error display: The thermostat has no internet connection uSense connections, page 26 2.6.2 Customising the main screen display You can configure the main screen of the display by adding two information boxes on the screen, one to the left and one to the right of the rotary dial. -
Page 12: Presence Detection
2 Introduction Tab.5 Messages on the display Message Meaning Help message The display can show a help message after you change to a different mode. The message in forms you about the use of the quick access menu. Service message The display shows a service message when the appliance needs maintenance. -
Page 13: General Use
Frost Protection: The room temperature is set to the frost protection temperature setting. Holiday: The room temperature is set to the holiday temperature setting. Fireplace: Continue heating other rooms in the same zone while an additional heat source heats the room where the uSense is located. -
Page 14: Changing The Temperature For A Short Period In Scheduling Mode
3 General use 3.2.2 Changing the temperature for a short period in scheduling mode Fig.21 You can change the temperature for a short set period when the thermostat is in scheduling mode. At the end of the period the thermostat 23.0 will return to the scheduled temperature. - Page 15 3 General use Fig.22 4. Select and confirm the day(s) that you want to program....Important ............................When you select more than one day, the days will be assigned the same day schedule.
-
Page 16: Copying A Weekday Of A Temperature Schedule
3 General use Adding or deleting activities and switch times You can add or remove activity intervals from the day schedule. Fig.26 1. Select an activity and long-press the select button to add an interval. An new interval is created within the start and end time of the existing activity interval. -
Page 17: Setting A Holiday Schedule
3 General use 7. Confirm the selection. The selected temperature schedule becomes active, which is shown by the icon in the top-right corner of the main screen. Setting a holiday schedule When you will be away for a longer period you can decrease the room temperature to save energy. -
Page 18: Changing A Holiday Schedule
3 General use 5. Set the room temperature for the holiday period: 5.1. Turn the rotary dial to select Temperature. 5.2. Confirm the selection. 5.3. Turn the rotary dial to change the temperature. Important The heating device in your installation determines what is the minimum temperature for the holiday period. -
Page 19: Activating Fireplace Mode
3 General use Activating fireplace mode Fireplace mode enables you to continue heating other rooms that are controlled by your system while another heat source heats the room where the thermostat is. For instance a fire lighted in your fireplace or a large number of people can heat the room so much, that the appliance stops heating all the rooms. - Page 20 3 General use 4. Select and confirm On to switch the heating function on again. 7718216 - v.02 - 26042019...
-
Page 21: Customisation
4 Customisation Customisation This chapter helps you with customising the thermostat. Next chapter: Messages and data, page 34 Previous chapter: General use, page 13 First chapter: Manual menu, page 5 AD-3001025-01 Hot water settings Important The hot water settings can only be changed for combi appliances. -
Page 22: Usense Settings
For more information, see Creating a temperature schedule to control the room temperature, AD-3001005-01 page 14 uSense settings 4.2.1 Setting the date and time When you start up the thermostat for the first time, you enter automatically the menu to set the time and date. -
Page 23: Main Screen Setting
4 Customisation 9. Confirm the selection. 10. Select your time zone. 11. Confirm your selection. 4.2.3 Main screen setting You can add two information boxes on the main screen, one to the left and one to the right of the rotary dial. 1. -
Page 24: Child Lock
AD-3001010-01 4.2.7 Child lock The uSense has a child lock that can be activated to prevent children changing the settings like the target temperature. Activating the child lock 1. Enter the main menu. 2. Select Settings. -
Page 25: Changing The Name Of A Zone
4 Customisation Fig.35 8. Change the name: 8.1. Select the backspace in the character selection menu....8.2. Confirm the selection to delete the character....8.3. Delete more characters until you can start with the new name. 8.4. -
Page 26: Enabling Time Synchronization By Internet
7. Confirm the selection. uSense connections You can operate the uSense with the uSense app on a mobile device or with a home automation application. This allows you to control the appliance(s) in your installation when you are not near the uSense. You need a wi-fi network and a mobile device with Apple iOS or Android to make the connection. -
Page 27: Establishing The Wi-Fi Connection
9. Confirm the selection to save the password. The thermostat is now connected to the hidden wi-fi network. 4.3.2 Downloading the app You can install the uSense app on your mobile device. 7718216 - v.02 - 26042019... -
Page 28: Connecting The App With The Usense
4.3.3 Connecting the app with the uSense When you start up the thermostat for the first time, you enter automatically the menu to register your app or home automation application. You need an account based on your email address for the connection. -
Page 29: Advanced Settings
4 Customisation Advanced settings 4.4.1 Resetting to default settings You can reset most of the thermostat settings to their default settings at the same time. Important All connection settings for communication will be deleted too! The temperature schedules, control mode and holiday period will not be reset. -
Page 30: Activating Preheat
4 Customisation 4.4.4 Activating Preheat You can choose to preheat the room or a zone for a set period to give it a set temperature at the start time of the scheduled heating period. 1. Enter the main menu. 2. Select Settings. 3. -
Page 31: Setting The Control Strategy
4 Customisation Fig.44 17. Use the rotary dial to change the steepness. 18. Confirm the change..19. Use the rotary dial to select Save at the bottom-right corner of the ..: ..display..: ..20. Confirm to save the changes in the heating curve.. -
Page 32: Setting The Minimum Central Heating Power
4 Customisation Fig.48 6. Select Heating rate....Important The display shows Heating rate only if your installation is fit for this ..option. 7. Confirm the selection. 8. Select the heating rate that you want. <1 Important The list of available speed indications depends on the appliance in AD-3001256-01 your installation. -
Page 33: Setting Maximum Domestic Hot Water Power
4 Customisation Fig.52 6. Select CH Max. power....Important The display shows CH Max. power only if your installation is fit for ..kW this option. 7. Confirm the selection. 8. Turn the rotary dial to select the number of kW. 9. -
Page 34: Messages And Data
5 Messages and data Messages and data This chapter helps you with navigating to information and data of the thermostat and system. Next chapter: Installation, page 38 Previous chapter: Customisation, page 21 First chapter: Manual menu, page 5 AD-3001026-01 Outside temperature You can read the outside temperature if an external temperature sensor is connected to your installation. -
Page 35: Technical Information
5 Messages and data Technical information The thermostat can display various built-in properties and parameters. 1. Enter the main menu. 2. Select Technical Information. 3. Confirm the selection. The display shows: Tab.7 Device Information Serial Number: Software Version: Wi-fi SSID: Wi-fi Connection: Internet Connection: Server Connection:... -
Page 36: Service Message
Custom: The appliance is from an unknown brand. The extent of the required maintenance is unknown. AD-3001321-01 Fig.58 1. Short-press the select button. The uSense shows the message in the top of the display..... : ... <1 AD-3001322-01 Fig.59... - Page 37 5 Messages and data Important If predictive maintenance has been registered, the thermostat will send an automatic message when the appliance has an error. 1. Enter the main menu. 2. Select Technical Information. 3. Confirm the selection. 4. Select Send to Server. 5.
-
Page 38: Installation
The communication protocol depends on the requirements of the appliance. Consult your installer for technical details about your appliance and information how to connect the uSense to the appliance. You can connect the thermostat and the gateway yourself, or ask your installer. -
Page 39: Installation Of The Gateway
50 m (maximum cable length). AD-3001017-01 Installation of the uSense The installation of the uSense is described in the Quick Start Guide that is delivered in the thermostat package. 1. Mount the mounting bracket to the wall following the instructions in the Quick Start Guide. -
Page 40: Setup Procedure
9. Connect your mobile device and/or home automation application with the thermostat. For more information, see How to use the uSense, page 7 Setting the date and time, page 22 Setting country and language, page 22 uSense connections, page 26... -
Page 41: Troubleshooting
7 Troubleshooting Troubleshooting This chapter helps you when there is a problem with the thermostat, an error message will appear on the home screen. Next chapter: Appendix, page 43 Previous chapter: Installation, page 38 First chapter: Manual menu, page 5 AD-3001028-01 Error messages If there is a problem, an error message will appear in the display of the... -
Page 42: Maintenance
8 Maintenance Maintenance This chapter helps you with cleaning the thermostat and replacing the batteries. Next chapter: Appendix, page 43 Previous chapter: Troubleshooting, page 41 Cleaning When the thermostat needs cleaning: 1. Take a soft cloth, preferably micro fiber. 2. Moist it with a mild (non-abrasive, not-alcoholic) detergent. 3. -
Page 43: Appendix
You have to accept the Terms and Conditions only once, unless you reset the default settings of the thermostat. Disposal Fig.65 The uSense is a regular electronic device. Dispose of the uSense in an environmentally friendly way and in accordance with local regulations. AD-3001018-01 Technical specifications Tab.13... -
Page 44: Erp Information
WEEE directive (2002/96/EC) (disposal requirements) Drop test: IEC 60068-2-32 Protection classification: IP21 ErP information 9.4.1 Product fiche Tab.20 Product fiche Baxi - uSense uSense uSense uSense Class Contribution to space heating energy efficiency (1) Combined with On/Off appliance (2) Combined with modulating appliance (3) Combined with modulating appliance and outdoor sensor 7718216 - v.02 - 26042019... - Page 45 9 Appendix 7718216 - v.02 - 26042019...
- Page 46 9 Appendix 7718216 - v.02 - 26042019...
- Page 47 © Copyright All technical and technological information contained in these technical instructions, as well as any drawings and technical descriptions supplied, remain our property and shall not be multiplied without our prior consent in writing. Subject to alterations.
- Page 48 All specifications subject to change without notice. ©2019 Baxi N.A. Baxi N.A. 2201 Dwyer Avenue, Utica, NY 13501 Tel. 844 422 9462 www.baxiboilers.com 7718216 - v.02 - 26042019 7718216...
Need help?
Do you have a question about the uSense and is the answer not in the manual?
Questions and answers