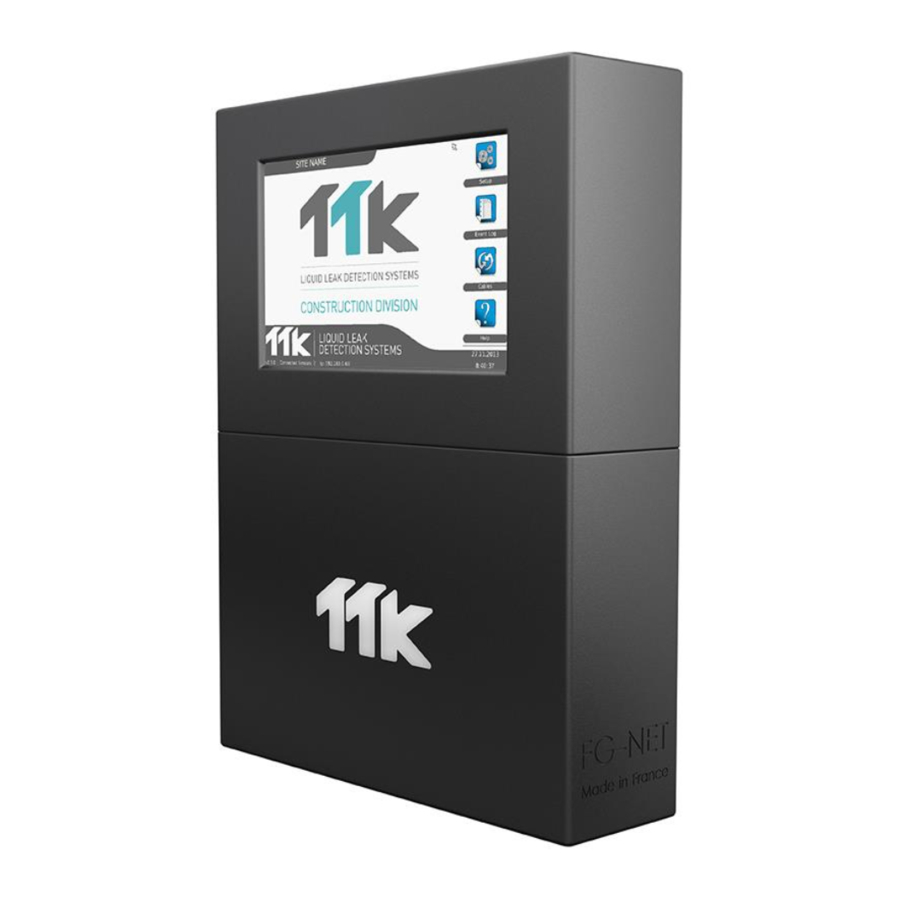
TTK FG-NET Quick Start Manual
Digital panel
Hide thumbs
Also See for FG-NET:
- Customer operation & installation manual (95 pages) ,
- Quick start manual (2 pages) ,
- Quick start manual (2 pages)
Advertisement
Quick Links
Quick Start
Guide
FG-NET
Digital
Panel
Guide de
démarrage
rapide
de la centrale
FG-NET
Electric Connection
2
Raccordement Electrique
Power supply: 100 - 240 VAC, 50/60 Hz, 1.3A, 50W.
EN
If possible, use a UPS power source. 3 X 1.5 mm² multi-stranded electric cable.
IMPORTANT : To connect the grounding of the box to earth:
Use a standardised single-core 2.5 mm² earth wire.
Alimentation électrique : 100 - 240 VAC, 50/60 Hz, 1.3A, 50W.
FR
Utiliser, si possible, une source de courant ondulé. Câble électrique multibrins
3 x 1,5 mm².
IMPERATIF : Raccorder la masse du boîtier à la terre :
Utiliser un fil de terre monobrin 2,5 mm² normalisé.
Vérifier la « qualité électrique » de la terre.
Detection Circuits Connection
3
Raccordement Circuits de Détection
Connect the 2 pairs of TTK Bus 8723 standard cable of each circuit, respecting the
EN
colour code below :
A : Green wire, B : White wire, C : Black wire, D : Red wire
Plug each jumper cable in the provided cable clamp. Fix the shielding tightly to
the cable clamp to ensure proper grounding.
ATTENTION : A bad connection to earth removes the "electromagnetic screen" role
of the shielding. Without the correct grounding the system may develop faults and
readings. The correct grounding must be adhered to. In the case any circuits are left
unused, a shunt should be placed between A and B on the corresponding connector
for that circuit, if not already there. At no time should a shunt be put between C and D.
For more details, refer to the wiring diagram stuck inside FG-NET panel.
Pour raccorder le câble 2 paires type TTK Bus 8723 de chaque circuit, respecter
FR
le code couleur :
A : Fil Vert, B : Fil Blanc, C : Fil Noir, D : Fil Rouge
Fixer chaque câble de liaison dans le serre-câble prévu. Fixer solidairement
l'écran (blindage) au serre-câble pour assurer la mise à la terre.
ATTENTION : Une mauvaise connexion à la terre supprime le rôle « écran
électromagnétique » du blindage. Le fonctionnement du système peut s'en
trouver altéré. Dans le cas de circuit(s) non utilisé(s), laisser en place le
shunt entre A et B sur le connecteur embrochable
correspondant. Pour plus de détails, se reporter au schéma de câblage de la
centrale FG-NET.
TIP: The complete Installation Manual of this product can be downloaded on TTK's Website by scanning the QR code.
For more information, www.ttkuk.com; www.ttkusa.com; www.ttkasia.com
Astuce: Le manuel d'installation complète de ce produit peut être téléchargé sur le site Web de TTK en scannant le code QR.
Pour plus d'informations, www.ttk.fr; www.ttkcanada.com
1
EN
FR
4
EN
FR
EN
FR
EN
FR
Mounting the Digital Panel FG-NET
Fixation de la Centrale de Détection FG-NET
The rack-mounted version: a 4U space is necessary in a 19" electrical
equipment box.
The wall-mounted version: fix on the wall, taking care not to damage the mo-
therboard.
We recommend fixing to a height ranging between 1.50m and 1.80m to allow
a comfortable height to see the touch-screen display.
Open the cover of the wall-mounted panel to reach the motherboard as shown
in the image:
Version encastrable : un emplacement
4U est nécessaire dans une armoire
19'.
Version murale : Fixer au mur en pre-
nant soin de ne pas endommager la
carte mère (un pochoir est fourni pour
le perçage des 4 trous de fixation).
Nous recommandons une fixation à
une hauteur comprise entre 1,50m
et 1,80m pour permettre une lecture
confortable de l'afficheur.
Pour ouvrir le capot de la centrale
version murale et accéder à la carte
mère :
Powering the FG-NET
Mise sous Tension
Close the cover before powering up:
Fermer le capot avant de la mise sous
tension :
When powered up, the panel displays
the homepage once started. To set up
the panel, go to the "Setup" menu:
A la mise sous tension, la centrale
affiche la page d'accueil à la fin du
démarrage. Pour paramétrer la
centrale, menu « configuration » :
Once in the account, the
user can change the
password.
Une fois entré dans le
compte, l'utilisateur peut
changer le mot
de passe.
Choose account : "admin"
Password : (blank, no password)
Choisir compte : « admin »
mot de passe : (sans mdp par défaut)
Advertisement

Summary of Contents for TTK FG-NET
- Page 1 TIP: The complete Installation Manual of this product can be downloaded on TTK’s Website by scanning the QR code. For more information, www.ttkuk.com; www.ttkusa.com; www.ttkasia.com Astuce: Le manuel d’installation complète de ce produit peut être téléchargé sur le site Web de TTK en scannant le code QR. Pour plus d’informations, www.ttk.fr; www.ttkcanada.com...
- Page 2 System Settings Menu « Câbles » sur la page d’accueil > bouton « Editer » sur chaque câble détecteur permet de configurer les câbles détecteurs et les relais. Paramétrage du système Nommer les câbles selon les locaux dans lesquels ils sont installés. Dans le cas où...


Need help?
Do you have a question about the FG-NET and is the answer not in the manual?
Questions and answers