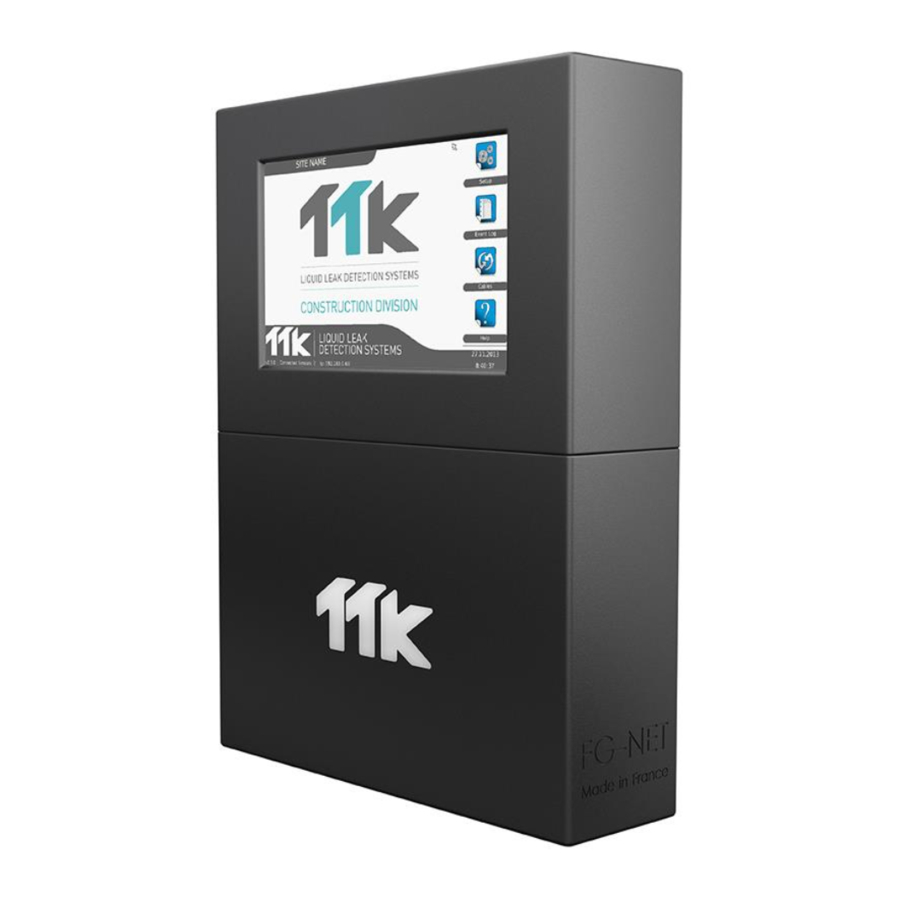
TTK FG-NET Quick Start Manual
Digital panel
Hide thumbs
Also See for FG-NET:
- Customer operation & installation manual (95 pages) ,
- Quick start manual (2 pages) ,
- Quick start manual (2 pages)
Advertisement
Quick Start
Guide
FG-NET
Digital
Panel
Kurzanleitung
FG-NET
Digitalpanel
Electric Connection 230V
2
Elektrischer Anschluss 230 V
230V power supply 1A protected minimum. If possible, use a UPS power source. 3
EN
X 1.5 mm² multi-stranded electric cable.
IMPORTANT : To connect the grounding of the box to earth:
Use a standardised single-core 2.5 mm² earth wire.
Stromversorgung 230 V, Schutz min. 1A. Wenn möglich, eine unterbrechungsfreie
DE
Stromversorgung verwenden. Elektrisches Kabel, mehradrig 3 x 1,5 mm2.
WICHTIG:
Anschluss der Masse des Schrankes an Erde:
Verwendung eines einadrigen standardisierten Erdleiters 2,5 mm².
Detection Circuits Connection
3
Anschluss der Leckdetektorkreise
Connect the 2 pairs of Belden 8723 standard cable of each circuit, respecting the
EN
colour code below :
A : Green wire, B : White wire, C : Black wire, D : Red wire
Plug each jumper cable in the provided cable clamp. Fix the shielding tightly to the
cable clamp to ensure proper grounding.
ATTENTION : A bad connection to earth removes the "electromagnetic screen" role
of the shielding. Without the correct grounding the system may develop faults and
readings. The correct grounding must be adhered to. In the case any circuits are left
unused, a shunt should be placed between A and B on the corresponding connector
for that circuit, if not already there. At no time should a shunt be put between C and D.
For more details, refer to the wiring diagram stuck inside FG-NET panel.
Unter Einhaltung des unten dargestellten Farbcodes die zwei Standard-
DE
Kabelpaare Belden 8723 der einzelnen Schaltkreise verbinden:
A:Grüne Ader
B:Weiße Ader
C: Schwarze Ader
D: Rote Ader
Die Überbrückungskabel in den jeweiligen Kabelklemmen befestigen.
Die Abschirmung an der Kabelklemme gut befestigen, um Erdung zu
gewährleisten.
ACHTUNG: Durch eine schlechte Erdung bietet der Schirm keine elektromagne-
tische Abschirmung.
Ohne ordnungsgemäße Erdung kann es im System zu Defekten und Lesefehlern
kommen. Eine ordnungsgemäße Erdung muss gewährleistet sein.
Sollten ein oder mehrere Schaltkreise nicht verwendet werden, muss ein Shunt
zwischen A und B auf der Schraubverbindung des entsprechenden Anschlusses
für dieses Stromkreis befestigt werden, sofern dieser nicht bereits vorhanden ist.
Es darf keinesfalls ein Shunt zwischen C und D gesetzt werden.
TIP: The complete Installation Manual of this product can be downloaded on TTK's Website by scanning the QR code.
For more information, www.ttkuk.com; www.ttkusa.com.
TIPP: Die komplette Installationshandbuch zu diesem Artikel finden Sie auf der Webseite TTK durch Scannen des QR-Code
heruntergeladen werden.
Weitere Informationen erhalten Sie unter www.ttk-gmbh.de
EN
DE
EN
DE
EN
DE
EN
DE
Mounting the Digital Panel FG-NET
1
Montage des Digitalpanels FG-NET
The rack-mounted version: a 4U space is necessary in a 19" electrical
equipment box.
The wall-mounted version: fix on the wall, taking care not to damage the
motherboard.
We recommend fixing to a height ranging between 1.50m and 1.80m to allow
a comfortable height to see the touch-screen display.
Open the cover of the wall-mounted panel to reach the motherboard as shown
in the image:
Rackmontierte Version: ein
4U-Einsteckplatz in einem 19-Zoll-
Schaltschrank ist erforderlich.
Wandbefestigte Version: an der Wand
befestigen und dabei darauf achten,
dass das Motherboard nicht beschä-
digt wird.
Wir empfehlen die Befestigung auf
einer Höhe zwischen 1,50 m und 1,80
m, um ein bequemes Ablesen des
Touchscreen-Displays zu gewähr-
leisten.
Die Abdeckung des wandbefestigten
Panels öffnen, um, wie im Bild unten
dargestellt, an das Motherboard zu
gelangen:
Powering the FG-NET
4
Hochfahren des FG-NET
Close the cover before powering up:
Abdeckung vor dem Einschalten schließen:
When powered up, the panel displays
the homepage once started. To set up
the panel, go to the "Setup" menu,
Nach dem Hochfahren wird auf dem
Panel die Homepage angezeigt.
Zur Einrichtung des Panels in das
Menü „Setup" wechseln,
Once in the account, the
user can change the
password.
Nach Aufruf des Kontos
kann der Benutzer das
Passwort ändern.
Choose account : "admin"
Password : (blank, no password)
Konto: „admin"
Passwort: (frei lassen, kein passwort)
Advertisement
Table of Contents

Summary of Contents for TTK FG-NET
- Page 1 TIP: The complete Installation Manual of this product can be downloaded on TTK’s Website by scanning the QR code. For more information, www.ttkuk.com; www.ttkusa.com. TIPP: Die komplette Installationshandbuch zu diesem Artikel finden Sie auf der Webseite TTK durch Scannen des QR-Code heruntergeladen werden.
- Page 2 User Settings Verification of the architecture settings Systemeinrichtung Installationsprüfung Menu “Setup” > tab “system”: “Cables” menu allows the visualization of the architecture of the installation as Change the application language well as the floor plan associated with each “zone” (optional functionality). Adjust the date and time Create the user accounts and modify the administrator password.


Need help?
Do you have a question about the FG-NET and is the answer not in the manual?
Questions and answers