Table of Contents
Advertisement
Quick Links
Advertisement
Table of Contents

Related Manuals for Smart Eye Aurora


Summary of Contents for Smart Eye Aurora
- Page 1 Aurora User Guide Version 9.2...
- Page 2 Aurora User Guide Version 9.2.0 May 11, 2021 Copyright © 2021 Smart Eye AB. All rights reserved. Smart Eye AB F ¨ orsta L ˚ anggatan 28B 413 27 Gothenburg Sweden www.smarteye.se...
-
Page 3: Table Of Contents
3 Aurora Hardware ........ -
Page 4: Introduction
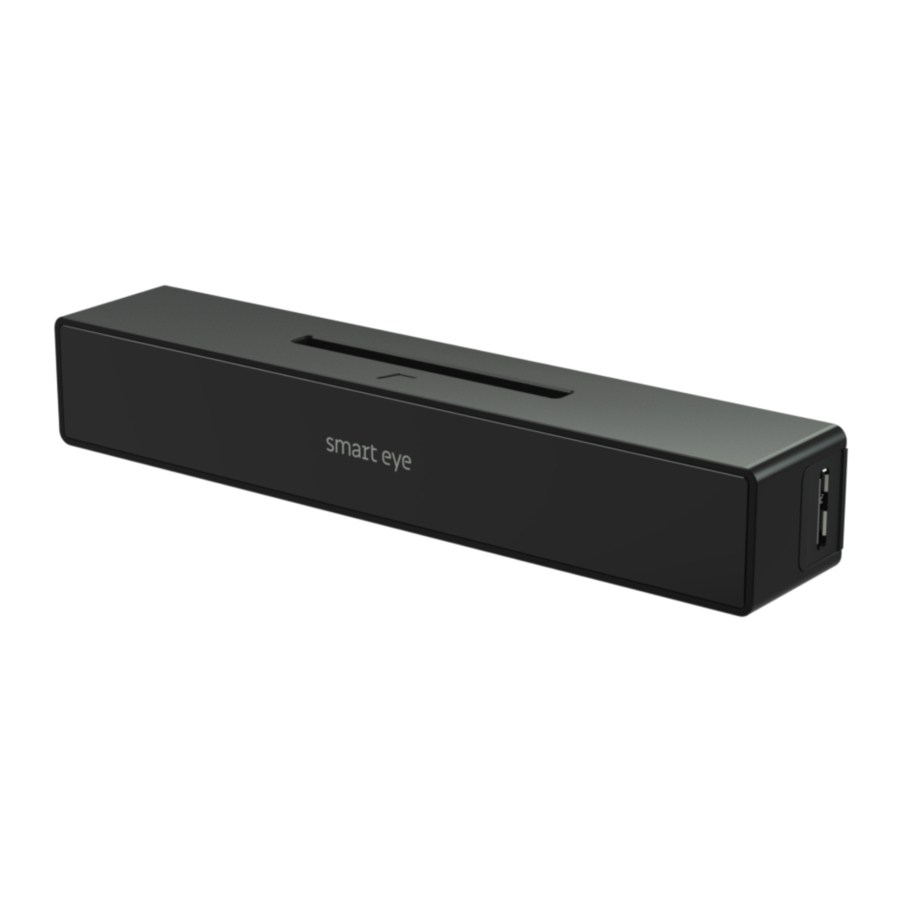
The Aurora works well in all indoor illumination conditions, and of- fers precise and accurate tracking on screens up to 24”. In addition to eye tracking, the Aurora also delivers precise head tracking and eyelid tracking. -
Page 5: Software And System Requirements
2 Software and System Requirements 2.1 System requirements Operating System Windows 10 Anniversary Update (version 1607) or newer 4 GB Quad core 6th generation Intel Core or Intel Xeon processor or newer Camera Interface USB 3.0 (for 60 Hz), USB-C (for 120 Hz) Maximum Screen Size 24”... -
Page 6: Aurora Hardware
3 Aurora Hardware 3.1 What’s in the box Aurora eye tracker Two Chem Pad™ wipes for cleaning the mounting area Two mounting brackets with tape Safety and setup info note Textile travel bag USB-C cable, 2 m 3.2 Product care The front glass of the eye tracker needs to be clean in order to ensure optimal tracking. -
Page 7: Setup
4.1 Software installation The software Smart Eye Tracker needs to be installed before using your eye tracker. Follow the installation steps below. 1. Launch the Smart Eye Tracker installer by double clicking it. -
Page 8: Mounting
1. Find the center of the lower screen edge by marking manually or by using the center marker in the Smart Eye Setup Tool. 2. Clean the mounting area around the center with the Chem Pad™ wipe. -
Page 9: Eye Tracker Calibration
4.3 Eye tracker calibration 1. Run the Smart Eye Setup Tool. The Smart Eye Setup Tool is found in the Windows Start Menu. Smart Eye Setup Tool 2. Select your eye tracker. 3. Specify on which screen your eye tracker is mounted (if you have a single screen setup, this step is not necessary). - Page 10 Calibration window 5. Calibrate your eye tracker by aligning the dashed lines to the edges of the eye tracker. Confirm the calibration by pressing Enter. Once confirmed, the calibration is saved, and the Smart Setup Tool can be closed.
-
Page 11: Software Update
2. Select Aurora as eye tracker and open the Advanced Settings... 3. Connect the Aurora eye tracker to a USB port on the computer (if not already done so), if the supplied cable is of type USB-A make sure to connect it to a USB 3.0 port. Verify that eye tracker information is updated with values from the eye tracker. - Page 12 Warning! DO NOT unplug the Aurora eye tracker during the firmware upgrade! Doing so may render the eye tracker unusable.
-
Page 13: Support
If your problems persist or if you don’t find any solution here, please contact support. I can’t install Smart Eye Tracker. Make sure you have admin rights on the computer where you attempt to install Smart Eye Tracker. The laptop goes to sleep when I connect the eye tracker to the bracket. -
Page 14: Appendix A Safety And Compliance
The maximum temperature on the outside of the device was T degrees during the test. The Aurora eye tracker is designed with a good margin to operate at a temperature of T degrees and neither the function nor the lifespan of the product is adversely affected. -
Page 15: Appendix B Technical Specifications
Appendix B Technical Specifications Sampling Rate 60 and 120 Hz Headbox (Freedom of head movement) 50 x 40 cm at 65 cm distance Operating Distance 50 - 80 cm Accuracy 0.3 degrees (typ.) Precision 0.1 degrees (typ.) Output Data Gaze origin, gaze point, pupil diameter, eyelid opening, head position and rotation, real-time time stamp All outputs as binocular data with associated...
Need help?
Do you have a question about the Aurora and is the answer not in the manual?
Questions and answers