Subscribe to Our Youtube Channel
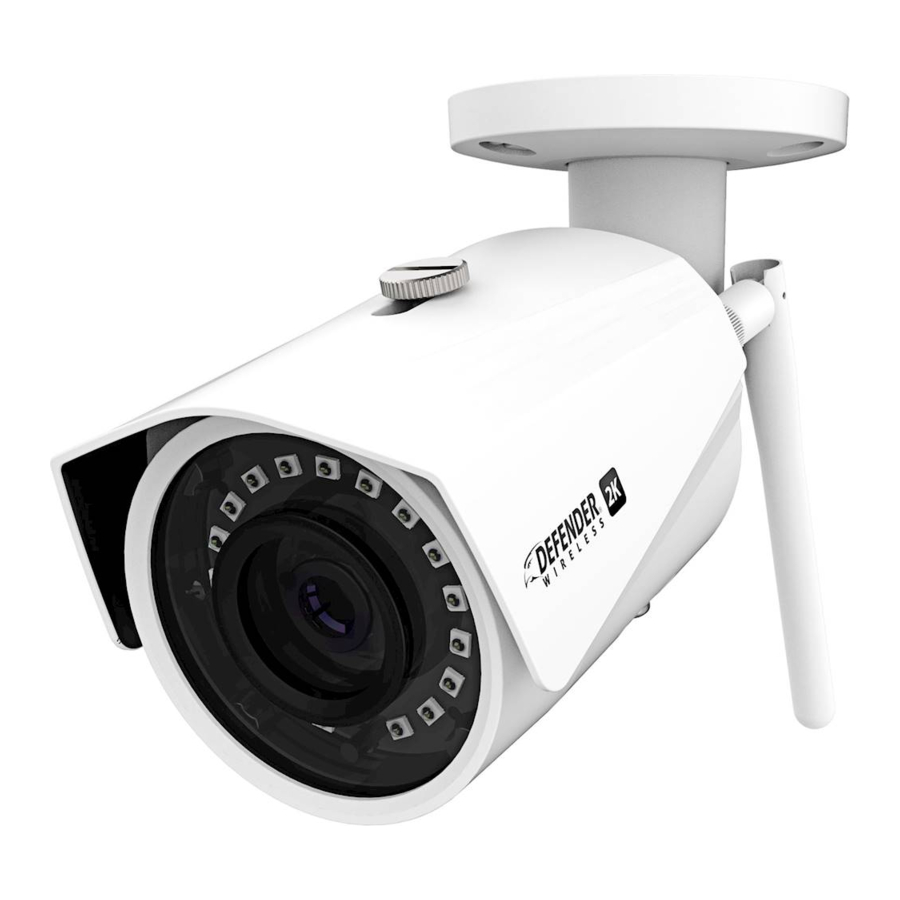
Summary of Contents for Defender wireless IP2KCB1
- Page 1 QUICK START GUIDE 2K (4MP) Wireless IP Camera IP2KCB1 For the full product manual and support videos visit www.DEFENDER-USA.COM/SUPPORT...
-
Page 2: What's Included
WHAT’S INCLUDED Wireless Wi-Fi 2K IP Camera with Wireless Wi-Fi Camera Power pre-installed 16GB Micro SD Card Camera Antenna Supply (10ft) Camera Mounting Waterproof Quick Start Guide Hardware Connectors WHAT YOU’LL NEED FOR SET UP & INSTALLATION • Drill • Phillips (#2) Screwdriver •... -
Page 3: Getting Started
GETTING STARTED Connect the antenna to the camera. Power on the camera by connecting the camera cable to the adapter IMPORTANT: Depending on your Network setup, you may need to connect the camera to your modem/router using an Ethernet cable (not included) the first time you add the camera to the app. -
Page 4: Mobile App Set Up
MOBILE APP SET UP Download the SmartSignal mobile app from your app store. Open the app on your device. Follow the on-screen instructions to create your account. Setup requires access to text or email to receive the Verification Code. richard@account.com IMPORTANT: Depending on your mobile device your on-screen keyboard may remain on the screen –... - Page 5 CAMERA SET UP (ADD DEVICE) Ensure your mobile device is connected to your Wi-Fi network (2.4 GHz)– the camera and mobile device must be connected to the same network for setup. Once your account is activated, the Add Device screen will open. Tap the + icon to add the camera.
- Page 6 SETUP USING ETHERNET CABLE Connect the camera to your modem/router using an Ethernet Cable (not included) for first time setup only. Complete steps 1 & 2 from the Camera Set up (Add Device) section. Tap Device connected to network link to continue - NOTE: DO NOT tap Next.
- Page 7 Tap to select your Wi-Fi Network from the list. NOTE: the IP 2K Camera will only work on 2.4 GHz frequency. Enter your Wi-Fi Password and tap the Save icon (top of the screen) to continue. For both setup options once the camera is connected you will see the Add successfully screen.
- Page 8 USING THE APP (MAIN SCREEN) Camera Information Motion Detection ON (yellow)/OFF Device Selection Alerts Received Account Information & Settings Install your camera in the desired location. For more setup instruction, access our full manuals and support videos on the product page. For the full product manual and support videos visit www.DEFENDER-USA.COM/SUPPORT...
-
Page 9: Guide De Démarrage Rapide
GUIDE DE DÉMARRAGE RAPIDE Caméra IP sans fil 2K (4MP) - IP2KCB1 GUÍA DE INICIO RÁPIDO Cámara IP inalámbrica de 2K (4MP) - IP2KCB1... - Page 10 CE QUI EST INCLU / QUÉ ESTÁ INCLUIDO Caméra IP Wi-Fi 2K sans fil avec carte Micro Antenne Caméra Alimentation de la caméra (10ft) SD 16 Go préinstallée Antena de camara Fuente de alimentación de la cámara Cámara inalámbrica Wi-Fi 2K IP con tarjeta (10 pies) Micro SD de 16 GB preinstalada Le matériel de montage...
- Page 11 COMMENCER / EMPEZANDO Connectez l’antenne à la caméra. Conecte la antena a la cámara. Allumez l’appareil photo en connectant le câble de l’appareil photo à l’adaptateur. Encienda la cámara conectando el cable de la cámara al adaptador. IMPORTANT: en fonction de votre configuration réseau, vous devrez peut-être connecter la caméra à...
- Page 12 MOBILE APP SET UP CONFIGURACIÓN DE APLICACIÓN MÓVIL Téléchargez l’application mobile SmartSignal à partir de votre app store. Ouvrez l’application sur votre appareil. Descargue la aplicación móvil SmartSignal desde su tienda de aplicaciones. Abra la aplicación en su dispositivo. Suivez les instructions à l’écran pour créer votre compte. Le programme d’installation nécessite l’accès à...
- Page 13 CONFIGURATION DE LA CAMÉRA (AJOUTER UN DISPOSITIF) CONFIGURACIÓN DE LA CÁMARA (AÑADIR DISPOSITIVO) Assurez-vous que votre appareil mobile est connecté à votre réseau Wi-Fi (2,4 GHz) - la caméra et l’appareil mobile doivent être connectés au même réseau pour pouvoir être configurés. Asegúrese de que su dispositivo móvil esté...
- Page 14 CONFIGURATION À L’AIDE D’UN CABLE ETHERNET CONFIGURACIÓN UTILIZANDO EL CABLE ETHERNET Connectez la caméra à votre modem / routeur à l’aide d’un câble Ethernet (non fourni) pour la première installation seulement. Conecte la cámara a su módem / enrutador usando un cable Ethernet (no incluido) solo para la primera configuración.
- Page 15 Appuyez pour sélectionner votre réseau Wi-Fi dans la liste. REMARQUE: la caméra IP 2K ne fonctionnera que sur une fréquence de 2,4 GHz. Toque para seleccionar su red Wi-Fi de la lista. NOTA: la cámara IP 2K solo funcionará en una frecuencia de 2.4 GHz.
- Page 16 UTILISATION DE L’APP (ÉCRAN PRINCIPAL) USO DE LA APLICACIÓN (PANTALLA PRINCIPAL) Informations sur la caméra Información de la cámara Détection de mouvement ON (jaune) / OFF Detección de movimiento ON (amarillo) / OFF Sélection de l’appareil Selección de dispositivos Alertes reçues Alertas recibidas Informations sur le compte et paramètres Información y configuración de la cuenta...
- Page 17 www.DEFENDER-USA.com...


Need help?
Do you have a question about the IP2KCB1 and is the answer not in the manual?
Questions and answers