Table of Contents
Advertisement
Available languages
Available languages
Quick Links
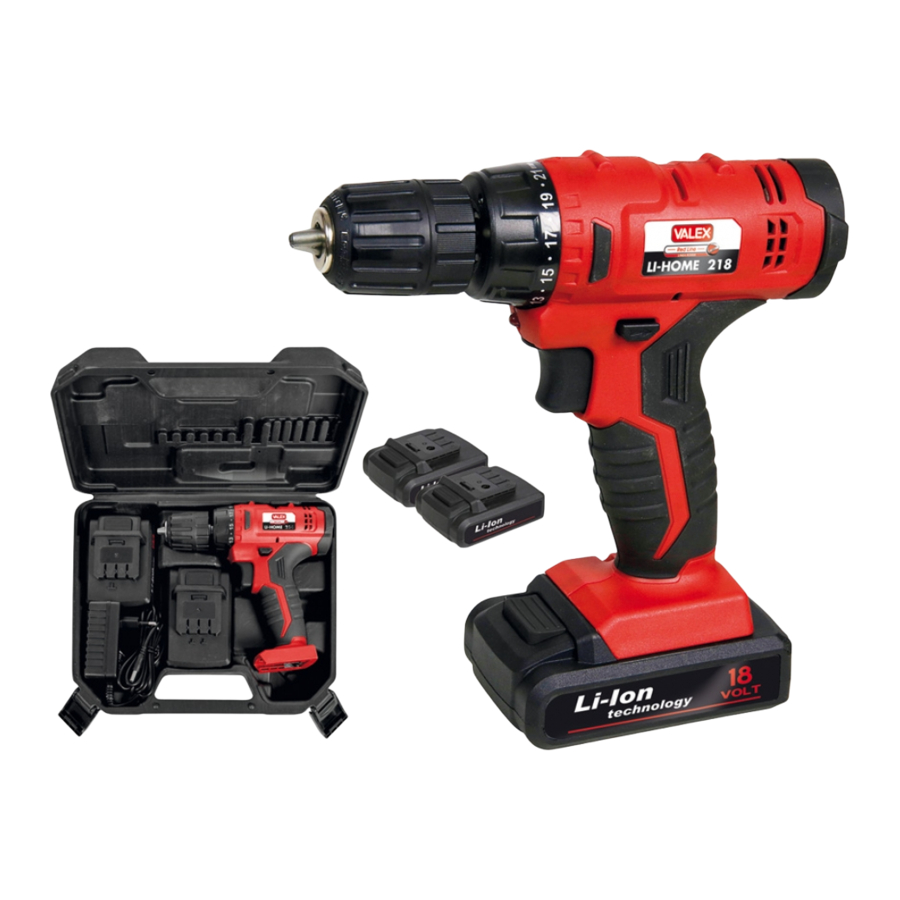
Trapano avvitatore a batteria LI-HOME 218
ISTRUZIONI D'USO
Istruzioni originali
Cordless drill LI-HOME 218
INSTRUCTION MANUAL
Translation of the original instructions
ATTENZIONE! Prima di usare la macchina, leggete e comprendete le istruzioni di sicurezza e le istruzioni d'uso fornite.
CAUTION! Before using the machine, read and understand the supplied safety instructions and operating instructions.
1429389
22-06-2017
Advertisement
Table of Contents

Related Manuals for Valex LI-HOME 218

Summary of Contents for Valex LI-HOME 218
- Page 1 1429389 22-06-2017 Trapano avvitatore a batteria LI-HOME 218 ISTRUZIONI D’USO Istruzioni originali Cordless drill LI-HOME 218 INSTRUCTION MANUAL Translation of the original instructions ATTENZIONE! Prima di usare la macchina, leggete e comprendete le istruzioni di sicurezza e le istruzioni d’uso fornite.
- Page 2 LI-HOME 218 Trapano avvitatore a batteria Impact cordless drill DATI TECNICI TECHNICAL DATA 18 V 1. Trapano 1. Drill 0-650 min a. Tensione a. Voltage b. Giri al minuto b. R.P .M. 10 mm c. Capacità mandrino c. Chuck capacity 67 dB(A) K=3 d.
- Page 3 Led verde Led green Led rosso In carica - Charge Led red Carica completa - Charge complete - 3 -...
-
Page 4: Installazione
INSTALLAZIONE ATTENZIONE! La Ditta costruttrice declina ogni responsabilità per gli eventuali danni diretti e/o indiretti causati da un errato allacciamento. V i ringraziamo per averci preferito nella scelta di questo utensile elet- ATTENZIONE! Prima di effettuare le seguenti operazioni assi- trico, di seguito chiamato “trapano –... - Page 5 MONTAGGIO UTENSILE SU MANDRINO (Fig. C) ILLUMINAZIONE ZONA DI LAVORO La luce di illuminazione (Fig. A pos.7) si accende/spegne automati- ATTENZIONE! Durante il montaggio e lo smontaggio di punte e camente all’azionamento dell’interruttore dell’utensile. inserti, posizionate centralmente il selettore del senso di rotazione (Fig.
-
Page 6: Manutenzione
MANUTENZIONE PROBLEMI, CAUSE E RIMEDI ATTENZIONE! Prima di ogni controllo o regolazione staccate la bat- PROBLEMA CAUSE RIMEDI teria dall’utensile e staccate l’alimentazione elettrica del caricabatterie L’ u t e n s i l e Batteria scarica. Effettuare una ricarica scollegando la spina. -
Page 7: Installation
INSTALLATION IMPORTANT! The manufacturer is not liable for any direct and/ or indirect damage caused by incorrect connections. W e thank you for having purchased this electrical tool that will hereafter IMPORTANT! Before carrying out the following operations, make also be referred to as “battery-operated drill - screwdriver”. sure that the plug is disconnected from the mains. - Page 8 CUTTING TOOL ASSEMBLY (Fig.C) LIGHTING FOR WORK AREA The light (Fig. A pos.7) comes on or off automatically when the tool IMPORTANT! During the assembly and disassembly of the bits is switched on. and inserts, place the rotation direction switch in the central posi- tion (Fig.
-
Page 9: Maintenance
MAINTENANCE PROBLEMS, CAUSES AND SOLUTIONS IMPORTANT! Before any checks or adjustments take the battery PROBLEM CAUSES SOLUTIONS out of the tool and unplug the battery charger from the mains. The electrical Battery empty Fully charge the battery IMPORTANT! Do not tamper or attempt to repair the electrical tool fails to tool.
Need help?
Do you have a question about the LI-HOME 218 and is the answer not in the manual?
Questions and answers