Table of Contents
Advertisement
Available languages
Available languages
Quick Links
Advertisement
Table of Contents

Subscribe to Our Youtube Channel
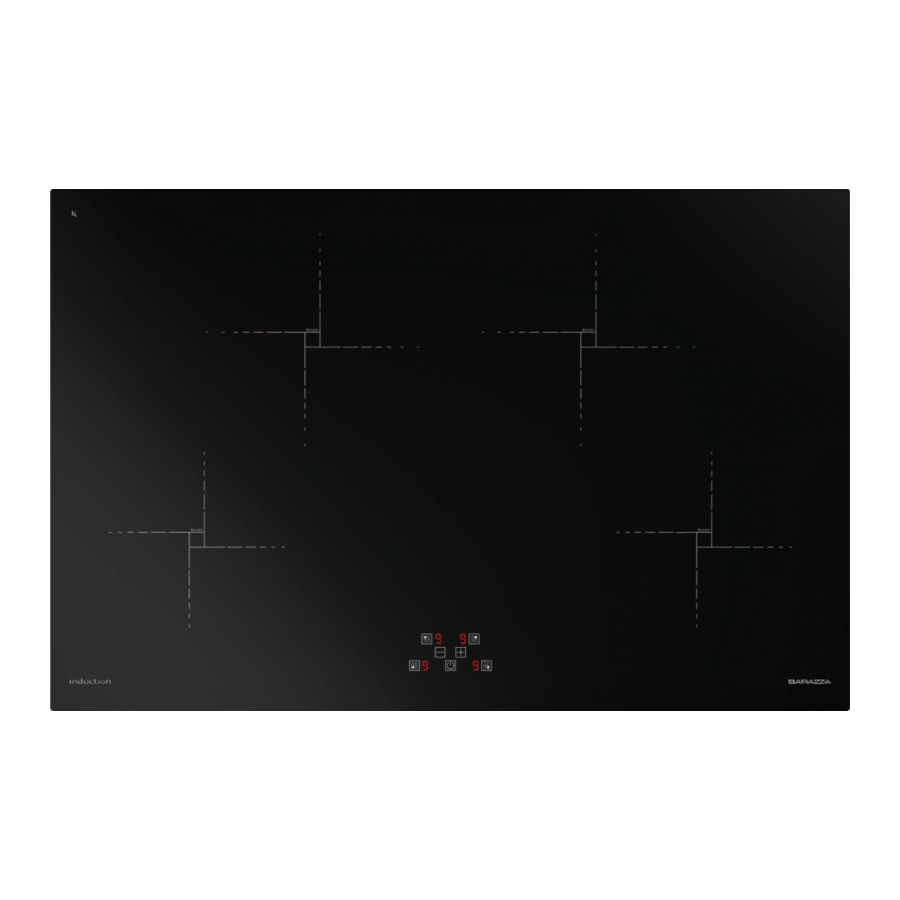
Summary of Contents for Barazza 1PIDG84N
- Page 1 1PIDG64N 1PIDG64B 1PIDG84N GREEN Manuale d’installazione ed uso Use and installation manual Bedienungs-und Montageanleitung Manual de instalación y uso Manuel d’installation et d’utilisation...
- Page 2 5 1 0 m 7 8 0 ~ 2 mm min. 50 mm 20 mm...
- Page 3 H05V2V2-F 4G / 2,5 mm L (L1+L2) 2 Ph + N 1 Ph + N open L2 L1 L1=brown L2=black N=blue or grey GRN= green/yellow Induction ∅ 200 ∅ 200 2,30 kW 2,30 kW P: 3,00 kW P: 3,00 kW ∅...
-
Page 4: Installazione
Italiano subito il piano di cottura se la lastra in vetroceramica è danneggiata o crepata. Staccare l’apparecchio dalla rete elettrica. Leggere attentamente il contenuto del • ATTENZIONE: Se il cavo di alimentazione presente libretto quanto fornisce dell’apparecchio è danneggiato deve importanti indicazioni riguardanti la sicurezza essere sostituito dal produttore, dal servizio di installazione, d’uso e di manutenzione. - Page 5 la manutenzione in conformità delle leggi Nel caso in cui l’elettrodomestico non e delle norme vigenti. Se un forno da sia dotato di cavo e/o della relativa spina, incasso o qualsiasi altra apparecchiatura utilizzare materiale adatto per l’assorbimento che genera calore deve essere montato indicato nella targhetta identificativa e direttamente sotto il piano di cottura in per la temperatura di funzionamento.
-
Page 6: Pannello Comandi
pentole speciali per induzione i cui fondi Per impostare un diverso livello di potenza non sono totalmente ferromagnetici. Per massima, procedere come segue: ottenere una buona cottura vi suggeriamo di 1- Premere contemporaneamente tutti i utilizzare pentole la cui zona ferromagnetica tasti di selezione “B”, per tre secondi. - Page 7 • Spegnimento dell’apparecchio riscaldamento in tempi brevissimi di grandi Per spegnere completamente l’apparecchio quantità di liquidi (es. acqua per la cottura tenere premuto il tasto ON/OFF. della pasta) o pietanze. Per attivare questa funzione selezionare la • Accensione delle zone di cottura zona di cottura B e premere il tasto Accendere l’apparecchio, selezionare la...
- Page 8 attivata. tasto Selezione Zona B e il tasto [-]. La Per impostare il promemoria accendere il funzione rimane attiva ad ogni riaccensione piano cottura e premere simultaneamente i dell’apparecchio. tasti [+] e [-] per attivare il display del Timer. Per disattivare il blocco di Sicurezza Agire sui tasti [+] e [-] entro 10 secondi per bambini in modo permanente, premere regolare il tempo.
- Page 9 cottura frammenti di fogli di alluminio e materiale plastico scioltisi inavvertitamente o residui di zucchero o di cibi ad elevato contenuto di zucchero. In questo modo si evita ogni possibile danno alla superficie del piano. In nessun caso si devono utilizzare spugnette abrasive o detergenti chimici irritanti quali spray per forno o smacchiatori.
-
Page 10: Risoluzione Dei Problemi
RISOLUZIONE DEI PROBLEMI Problema Possibile causa Soluzione Non è possibile attivare Il piano di cottura non è Accertarsi che il piano di cottura sia il piano di cottura o collegato a una fonte di collegato correttamente alla rete elettrica. Fare riferimento al capitolo “collegamento metterlo in funzione. - Page 11 English Care should be taken to avoid touching heating elements. • WARNING: Unattended cooking on a hob Carefully read the contents of this leaflet since with fat or oil can be dangerous and may it provides important instructions regarding result in fire. NEVER try to extinguish a fire safety of installation, use and maintenance.
-
Page 12: Induction Cooking
to be encased on a work surface, the way it Advantages: is illustrated in the graph (Fig.1). Predispose - The transference of power takes place sealing material (Fig.2) along the whole only when the recipient is placed on the perimeter (for dimensions of the cut see cooking zone. -
Page 13: Power Management
(see “Technical specifications” chapter) changes will be saved. USING THE COOKTOP • TOUCH CONTROL The appliance is operated using the control panel sensor keys. Functions are controlled by touching the sensor keys and confirmed by displays and acoustic signals. Touch the sensor keys from above, without covering other sensor keys. - Page 14 number ranging from «1» to «9». Press the zone heat level will automatically go back to [+] key to increase the heat level, press the level «9». To activate this program, switch on [-] key to decrease it. the cooking zone B or B and press the [+] key until you reach level «9»...
-
Page 15: Power Level
to «99» (99 minutes), by pressing the [+] with all the cooking zones off. and [-] keys. Wait 10 seconds for the activate this function press automatic confirmation of the settings. The simoultaneously the Zone Selection B time countdown will be shown on the timer Key and the [-] key, then again the Zone display. -
Page 16: Disposal Of Old Electrical Appliances
cloth/paper, then rinse with water and dry separately in order to optimise the recovery with a clean cloth. and recycling of the materials they contain Using the special scraper immediately and reduce the impact on human health and remove any fragments of aluminium and the environment. - Page 17 TROUBLESHOOTING Problem Possible cause Remedy You cannot activate appliance Check if the appliance is correctly connected operate connected to an electrical to the electrical supply. Refer to “Electrical appliance. supply or it is connected connection” chapter. incorrectly. The fuse is released. Make sure that the fuse is the cause of the malfunction.
- Page 20 Barazza srl 31025 Sarano di S.Lucia di Piave (TV) ITALIA Via Risorgimento, 14 info@barazzasrl.it www.barazzasrl.it...


Need help?
Do you have a question about the 1PIDG84N and is the answer not in the manual?
Questions and answers