Advertisement
Table of Contents
GAS
RA
50
PRODUCT MEETS
INDUSTRY STANDARDS
RECOGNIZED BY
PARTICIPATING MEMBER
Instruction Manual
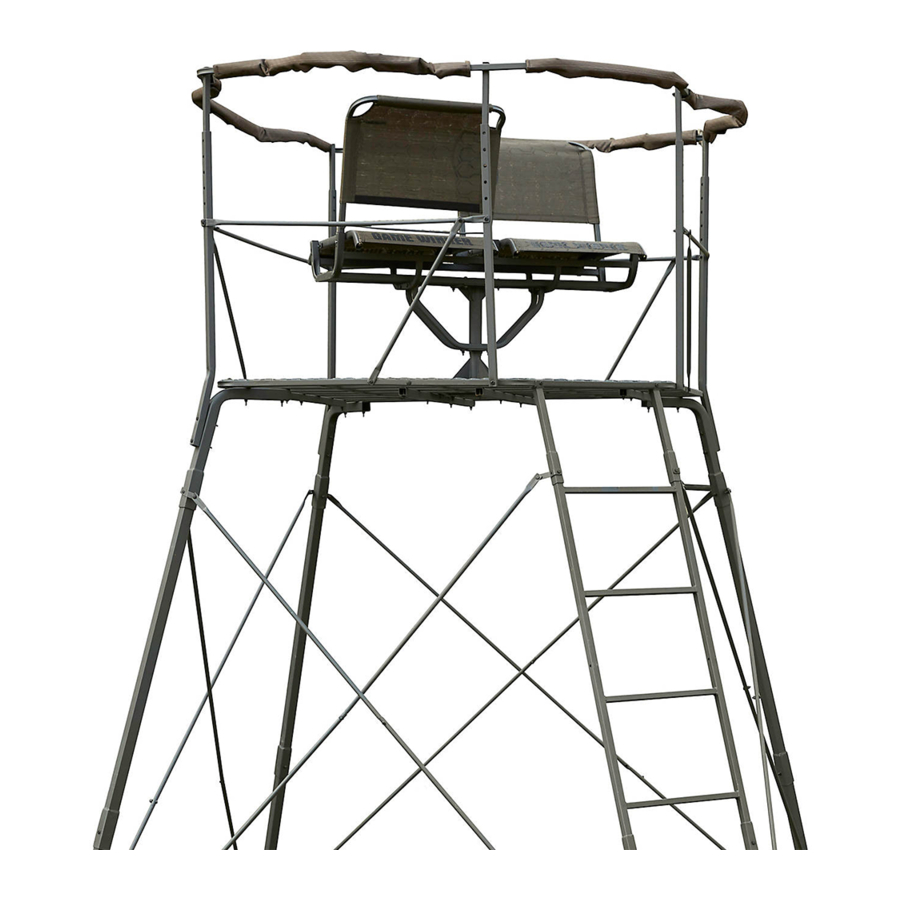
QUAD-POD 2.0 ACCESSORY KIT
MODEL #: PL701GW
STYLE #: 159105
For parts call our Customer Service Center at 800-450-3343
Business Hours: 8:00 am to 5:00 pm CST | info@huntriversedge.com
© 2019 RETI All Rights Reserved | 32348 REV3: 03/12/19
Advertisement
Table of Contents

Related Manuals for Game Winner PL701GW


Summary of Contents for Game Winner PL701GW
- Page 1 RECOGNIZED BY PARTICIPATING MEMBER Instruction Manual QUAD-POD 2.0 ACCESSORY KIT MODEL #: PL701GW STYLE #: 159105 For parts call our Customer Service Center at 800-450-3343 Business Hours: 8:00 am to 5:00 pm CST | info@huntriversedge.com © 2019 RETI All Rights Reserved | 32348 REV3: 03/12/19...
-
Page 2: Warranty Information
Instruction Manual : QUAD-POD 2.0 ACCESSORY KIT TABLE OF CONTENTS PAGE Warranty Information ..........................................2 Warnings ..............................................3 Parts List ..............................................4 Assembly Instructions ........................................5-7 Note: Before beginning assembly of product, make sure all parts are present. Compare parts list with package and hardware contents. -
Page 3: Warnings
Instruction Manual : QUAD-POD 2.0 ACCESSORY KIT READ AND UNDERSTAND THE FOLLOWING WARNINGS BEFORE ASSEMBLY STOP WARNING WARNING Assemble this accessory kit to Quad-Pod 2.0 tower at When hunting from a treestand falls can occur any time ground level before attaching the legs. after leaving the ground causing injury or death. -
Page 4: Parts List
Instruction Manual : QUAD-POD 2.0 ACCESSORY KIT PARTS LIST Item Part No. Image Description # 32216 SEWN CURTAIN # 32217 SEWN ROOF SPLIT SUPPORT # 32325 POLE SPLIT SUPPORT #32326 POLE WITH POCKET SUPPORT POLE #32327 WITH NO POCKET SUPPORT POLE # 32328 WITH POCKET... -
Page 5: Assembly Instructions
Instruction Manual : QUAD-POD 2.0 ACCESSORY KIT ASSEMBLY INSTRUCTIONS STEP 1 NOTE: Assemble this accessory kit to Game Winner Quad-Pod 2.0 at ground level before attaching legs. 1. Slide the pocket end of the two split support poles with pockets (4) onto the split support pole (3). SEE FIGURE 1. - Page 6 Instruction Manual : QUAD-POD 2.0 ACCESSORY KIT STEP 3 3. Attach the curtain (1) to the quad-pod frame by aligning the zipper to the center of the entry opening. Begin securing it by attaching the top edge by wrapping the hook and loop strips around the shooting rail.
- Page 7 Instruction Manual : QUAD-POD 2.0 ACCESSORY KIT STEP 4 4. Attach the roof (2) to the quad-pod and roof frame by draping it over the top of the assembled frame and adjust until the corners are lined up with the roof poles. SEE FIGURE 4.
- Page 8 *All weights, specifications and features are approximate and are subject to change without notice. Due to continuous product improvements, product images may not be exact. Warning labels in some product images may have been removed for photography purposes only. Props shown in photos not included. Some assembly may be required.
Need help?
Do you have a question about the PL701GW and is the answer not in the manual?
Questions and answers