Advertisement
Quick Links
Please unpack your delivery carefully and inspect the radiator and contents – any
damages or shortages must be notified to your supplier within 3 days of delivery of
your goods.
SPECIFICATIONS FOR VELA ELECTRIC RADIATOR
Power Supply:
Power control type:
Max power:
Insulation class:
Environment protection classification:
Operating temperature:
Storage temperature:
NTC sensor:
Connection type:
Regulation type:
Temperature settings range:
User interface type:
Visualization interface:
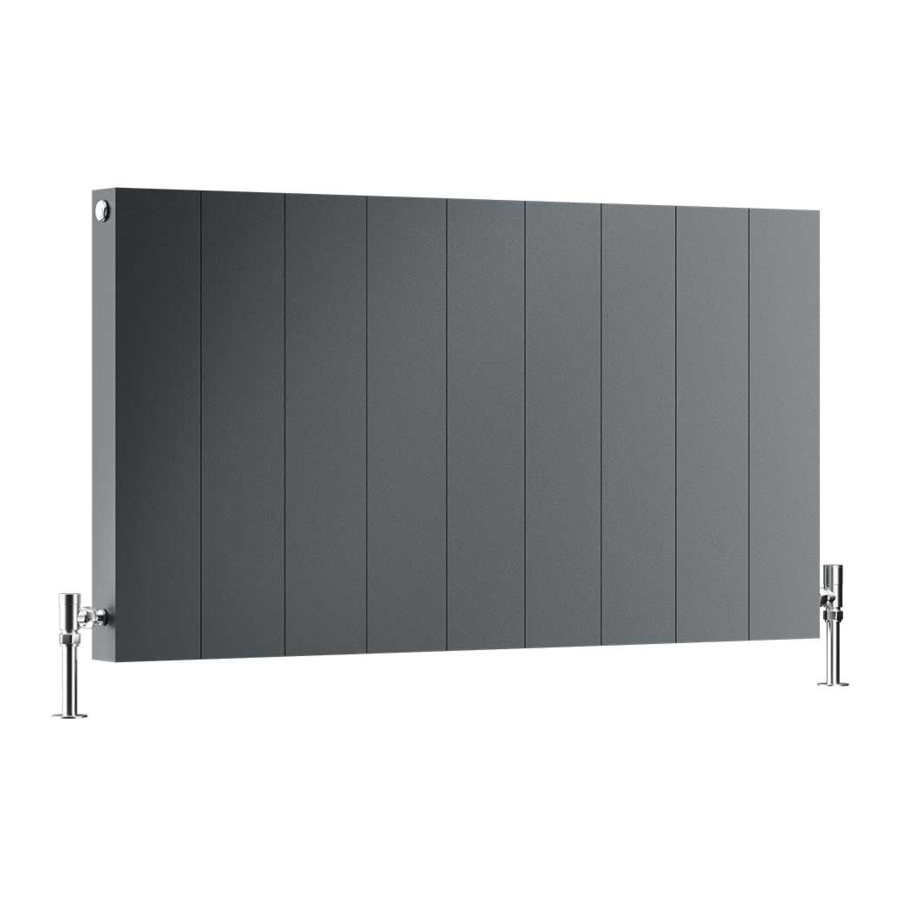
Wall Brackets – Offer up the radiator in the desired position, mark the bracket
positions and fixing holes. The radiator should be placed a minimum of 10cm from
the floor. Using the appropriate drill and fixings attach the brackets to the wall. After
installing the plastic inserts into the hook part of the bracket the radiator can then be
hung from the brackets
Vela Electric Instructions
INSTALLATION and FIXING
230V 50Hz +/-10%
RELAY 10A, TRIAC 10A, TRIAC 4A
2000W total (Relay + TRIAC 1 + TRIAC 2)
Class II
IPX4
0 – 50°C
-20 – 85°C
10KOhm @25°C
2
Screw header 2,5mm
(Relay) Hysteresis +/- 0,5°C – (Triac) PID
7– 31°C
Push-button, potentiometer
STN LCD display, viewing angle 12 o'clock, red back-
light
Advertisement

Related Manuals for DQ Vela Electric


Summary of Contents for DQ Vela Electric
- Page 1 Please unpack your delivery carefully and inspect the radiator and contents – any damages or shortages must be notified to your supplier within 3 days of delivery of your goods. SPECIFICATIONS FOR VELA ELECTRIC RADIATOR Power Supply: 230V 50Hz +/-10%...
- Page 2 USER MANUAL FOR APP AND REMOTE CONTROL...
- Page 3 TECHNICAL DRAWINGS Fig. 1 - Power cable Fig. 2: Bathroom classification VOLUME 3 IPX4 IPX1 Fig: 3 - version 600 mm Frontal view 1000 W 600 W...
- Page 4 1400 W 1034 1800 W Bottom view The drawing refers to the 600 W model. For other dimensions see the table below. DIMENSIONS ELECTRIC POWER NUMBER OF ELEMENTS (mm) 600 w 363x600x70 mm 1000 w 606x600x70 mm 1400 w 849x600x70 mm 1800 w 1092x600x70 mm...
- Page 5 Fig: 3a - version 1800 mm Frontal view Bottom view NUMBER OF ELEMENTS ELECTRIC POWER DIMENSIONS (mm) 1500 w 363x1800x70 mm 2000 w 485x1800x70 mm...
- Page 6 Fig. 4 - Fixing holes Fig. 4a - Fixing holes (direction of the brackets) min. 20 cm The image and proportions of the radiator are indicative/ L'image et les proportions du radiateur sont indicatifs Fig. 5 -Wall brackets Position of the radiator in the bracket Bracket position...
- Page 7 Fig. 6 - SMART thermostat Fig. 7 - Add the radiator Fig. 9 - Mode FIL PILOT Fig. 10 - Mode COMFORT Fig. 8 - Mode STAND BY Fig. 11 - Mode NIGHT Fig. 12 - Antifreeze Fig. 13 - Mode Programme...
- Page 8 Fig. 14 - Boost 2H Fig. 15 Open window detection Fig. 16 - Wi-Fi Fig. 17- Remote control SU RICHIESTA/ON REQUEST...
-
Page 9: How To Use The Thermostat
HOW TO USE THE THERMOSTAT [Fig. 6] The thermostat has two buttons: 1) CONNECTION: to connect a smartphone or a remote control; [Fig. 6a] 2) STAND-BY (Stand by or comfort 20 ° C). [Fig. 6b] OPERATING MODES: Stand-by, Fil Pilot, Comfort, Night, Antifreeze, Programmable Thermostat, BOOST 2H, ECO, detection of open windows, ASC. - Page 10 FUNCTIONS The following functions can only be managed via an application or the remote control. [Page 14] [Fig. 8] 1. STAND-BY In STAND-BY mode, the radiator does not heat up. [Fig. 9] 2. MODE FIL PILOTE FIL PILOT is a special communication protocol that allows the radiator to be managed by a special control unit.
- Page 11 [Fig. 14] 7. BOOST 2H This mode can be used to heat the environment quickly. The device is delivered on full power for 2 hours with a temperature set at 30 ° C. BOOST 2H mode it is configured to stop automatically after a period of 2 hours and return to operating mode previously defined.
-
Page 12: Remote Control
WI-FI MODULE To activate the Wi-Fi module and control the domestic radiators remotely, proceed as following: 1) Go to the Wi-Fi area of the application [Fig. 16a]; 2)Select ADD WI-FI [Fig. 17b]; 3)Select ADD THERMOSTAT NOT YET CONNECTED TO THE HOME NETWORK [Fig. 16c]; 4) Activate the Wi-Fi of the smartphone / tablet;... -
Page 13: Troubleshooting
TROUBLESHOOTING Problème Cause possible Solution Check operation of the A low temperature is radiator by adjusting set, or is very close to comfort mode to a the room temperature temperature of 25°C. The radiator does not Check that the bottom heat up of the radiator is not The temperature... - Page 14 PAIRING USING THE REMOTE CONTROL The SMART thermostat is equipped with two buttons: the Stand-by button and the connection button. Press the ON / Stand-by button to turn on the device or activate the “Stand-by” mode. When the unit is ON, the setting mode and temperature are displayed. FIRST USE AND PAIRING WITH THE REMOTE CONTROL When no device is paired, the remote display will show the word “Conn”...
- Page 15 SPECIFICATION OF FUNCTIONS WITH THE REMOTE CONTROL Please note: all of the following operations are related to the remote control Press the ON / Stand-by button to turn on the device or activate the “Stand-by” mode. When the unit is active, the setting mode and temperature are displayed.
- Page 16 CHRONO MODE - PROGRAMMATION a) Set the current day and time - Activate the "Stand-by" mode and press the [Chrono] key for more than 3 seconds. - The screen will display the words: "Time"; - Press the [Prog] key to enter the mode; - Set the current year with the [+] and [-] keys;...
- Page 17 - To set the programmable time sequence for "Chrono" mode, press the [+] key until the words Pr8 or Pr9 (Programming) appear on the screen. - Press the [Prog] key to enter the mode. - You can now set a timeline for each day of the week. - From day 1, select the desired sequence with the [+] and [-] keys to select, for each hour, between the "comfort"...
-
Page 18: Terms And Conditions
TERMS AND CONDITIONS You must immediately remove all packaging, inspect the goods and notify us of any damage to the goods within 3 days of delivery. We shall have no obligation to replace or repair damaged goods in the event of failure by the Buyer to comply with this provision.
Need help?
Do you have a question about the Vela Electric and is the answer not in the manual?
Questions and answers