Table of Contents
Advertisement
Quick Links
Please unpack your delivery carefully and inspect the radiator and contents –
any damages or shortages must be notified to your supplier within 3 days of
delivery of your goods.
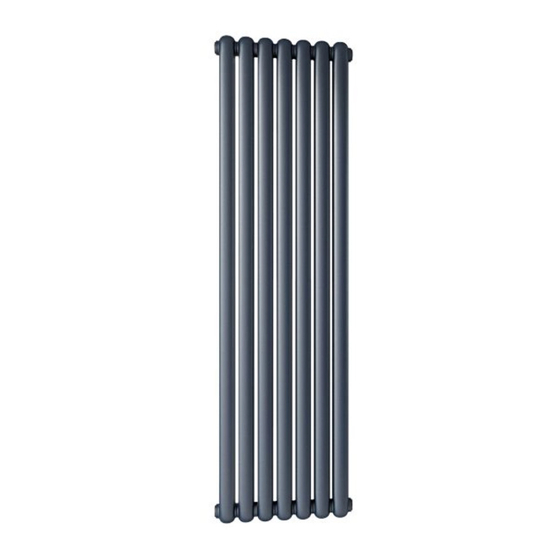
SPECIFICATIONS FOR CASSIUS VERTICAL
PLEASE NOTE: That in accordance with Part L1 2006 of the Building Regulations and BS7593:1992 code of practice for the
treatment of hot water and central heating systems, we recommend flushing the heating system before installation of new
radiators and then adding the correct quantity and type of inhibitor for use with the radiator and system to prevent corrosion.
Damage caused to systems not protected by a suitable inhibitor will not be covered by the manufacturer warranty. It is the
responsibility of the installer to ensure the correct use and suitability of the fixings provided. No liability for costs or damages
arising from failure to do so can be accepted.
Cassius Vertical Radiator Fixing Instructions
Materials
Connections
Test Pressure
Testing Authority
Max operation pressure
Max working temperature 95c
These can be cleaned using a soft damp cloth
with a non-abrasive cleaning product.
Mild Steel
½ "Flow and Return
8 Bar
EN442
4 Bar
Advertisement
Table of Contents

Related Manuals for DQ Cassius


Summary of Contents for DQ Cassius
- Page 1 Cassius Vertical Radiator Fixing Instructions Please unpack your delivery carefully and inspect the radiator and contents – any damages or shortages must be notified to your supplier within 3 days of delivery of your goods. SPECIFICATIONS FOR CASSIUS VERTICAL Materials...
-
Page 3: Technical Data
1. Follow installation instructions carefully to ensure unit is properly attached to the wall. 2. To avoid a possible fire hazard, it is essential unit is mounted in accordance with guidelines stated in the instruction. 3. Radiator is intended for indoor use only, do not place radiator inside a shower, CAUTION steam room, or wherever unit would be exposed to water. -
Page 4: Before Installation
IMPORTANT CHILD SAFETY NOTE Important: Please note that you are 100% legally responsible for your own child’s safety at home. Once the radiator is installed, it can become a hazard for children as a) This radiator is not designed to support unreasonable extra weight, such as that of a child, and b) The radiator becomes hot during use. - Page 5 Position the towel rail in desired location check for level and mark four equal positions for the brackets.
- Page 6 Drill holes in wall and insert wall plugs. N.B For false or studded walls different fixings can be purchased from your local DIY store. Fix the wall brackets to the wall with screws provided and ensure a secure holding.
- Page 7 Wrap PTFE tape around blanking plug and bleeder valve and screw into top of radiator tighten with a spanner. Apply PTFE tape to valves and screw into bottom of radiator tighten with a spanner. Rest radiator onto brackets and connect valves to household supply.
-
Page 8: Installation Procedure
INSTALLATION PROCEDURE... -
Page 9: After Installation
AFTER INSTALLATION Use a screwdriver to open the air vent, open the valve and let the water rush into the radiator. Check all connection for leaks. Once water overflows from the air vent, there is no air in the tube. Use a screwdriver to close the air vent, turn on the valve and the radiator is ready for use. - Page 10 TERMS AND CONDITIONS You must immediately remove all packaging, inspect the goods and notify us of any damage to the goods within 3 days of delivery. We shall have no obligation to replace or repair damaged goods in the event of failure by the Buyer to comply with this provision. Radiators which are off an unacceptable standard or are damaged must not be installed.
Need help?
Do you have a question about the Cassius and is the answer not in the manual?
Questions and answers