Advertisement
Quick Links
Advertisement

Related Manuals for KHS Extended 2.0


Summary of Contents for KHS Extended 2.0
- Page 2 ■...
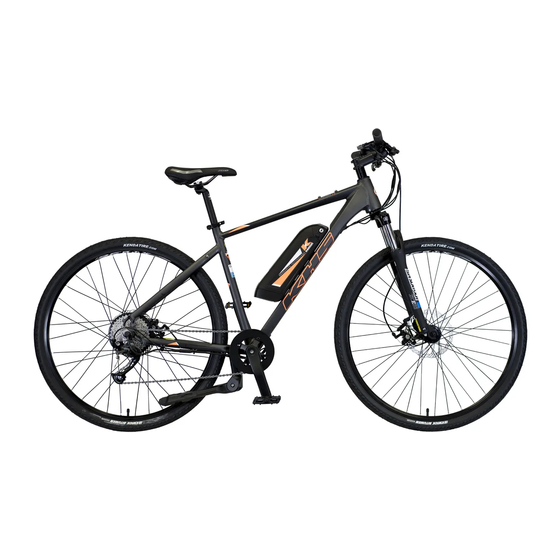
- Page 3 BATTERY PACK REMOVAL INSTRUCTIONS ■ To remove the battery pack, we recommend that you stand on the left side to the frame. (Standing on the left side of the bike gives you more leverage) Turn the battery key counter-clockwise. Hold the battery pack with your right hand, and prepare your left hand to catch the battery pack. Push the battery out to the left.
- Page 4 BATTERY PACK INSTALLATION INSTRUCTIONS To install the battery pack, w e recommend that you should stand on the left side to the bike. Hold the battery pack with both hands, line up the connector socket on the bottom, and push the battery pack to the right bracket completely.
- Page 5 CHARGING THE BATTERY & CAPACITY DISPLAY ■ Charging Please confirm that the battery and the charger are both rated 48V. Plug the charge output into the battery charge input Charger connect to AC power source. Household 110V ~ 220V socket is USB port.
- Page 6 CHARGING THE BATTERY & CAPACITY DISPLAY LED indicator Red light indicates charging. Green light indicates fully charged. If after 8 hours of charging and the LED indicator is still Red, the charging seems abnormal. Please stop the charging and report to supplier for service. Charger LED indicator ■...
-
Page 7: Power Button
POWER BUTTON This battery is equipped with a power button. Turning the Battery ON Simply press the power button to turn the battery ON. The battery must be on in order for the bicycle electrical control system (LCD dashboard, page 8) to ■... -
Page 8: Battery Storage
"calendar fade". Performance also deteriorates with usage and this is known as "cycle fade". Follow these instructions to help extend the battery life and performance. Model Battery Charger Model / Battery / Charger Chart Easy 24 36(42)V Envoy 200 48(54)V Extended 2.0 48(54)V... -
Page 9: Lcd Operation
LCD OPERATION L CD OPERATION: On & Off Push for 1 second Push for 2 seconds LCD dashboard content description Power output and battery level indicators section (1) POWER output indicator: Each cell means 2A (current) of output (2) BATTERY level indicator: When the battery is empty, all six cells are blank and red light will flash. - Page 10 LCD OPERATION Power Assistance Level Indicator Section Push to increase power assistance level (0.1.2.3.4.5) Push to decrease power assistance level (5.4.3.2.1.0) Speed Indicator Selection : MPH vs. KM/H Push simultaneously for 2 seconds to change the speed unit between Miles Per Hour (MPH) and Kilometers Per Hour (KM/H).
- Page 11 LCD OPERATION Additional Information Section button briefly each time will cycle through Push the following functions: Screen cycles through the information modes automatically Odometer recorded by the system since the manual reset Time since the system was turned on Distance traveled since system was turned on Max Speed since system was turned on * NOTE 1: Distance and speed units will depend on the selected MPH or KM/H unit in the Speed Indicator section.
-
Page 12: Walking Mode
LCD OPERATION Throttle Push the throttle lever. The bike can start without pedaling. Walking Mode 3.8MPH (6Km/H) Press on control panel button for 2 seconds to start the walking mode. Button must be held to continue walking mode. Releasing the button will immediately stop the walking mode. - Page 13 LCD OPERATION If shows up, there is an error. The indicated numeric codes are defined as follows: Error Definition Solution(s) code Voltage too low Charge battery, or replace. 48V is under 42V // 36V is under 32V 1. Check the brake to make sure it’s not stuck. Brake is stuck or shorted 2.
- Page 14 LCD OPERATION Controller temperature Power off and wait until the temperature decrease back to normal about 10 minutes. exceeds 158ºF (70ºC) 1. Is the connection between motor and controller loose or broken? Motor Hall is abnormal 2. Motor requires repair. 1.
- Page 15 NOTES...
- Page 16 KHS, Inc. 2840 E. Harcourt St. Rancho Dominguez, CA 90221 USA Tel: 310-632-7173, Press '2' khsbicycles.com...
Need help?
Do you have a question about the Extended 2.0 and is the answer not in the manual?
Questions and answers