Do you have a question about the Advantage 6000 Series and is the answer not in the manual?
Questions and answers
Steve Bogatz state of South Dakota Human services center
February 3, 2025
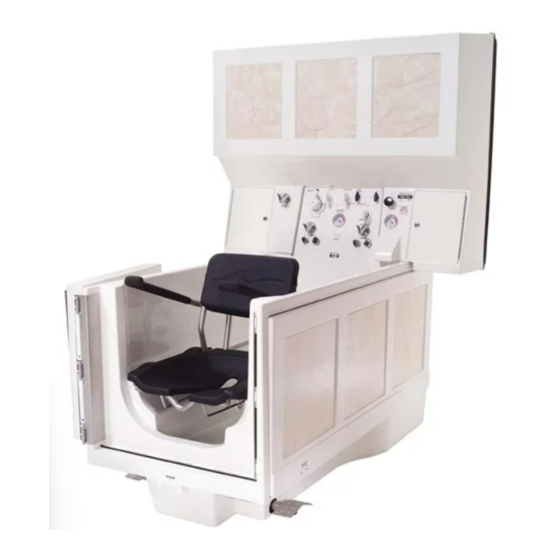
with nothing running we have water running back through the jet pump
1 comments:
Mr. Anderson
February 10, 2025
The Apollo Advantage 6000 Series bathing system includes built-in backflow prevention. However, due to variations in plumbing codes, additional backflow prevention valves (such as RPZ valves) may be required. If water is running back through the jet pump when nothing is running, it could indicate an issue with the backflow prevention system or improper installation. It is advisable to check with the installer to determine if additional backflow prevention measures are needed.


Need help?
Do you have a question about the Advantage 6000 Series and is the answer not in the manual?
Questions and answers
with nothing running we have water running back through the jet pump
The Apollo Advantage 6000 Series bathing system includes built-in backflow prevention. However, due to variations in plumbing codes, additional backflow prevention valves (such as RPZ valves) may be required. If water is running back through the jet pump when nothing is running, it could indicate an issue with the backflow prevention system or improper installation. It is advisable to check with the installer to determine if additional backflow prevention measures are needed.
This answer is automatically generated