Advertisement
Quick Links
Thank you for purchasing our Studio Designs, Inc.
Gracias por comprar nuestro mueble Studio Designs, Inc.
Merci d'avoir acheté un meuble Studio Designs, Inc.
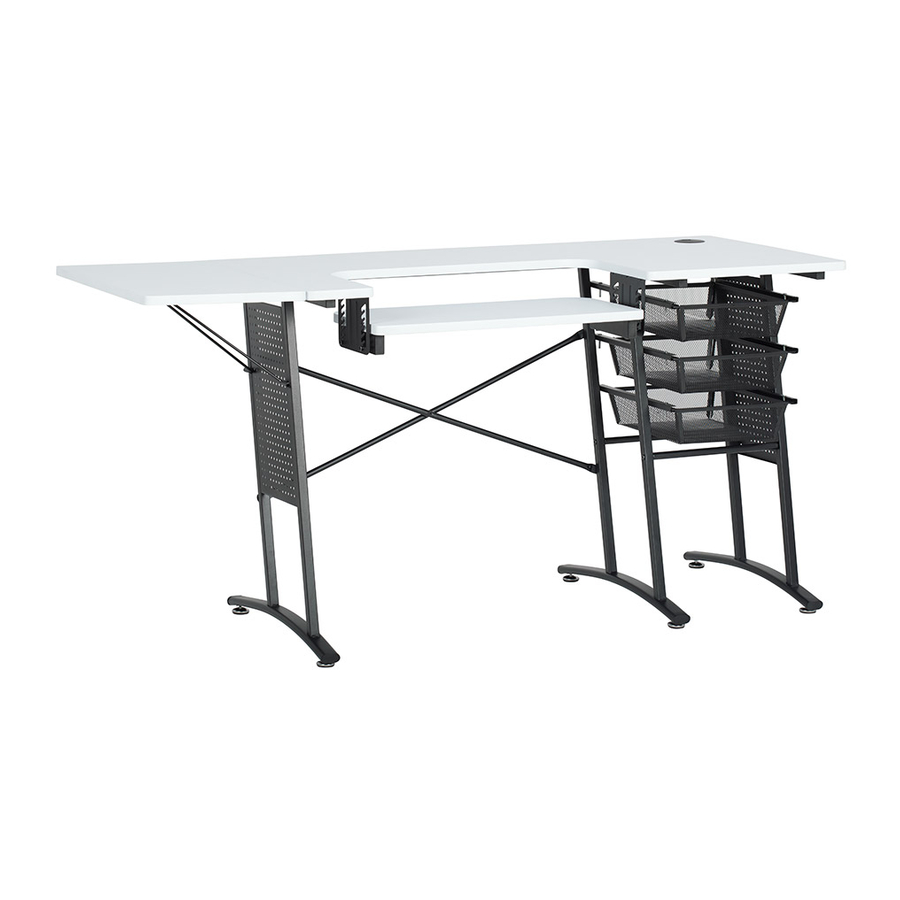
SEW MASTER TABLE
#13383 Charcoal/White • Carbón/Blanco • Charbon/Blanc
#13384 White/Dark Gray • Blanco/Gris Oscuro • Blanc/Gris Foncé
Office: 562.942.0492
Product Support Line: 866.942.0492
www.studiodesigns.com
Rev. 11.13.2018
Advertisement

Related Manuals for Studio Designs SewReady 13383


Summary of Contents for Studio Designs SewReady 13383
- Page 1 Thank you for purchasing our Studio Designs, Inc. Gracias por comprar nuestro mueble Studio Designs, Inc. Merci d’avoir acheté un meuble Studio Designs, Inc. SEW MASTER TABLE #13383 Charcoal/White • Carbón/Blanco • Charbon/Blanc #13384 White/Dark Gray • Blanco/Gris Oscuro • Blanc/Gris Foncé...
- Page 2 ASSEMBLY INSTRUCTIONS - IMPORTANT: Carefully unpack and identify each component before attempting to assemble. Refer to parts list. Please take care when assembling the unit and always set the parts on a clean, soft surface. Do not use power tools to assemble.
- Page 3 PARTS LIST / LISTA DE PARTES / LISTE DES PIÈCES DÈTACHÉES DESCRIPTION / DESCRIPCIÓN / DESCRIPTION QTY / CANT/ QTÉ PICTURE / DIBUJO / IMAGE 1. Left Leg Pata Izquierda Jambe Gauche 2. Center Leg Pata Central Jambe Centrale 3. Right Leg Pata Derecha Jambe Droite 4.
- Page 4 PARTS LIST / LISTA DE PARTES / LISTE DES PIÈCES DÈTACHÉES DESCRIPTION / DESCRIPCIÓN / DESCRIPTION QTY / CANT/ QTÉ PICTURE / DIBUJO / IMAGE 10. Platform Bar Barra para Plataforma Barre pour Plate-forme 11. Pin Clavija Goujon 12. Short Tube Tubo Corto Tube Court 13.
- Page 5 PARTS LIST / LISTA DE PARTES / LISTE DES PIÈCES DÈTACHÉES DESCRIPTION / DESCRIPCIÓN / DESCRIPTION QTY / CANT/ QTÉ PICTURE / DIBUJO / IMAGE 19. Allen Bolt – 1/4" x 1/2" Perno Allen – 6mm x 12mm Boulon Allen – 6mm x 12mm 20.
- Page 6 Pin on Hinge (16) faces up - see arrow. Clavija en la Bisagra (16) da hacia arriba - vea la flecha. Goujon dans le Charnière (16) vers le haut - voir le flèche. Sew Master Table...
- Page 7 Please note the direction of slots in Left and Right Brackets (8 and 9). Tenga en cuenta la dirección de las ranuras en el Soporte Izquierdo y Derecho (8 y 9). Notez la direction des fentes dans les Supports Gauche et Droit (8 et 9). Holes in Bars (10) must be located near the top, and face out - see arrows.
- Page 8 Do not fully tighten any Bolt. No apriete completamente nungun Perno. Ne serrez pas complètement aucun Boulon. Sew Master Table...
- Page 9 Do not fully tighten any Bolt. No apriete completamente nungun Perno. Ne serrez pas complètement aucun Boulon. Sew Master Table...
- Page 10 Do not fully tighten any Bolt. No apriete completamente nungun Perno. Ne serrez pas complètement aucun Boulon. Sew Master Table p.10...
- Page 11 Fully tighten all the Bolts from steps 3-6. Apriete completamente todos los Pernos de pasos 3-6. Serrer complètement tous les Boulons des étapes 3-6. Sew Master Table p.11...
- Page 12 Caution: Use two people. Precaución: Use dos personas. Précaution: Utilisez deux personnes. Screw Bolts (20) evenly. Tighten to lock in place, loosen to adjust platform. Atornille Pernos (20) uniformemente. Apriete Squeeze together and insert into holes, para fijar su posición, afloje then push the end into Plastic Clip.
- Page 13 Slide one Drawer (13) into bottom rails, then insert two Pins (11) into front holes to lock. Deslice una Gaveta (13) en los rieles inferiores, luego inserte dos Clavijas (11) en los agujeros delanteros para bloquear. Glisser un Tiroir (13) dans les rails inférieures, puis insérez deux Goujons (11) dans les trous avant pour verrouiller.
- Page 14 Slide one Drawer (13) into middle rails, then insert four Pins (11) into holes to lock. Repeat for top Drawer. Deslice una Gaveta (13) en los rieles centrales, luego inserte cuatro Clavijas (11) en los agujeros para bloquear. Repita para la Gaveta superior. Glisser un Tiroir (13) dans les rails centraux, puis insérez quatre Goujons (11) dans les trous pour verrouiller.
-
Page 15: Limited Warranty
GARANTIE LIMITÉE Studio Designs (la « Compagnie ») garantit à l’acheteur original que ce produit sera exempt de tout défaut de fabrication et matériel s’il est utilisé à la maison et dans des conditions d’exploitation normales, tel que décrit à la présente. La Compagnie réparera ou remplacera, à...
Need help?
Do you have a question about the SewReady 13383 and is the answer not in the manual?
Questions and answers