Table of Contents
Advertisement
Quick Links
g g lobalindustrial.ca
Distribucion Industrial Globales S DE RL
DE CF
Assembly Instructions
Instrucciones de Ensambla
aje
Dir
ectives d'assemblage
Customer Service
Servicio de atención al Clien
nte
Service à la clientèle
México: 01.800.681.6940
Canada: 888-645-2986
US: 1-800-645-2986
Electric
Blower He
eater
Industrial DC Ceiling Fan
Models:293047 293048 293049
Models: 653561 653560 6535
559
653558 653562 246067
Wall Mount Models: 653566 653567 653568
653569 246068
READ & SAVE
THESE
INSTRUCTIO
ONS
READ & SAVE THESE
INSTRUCTIONS
1
050117
Advertisement
Table of Contents

Related Manuals for Global 293047


Summary of Contents for Global 293047
- Page 1 Service à la clientèle México: 01.800.681.6940 Canada: 888-645-2986 US: 1-800-645-2986 Electric Blower He eater Industrial DC Ceiling Fan Models:293047 293048 293049 Models: 653561 653560 6535 653558 653562 246067 Wall Mount Models: 653566 653567 653568 653569 246068 READ & SAVE THESE INSTRUCTIO READ &...
-
Page 2: General Safety Instructions
-The cells shall be disposed of properly, including keeping them away from children. -Even used cells may cause injury. SPECIFICATION Model 293047 293048 293049 Size(inch) Voltage(V) Frequency(Hz) Wattage(W) 47.5 47.5... -
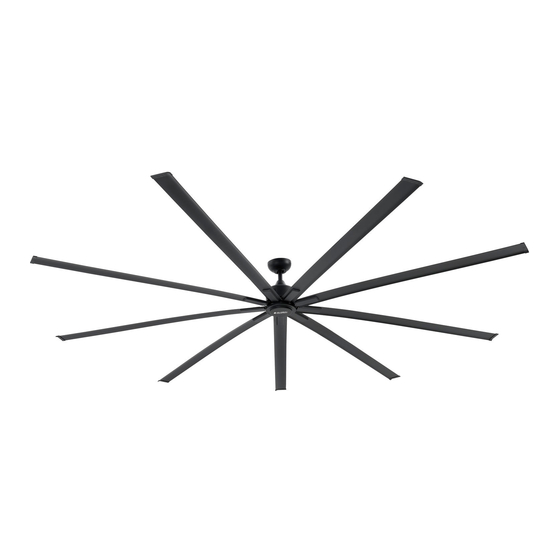
Page 3: Parts Of The Fan
User’s Manual Industrial DC Ceiling Fan PARTS OF THE FAN DESCRIPTION Mounting Bracket Downrod/Ball Joint Assembly Canopy Canopy Cover Downrod Cover Motor Assembly Fan Blade Holder Fan Blade Fan Blade Cap Fan Blade Screw Cover Bottom Cover... - Page 4 +Ф5.5xФ25xT1.5 Lock Washer(For cUL Only) Mounting Pin M5x10mm Long Screw Cotter Pin 1/4-20x3/8” Long Screw Ф6 Lock Washer M4x6mm Long Screw Ф4 Plain Washer Ф5 Lock Washer M5x8mm Long Screw Remote and Remote Bracket Battery Dimensions(inch) Model 293047 425mm 293048 425mm 293049 425mm...
-
Page 5: Installation Instructions
User’s Manual Industrial DC Ceiling Fan INSTALLATION INSTRUCTIONS To avoid possible electrical shock, be sure electricity is turned off at the main fuse box before hanging. (Figure 1) NOTE: If you are not sure if the outlet box is grounded, contact a licensed electrician for advice, as it must be grounded for safe operation. - Page 6 User’s Manual Industrial DC Ceiling Fan 2. Install the fan blade holder to the motor assembly with (H8) Ф6 lock washers and (H7)1/4-20x3/8”long screws. 3. Install the fan assembly to the mount bracket as shown below: Route wires and safety cable through downrod cover, canopy cover and ceiling canopy.
- Page 7 User’s Manual Industrial DC Ceiling Fan 4. Install the fan assembly to the mount bracket as shown below. Stopper of mounting bracket Rotate till notch on the ball joint catches the stopper on the mounting bracket. 5. Connect wires to supply/grounding wires using connectors as shown below. Attach the safety cable with (H3) 3/16 * 1-1/2 inch wood screw +Ф5.5xФ25xT1.5 lock washer to the ceiling .
- Page 8 User’s Manual Industrial DC Ceiling Fan 6. Remove the two screws from the mount bracket. Assemble the canopy by tighten the screws. Securely attach and tighten the canopy cover. Rotate canopy until lock pin of mounting bracket is engaged with canopy, then tighten the screws till the keyhole is locked.
-
Page 9: Remote Control
User’s Manual Industrial DC Ceiling Fan 9. Assemble the fan blade to the fan blade holder with (H5) M5x10mm long screw and (H11) Ф5 lock washer. Repeat this step for all 9 fan blades. 10. Rotate the bottom cover to the fan assembly until tighten. How To Insert Battery Remote Control Button... - Page 10 "B" sound and finished the pairing process in less than 20 seconds. For model 293047, the fan will response the remote by three "B" sound and then start automatically, indicating successful activation of the following pairing and fine tuning process 3 & 4.
-
Page 11: Troubleshooting
User’s Manual HVLS BLDC Fan TROUBLESHOOTING If you have difficulty operating your new ceiling fan, it may be the result of incorrect assembly, installation, or wiring. In some cases, these installation errors may be mistaken for defects. If you experience any problems, please check the following trouble shooting guide. If a solution to the problem cannot be found, please consult with a licensed electrician.
Need help?
Do you have a question about the 293047 and is the answer not in the manual?
Questions and answers