Advertisement
Advertisement
Table of Contents

Subscribe to Our Youtube Channel
Related Manuals for Markibar IZAGA KEY


Summary of Contents for Markibar IZAGA KEY
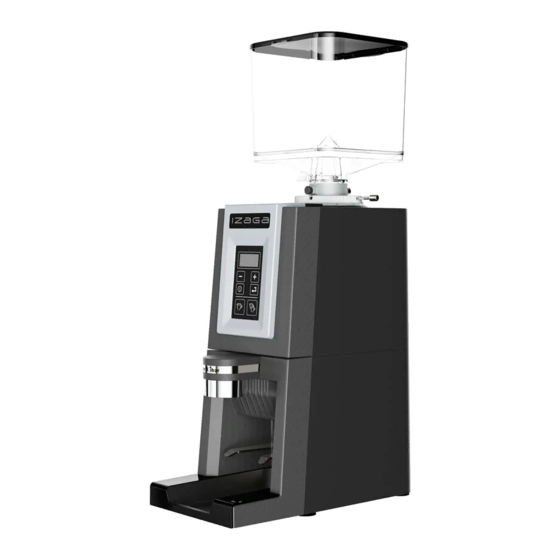
- Page 1 USER MANUAL IZAGA KEY...
- Page 2 In the case of a malfunction, contact the manufacturer or the store where you bought the grinder. Markibar reserves the right to add any future improvements it deems appropriate as the result of the company's continuing research.
- Page 3 Página nº 2 de 25 INDEX 1.- Safety instructions. 2.- Technical information. 3.- Description. 4.- Safety features of the grinder. 5.- Installation and set up. 6.- Display. 7.- Problem solving. 8.- Cleaning. 9.- Maintenance. 10.- Declaration of conformity. 11.- Warranty conditions. 12.- Appendix I.
-
Page 4: Safety Instructions
Página nº 3 de 25 1.- Safety instructions. Please read and pay close attention to the following safety instructions. The failure to follow these instructions may result in a malfunction or damage to the machine. 1.1- Symbols. 1.1-1. Safety instructions. Risk of an accident if this note is not followed. -
Page 5: Using The Grinder
Página nº 4 de 25 For best results, the maximum operating cycle should not exceed 5 seconds of grinding and 10 seconds of stoppage. After 30 minutes of continuous operation, allow the motor to cool before using it again. ... -
Page 6: Technical Information
Página nº 5 de 25 2.- Technical information. CHARACTERISTICS DATA VOLTAGE / FREQUENCY 230 V 50 Hz RATED POWER 525 W ROTATION 1350 rpm OVERLOAD FUSE 10 A, Type T Maximum permitted operating time 50 % on, 50% off HEIGHT H 640 mm WIDTH W1/W2 180 mm... - Page 7 Página nº 6 de 25 3.- Description. 1.- Bean hopper 11.- Power supply and fuse. 12.- Cleaning access. 2.- Hopper closing device. A.- Display. 3.- Grinding adjustment lock. B.- Minus key “–“. 4.- Hopper fixing device. C.- Plus key “+”. 5.- Grinding adjustment lever.
-
Page 8: Safety Devices
Página nº 7 de 25 4.- Safety devices. The grinder motor is protected by a thermal safety device that cuts off the electricity to the motor if it becomes overheated. This device is automatically reset when the machine cools. The user cannot perform any operation on this device. If the device is repeatedly activated, please consult our Technical Assistance Service, as the motor may be damaged. - Page 9 Página nº 8 de 25 Place the hopper as shown in the picture, press down till the blocking device (Pos 4) enters the hole (R) in the hopper neck. For compliance with safety requirements, tighten the hopper fixing screw (T) using a 5mm allen wrench.
- Page 10 Página nº 9 de 25 To connect the grinder to the power supply, proceed as follows: - The grinder's electrical connection must be properly protected by current limiting circuit breakers, a differential switch and a ground connection, according to current safety regulations. - Make sure that the voltage and frequency of your establishment match those indicated on the grinder's rating plate.
- Page 11 Página nº 10 de 25 5.3.- Basic settings. 5.3.1.- Grinding fineness setting. The grinder is adjusted in the factory to be used with espresso coffee. It simply needs a bit of fine tuning to adapt it to the characteristics of the coffee used in your establishment.
- Page 12 Página nº 11 de 25 Brew more coffee for additional tests, repeating the steps above until achieving optimal results in the cup. Around the handle of the grinding adjustment there is a scale and a dial to note the settings. For easier use, once the grinding is adjusted you can attach the sticker provided along with the set of accessories, matching the...
- Page 13 Página nº 12 de 25 5.3.2.- Coffee dosage setting. The grinder is set at the factory for a grinding time of 1.8 seconds for 1 cup of coffee and 3.1 seconds for 2 cups of coffee. If the dose obtained is not what you want in your coffee machine, modify the dose as follows: - Press the 1 cup key (Pos.
- Page 14 Página nº 13 de 25 For the system to work, a tag or identifier must be fixed to the 2-cup filter-holder: the grinder distinguishes between a filter-holder with this tag (and provides the dose for two cups of coffee) and filter-holder without tag (for which it provides the dose for one cups of coffee), with no need for any action on the part of the operator.
- Page 15 Página nº 14 de 25 6.- Counter. The IZAGA grinder has a display system that will show the number of coffees (both 1-cup and 2-cup) that have been prepared so far at any time. To use this function, proceed as follows. Press the Programming key “...
- Page 16 Página nº 15 de 25 Optional reset of the counters: Delete? By pressing the programming key it is possible to set the partial counters to zero: Delete? ->NO YES Select an option using +/- keys and confirm the option pressing the Programming key.
-
Page 17: Problem Solving
Página nº 16 de 25 7.- Problem solving. PROBLEMA CAUSA SOLUCION The grinder is off. Display differential switch Reset installation's is off. current limiting circuit breaker protective device. has been tripped. The electrical cord is Plug the electrical cord into the connected. -
Page 18: Cleaning The Bean Hopper
Página nº 17 de 25 8.- Cleaning. Before proceeding to clean any grinder parts, disconnect from the power supply by unplugging the electrical cord from the back of the grinder. 8.1.- Cleaning the bean hopper Close the inlet hopper and loosen the screw (T) that attaches the hopper to the grinder (See the illustration). -
Page 19: Maintenance
Página nº 18 de 25 Tighten with a 5 mm allen wrench the screw (T) at the back of the grinder that blocks the hopper in place. 8.1.- Outer cleaning of the grinder. Clean with a damp cloth. Do not use detergents, abrasive products, alcohols or solvents. -
Page 20: Ce Declaration Of Conformity
Página nº 19 de 25 10.- CE Declaration of Conformity. THE UNDERSIGNED: MARKIBAR INNOVACION S.L.L. Pol. Ind. Noain-Esquiroz. c/G n.24 31191 ESQUIROZ (Navarra) SPAIN HEREBY DECLARES UNDER HIS/HER OWN RESPONSIBILITY AS THE MANUFACTURER AG4 GRINDER THAT THE PRODUCT: THE SUBJECT OF THIS DECLARATION, COMPLIES WITH DIRECTIVES:... -
Page 21: Warranty Conditions
Página nº 20 de 25 11.- Warranty conditions This grinder has a 1-year warranty period, valid from the date of purchase. The Warranty covers any defects due to the malfunctioning of original materials or defective assembly. Equipment will be repaired or replaced free of charge, except for transport or shipping costs. - Page 22 Página nº 21 de 25 The following information is permanently printed on your grinder's rating plate:...
- Page 23 Página nº 22 de 25 12.- Appendix I: Filter-holder identification. As explained in section 5.3.3, the grinder has several filter-holder identification systems, which can be set by your Service Technicians. The most useful among them is the Filter-holder Detection system. Using this patented system the grinder distinguishes between a filter-holder for two cups of coffee and filter-holders for one cup, without any action on the part of the operator.
- Page 24 Página nº 23 de 25 3.- The grinders are already configured to detect the presence of the tag. The el display will sow this message: If not, ask your Service Technician to program the grinder in automatic selection mode. When the grinder detects the presence of the Tag supplies two coffees, otherwise one coffee dose.
- Page 25 Página nº 24 de 25 27G400020 USER MANUAL IZAGA.
Need help?
Do you have a question about the IZAGA KEY and is the answer not in the manual?
Questions and answers