Advertisement
Quick Links
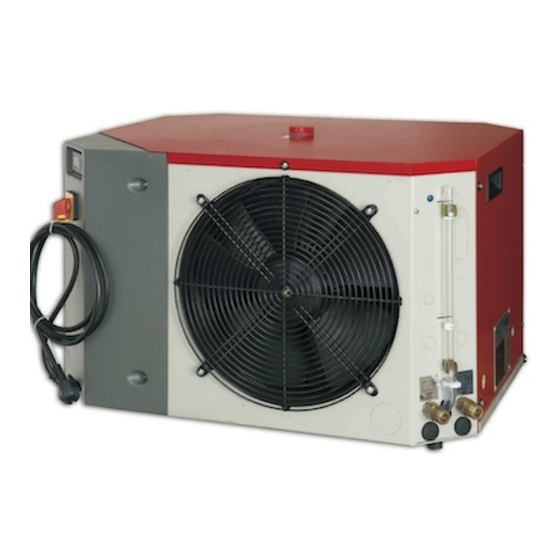
Picture guide
Chilly
Start-up of chillers type
230V / single phase
Important notes:
The following picture guide is additional information to the official instruction manual and does
not replace it. The instructions in the manual are to be considered before this document.
Electrical and water installation and the start-up should be done by qualified personnel
Advertisement

Related Manuals for KREYER Chilly


Summary of Contents for KREYER Chilly
- Page 1 Picture guide Chilly Start-up of chillers type 230V / single phase Important notes: The following picture guide is additional information to the official instruction manual and does not replace it. The instructions in the manual are to be considered before this document.
- Page 2 The following guide includes pictures to show you the step-for-step installation and start-up of your new Chilly to help you get started fast and easy. Pic.1: Your new CHILLY would be delivered secured on a pallet with protective foil and safety bands, eventually in carton packaging.
- Page 3 Instruction Manual Pic.2: When unpacking the Chilly, you will find its official . This Manual pertains to your specific unit by means of its Serial Number. The electrical diagram in this manual pertains to your unit. Unit Serial Number appears on the name plate attached to it (8 digit number).
- Page 4 Pic. 5: Add ‘food-safe’ grade glycol (anti-frost protection) to the water. The concentration of the Glycol in the total quantity of water in your system depends on the water temperatures you want to set your Chilly to produce, and the instructions from the Glycol manufacturer. Typically, you need to have about 25% - 30% of Glycol part in the total quantity of water in your system.
- Page 5 Pic. 7 + 8: Connection of the systems water pipes/hoses to the chiller. At this point the valves are closed and pointing upwards (see arrow direction). _________________________________________________________________________________________ Kreyer – Picture guide to installation and start-up Chilly (page 5 of 18) v.11-2015...
- Page 6 Please check the pressure capacity of the unit pump. Please ensure that all components in your water system are compatible with the maximum pump pressure. If _________________________________________________________________________________________ Kreyer – Picture guide to installation and start-up Chilly (page 6 of 18) v.11-2015...
- Page 7 (e.g. bypass-valve) in your water system. Pump capacity and further information are inside the unit manual. _________________________________________________________________________________________ Kreyer – Picture guide to installation and start-up Chilly (page 7 of 18) v.11-2015...
- Page 8 Optional: Overflow protection kit The unit CHILLY is working as an open water system. Water users (e.g. tanks) should be installed on the same level as the chiller or below to avoid an overflow of the chillers buffer tank when the unit/pump is off.
- Page 9 Insert the solenoid connection cable in one of the free cable inlets at the side of the chiller (see green arrows -> remove one of the pre-cut openings + install a screwed cable gland) and lead it through to the control cabinet: _________________________________________________________________________________________ Kreyer – Picture guide to installation and start-up Chilly (page 9 of 18) v.11-2015...
- Page 10 Please check and compare volage on name plate with your local voltage – if not correlating please contact your supplier! - End of the optional overflow protection kit - _________________________________________________________________________________________ Kreyer – Picture guide to installation and start-up Chilly (page 10 of 18) v.11-2015...
- Page 11 Pic. 11 + 12: Take the plug and connect it to your power supply. Note: Chilly units are used in many countries. It can happen that your unit comes with a plug which is not the standard in your country. You may need to replace the plug on the unit to your local type.
- Page 12 NOTE: Please close the lid of the Chilly unit when you have finished the installation. The unit should operate when the lid is closed for proper transfer of cold air from the fan into the condenser. Keep lid closed while the unit is in operation! By open lid, the air sucked into the unit is drawn from the warm ambience all around the unit, and not only through the fan which cools it properly on the way to the condenser.
- Page 13 Pic.15 (left): Adjusting the Set-Temperature ( this picture is in Celsius degrees, in the next page and in the official manual you will find how to change your unit to show F° Fahrenheit degrees) Pic. 16 (right): Chiller displaying the actual temperature _________________________________________________________________________________________ Kreyer – Picture guide to installation and start-up Chilly (page 13 of 18) v.11-2015...
- Page 14 _________________________________________________________________________________________ Kreyer – Picture guide to installation and start-up Chilly (page 14 of 18) v.11-2015...
- Page 15 Instructions to adjust the regulator PJ Easy Parameter to change temperature from °C to °F (regulator PJ Easy): _________________________________________________________________________________________ Kreyer – Picture guide to installation and start-up Chilly (page 15 of 18) v.11-2015...
- Page 16 Optional: regulator ELIWELL ST 120 _________________________________________________________________________________________ Kreyer – Picture guide to installation and start-up Chilly (page 16 of 18) v.11-2015...
- Page 17 Afterwards close the casing of the pressure switch and close the open cover panel of the unit _________________________________________________________________________________________ Kreyer – Picture guide to installation and start-up Chilly (page 17 of 18) v.11-2015...
- Page 18 Your Chilly is now ready to cool your tanks! If you have Chilly 400V / 3 phase – (Chilly 350, Chilly 450) – Please check the unit manual for the correct electrical connection. In case of technical questions or problems please always indicate the machine...
Need help?
Do you have a question about the Chilly and is the answer not in the manual?
Questions and answers