Sign In
Upload
Download
Table of Contents
Contents
Add to my manuals
Delete from my manuals
Share
URL of this page:
HTML Link:
Bookmark this page
Add
Manual will be automatically added to "My Manuals"
Print this page
×
Bookmark added
×
Added to my manuals
Manuals
Brands
Jovision Manuals
Network Hardware
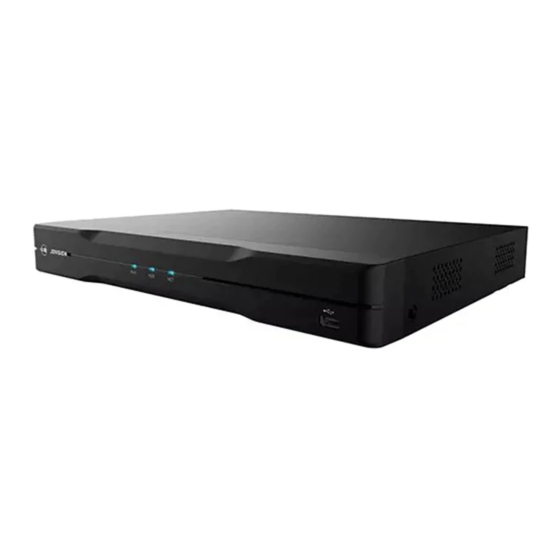
JVS-ND6604-DZ
User manual
Jovision JVS-ND6604-DZ User Manual
Hide thumbs
1
2
3
4
Table Of Contents
5
6
7
8
9
10
11
12
13
14
15
16
17
18
19
20
21
22
23
24
25
26
27
28
29
30
31
32
33
34
35
36
37
38
page
of
38
Go
/
38
Contents
Table of Contents
Bookmarks
Table of Contents
Statement
Open Source Software License
Important Safeguards and Warnings
Table of Contents
1 Hardware Installation and Connection
HDD Installation
Front Panel and Rear Panel
Connection Sample
2 Interface Instruction
Menus
Live-View Icon
3 Startup and Power off
Boot up
Login
Power off
4 NVR System Configuration
Channel
Stream
Display
Audio
Image
Privacy Mask
Ptz
Camera
Recording and Playback
Recording
Playback
Alarm
Motion
Video Loss
IPC Alarm Input
Pre-Record
Alarm Input
Storage
Disk
Backup
Image Backup
Record Backup
Network Setup
Tcp/Ip
Cloudsee
Ddns
Email
System
General
Date & Time
User
Features
Information
Maintenance
Remote Channel
Log
System
Realtime Rate
Iva
Action Analysis
Exception Alarm
Statistics
Video Detection
5 Remote Connection
Vms-6100
Cloudsee Int'l APP
6 Appendix
Advertisement
Quick Links
1
Login
Download this manual
Network Video Recorder
User Manual
Copyright©2020 Jovision Technology Co., Ltd.
All rights reserved.
https://www.jovisionsecurity.com/
Table of
Contents
Previous
Page
Next
Page
1
2
3
4
5
Advertisement
Table of Contents
Need help?
Do you have a question about the JVS-ND6604-DZ and is the answer not in the manual?
Ask a question
Questions and answers
Subscribe to Our Youtube Channel
Related Manuals for Jovision JVS-ND6604-DZ
Network Hardware Jovision JVS-XD2808-HD12V User Manual
(38 pages)
This manual is also suitable for:
Jvs-nd6608-dz
Jvs-xd2808-hd12v
Jvs-nd7932-dv
Jvs-nd6016-d2-r3
Table of Contents
Save PDF
Print
Rename the bookmark
Delete bookmark?
Delete from my manuals?
Login
Sign In
OR
Sign in with Facebook
Sign in with Google
Upload manual
Upload from disk
Upload from URL


Need help?
Do you have a question about the JVS-ND6604-DZ and is the answer not in the manual?
Questions and answers