Advertisement
Quick Links
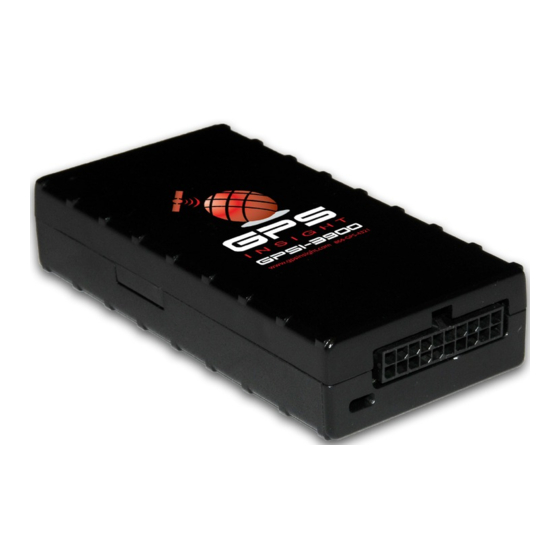
Accessory: GPSI-3900 Driver ID
Link: https://help.gpsinsight.com/installation-guide/gpsi-3900-driver-id/ Last Updated: March 24th, 2017
The installation kit contains one iButton Reader, one plastic washer, one metal locking washer, four butt
connectors, two key fobs, and one buzzer, or one light. Additional tools and supplies you need include one drill,
one 10 mm. drill bit, one 13 mm. drill bit (light), wire strippers, a crimping tool, electrical tape, and zip-ties.
Installation Overview
The following steps provide an overview of the installation process:
1.
Determine the mounting location
2.
Prep the mounting location
3.
Assemble iButton Reader and run wires to device
4.
Connect iButton Reader to device
5.
Install Driver Notification System
6.
Verify installation and reassemble dash
Installation Steps
1. Determine the mounting location.
Before you begin, it is important that you sit in the driver's seat to determine a suitable mounting
location. The iButton Reader and light (if applicable) should be visible and easy to reach from the driver's
seat.
2. Prep the mounting location.
1.
Carefully pull back the dash panel where the Driver ID kit is being installed.
2.
Next, confirm the area directly behind the mounting location is clear of any interference so there
are no issues reassembling the dash with the iReader installed.
Copyright ©2021 GPS Insight
Page 1 of 9
Advertisement

Related Manuals for GPS Insight GPSI-3900


Summary of Contents for GPS Insight GPSI-3900
- Page 1 Accessory: GPSI-3900 Driver ID Link: https://help.gpsinsight.com/installation-guide/gpsi-3900-driver-id/ Last Updated: March 24th, 2017 The installation kit contains one iButton Reader, one plastic washer, one metal locking washer, four butt connectors, two key fobs, and one buzzer, or one light. Additional tools and supplies you need include one drill, one 10 mm.
- Page 2 Accessory: GPSI-3900 Driver ID Link: https://help.gpsinsight.com/installation-guide/gpsi-3900-driver-id/ Last Updated: March 24th, 2017 3. Assemble iButton Reader and run wires to device. Once confirmed, drill a 10 mm. hole into the determined mounting location. Feed the iButton Reader wires through the hole from the front of the dash to the back.
- Page 3 Accessory: GPSI-3900 Driver ID Link: https://help.gpsinsight.com/installation-guide/gpsi-3900-driver-id/ Last Updated: March 24th, 2017 Strip the ends of both iButton Reader wires. From the 20-pin harness, strip a small portion of the white wire with a blue stripe (pin 17), and the solid black wire (pin 16).
- Page 4 Accessory: GPSI-3900 Driver ID Link: https://help.gpsinsight.com/installation-guide/gpsi-3900-driver-id/ Last Updated: March 24th, 2017 Using a butt connector, secure the light’s red wire with the lowermost AUX 2 red wire on one end. Connect the the other half of the AUX 2 red wire to the opposite end of the butt connector.
- Page 5 Accessory: GPSI-3900 Driver ID Link: https://help.gpsinsight.com/installation-guide/gpsi-3900-driver-id/ Last Updated: March 24th, 2017 Using a butt connector, secure the light’s solid black wire to the end of the 20-pin’s solid yellow wire (pin 11). Secure any loose wiring with electrical tape and zip-ties.
- Page 6 Accessory: GPSI-3900 Driver ID Link: https://help.gpsinsight.com/installation-guide/gpsi-3900-driver-id/ Last Updated: March 24th, 2017 To install the driver notification buzzer… Locate the solid red wire in the AUX 2 bundle, and cut the wire in half. Strip both ends of the solid red AUX 2 wire and the buzzer’s solid red wire.
- Page 7 Accessory: GPSI-3900 Driver ID Link: https://help.gpsinsight.com/installation-guide/gpsi-3900-driver-id/ Last Updated: March 24th, 2017 Using a butt connector, secure the buzzer’s solid black wire to the solid yellow wire on the 20-pin harness. Secure the buzzer to the wiring harness using a zip tie.
- Page 8 Accessory: GPSI-3900 Driver ID Link: https://help.gpsinsight.com/installation-guide/gpsi-3900-driver-id/ Last Updated: March 24th, 2017 6. Complete device installation and verify operation. You have completed the optional add-on installation; you may continue with your installation according to the appropriate GPSI-3900 Installation Guide. Note. During the installation verification process, you will be required to test this add-on, so please make sure you have one of the two iButtons available for the Driver ID testing.
- Page 9 Accessory: GPSI-3900 Driver ID Link: https://help.gpsinsight.com/installation-guide/gpsi-3900-driver-id/ Last Updated: March 24th, 2017 Copyright ©2021 GPS Insight Page 9 of 9...
Need help?
Do you have a question about the GPSI-3900 and is the answer not in the manual?
Questions and answers