Advertisement
Quick Links
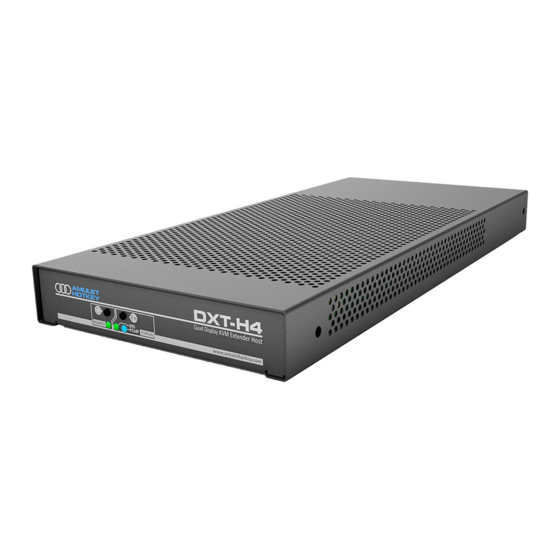
DXT-H4
Quad Display KVM Extender Host
Quick Start Guide
The Amulet Hotkey DXT-H4 is a quad-display KVM Extender Host. The
DXT-H4 uses PCoIP® for secure and high-performance remote access for any
workstation, laptop, closed system or legacy PC. The DXT-H4 sends data to a
remote zero client using a LAN/WAN. Almost any computer with USB and digital
video can be integrated into a mission-critical, PCoIP remote-desktop solution.
You will need
DXT-H4 quad-display KVM Extender Host (RJ45 or SFP variant);
ƒ
power supply with separate mains lead;
ƒ
cables for video/audio/USB (available separately in 1 m and 2.8 m sets);
ƒ
(optional) SFP module, available separately. See the SFP Modules
ƒ
datasheet or contact Technical Support to discuss compatible modules.
Front panel features
Figure 1:
Front panel of the DXT-H4
1. Power button. 2. Function button. 3. Power status LED. 4. SYS status LED.
5. PCoIP status LED.
Rear panel features
Figure 2:
Rear panel of the DXT-H4 (SFP model shown)
1. Video inputs (4). 2. Audio In/Out 3. Network connection. 4. Function button (as
on front). 5. Network and status LEDs. 6. USB type B port. 7. Power inlet.
Figure 3:
A DXT-H4 (1) with video(2), USB(3) and audio(4) connections to a host workstation(5). The LAN/WAN(6) connection links to a remote PCoIP zero client.
www.amulethotkey.com
Preparation
1
Connect the DXT-H4 to the host computer
1
2
3
4
5
Connect the DXT-H4 to your network
1
2
DHCP or static IP assignment
If your network uses DHCP, the DXT-H4 obtains its IP address from the DHCP
server. If no DHCP server is available, the DXT-H4 times out after three minutes
and adopts its default IP address of 192.168.1.100.
5
1
If possible, restart the host to make sure all updates are complete.
!
Caution:
Switch off the power outlet before connecting the power supply.
For each video cable, push the DisplayPort connector into the host PC
GPU(s) and the mini DisplayPort connector into the socket on the DXT-H4
rear panel (1).
For the USB cable, push the USB Type A plug into the host PC and the USB
Type B plug into the DXT-H4 rear panel (6).
Push the green and blue connectors at one end of the audio cable into the
matching green and blue sockets on the DXT-H4 rear panel (2).
Push the green and blue connectors at the other end of the audio cable
into the matching green (OUT) and blue (IN) sockets on the host PC audio
panel. See also
Figure
3.
Connect the power supply to the socket on the DXT-H4 rear panel (7).
Note: For best performance, isolate the PCoIP connection from normal network traffic.
If used, push the SFP module into the network port on the rear panel (3).
See the SFP Modules datasheet for a list of compatible modules.
Connect the network cable from the network port (3) to your LAN/WAN.
!
Caution:
Change the default IP address as soon as possible.
4
2
(see
Figure
2)
(see
Figure
2)
6
3
QS-THA4-1110 v2.0 August 2020
Advertisement

Related Manuals for Amulet Hotkey DXT-H4


Summary of Contents for Amulet Hotkey DXT-H4
- Page 1 Caution: Change the default IP address as soon as possible. Figure 3: A DXT-H4 (1) with video(2), USB(3) and audio(4) connections to a host workstation(5). The LAN/WAN(6) connection links to a remote PCoIP zero client. www.amulethotkey.com QS-THA4-1110 v2.0 August 2020...
- Page 2 PC-over-IP, PCoIP and the PCoIP logo are registered trademarks of Teradici Corp. Amulet Hotkey and ‘solutions you can bank on’ are registered trademarks of Amulet Hotkey Ltd. Other product names and company names listed within this document may be trade- marks of their respective owners.
Need help?
Do you have a question about the DXT-H4 and is the answer not in the manual?
Questions and answers