
Related Manuals for Blizzard Storm100BTDP


Summary of Contents for Blizzard Storm100BTDP
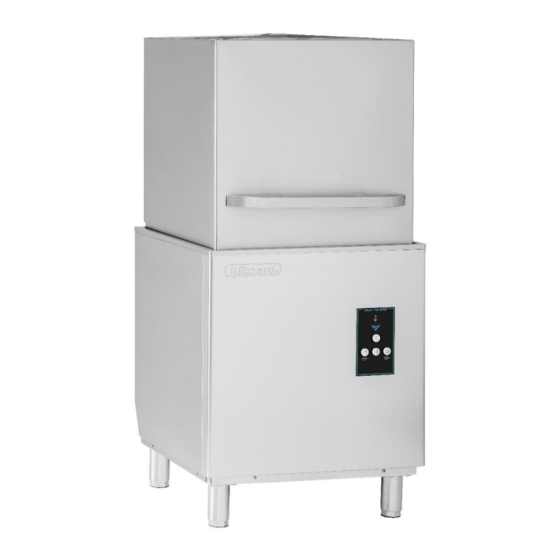
- Page 1 Storm Hood Dishwasher User Manual Read these instructions carefully before using your Glasswasher, and care for it properly. If you follow the instructions, your dishwasher will provide you with many years of good service.
- Page 2 Fig1: Dimensions (mm) Storm 100BTDP...
- Page 3 Fig6 230V 1N Fig8 400V 3N...
- Page 4 Temperature Fig. 7 satisfied indicator. Control Panel: Illuminates when at full temperature Cycle buttons illuminate to indicate which cycle is running. Flashing indicates secondary switch function is operational. On/Off switch, press and Press and hold for 3 seconds release to start switches the power On / a medium cycle Off.
-
Page 5: General Information And Warnings
2. GENERAL INFORMATION AND WARNINGS This manual has been created to help you understand the operation, installation and maintenance of the machine. It contains all the necessary information and warnings to ensure that the appliance is installed used correctly, together with information about the characteristics and possibilities offered, so that you enjoy your machine to the full. -
Page 6: Product Details
Water supply consumption Sound Power Temp Power per cycle (Ltr) Temp (Ltr) (°C) Level (Ltr/Cyc) (°C) 230V 12000 50Hz Storm100BTDP 4500 65dBA 400V 12000 50Hz 3.1 Specific Characteristics Wash Cycles Detergent Cold Wash Capacity Model Rinse Thermostop Length Rinseaid (Baskets/hr) -
Page 7: Installation Instructions
4.3.1 Electrical specifications of the installation Net Weight Model Supply Voltage Max Electrical power(KW) Amp (A) (Kg) Storm100BTDP 230V 1N 50/60Hz 12.2 Storm100BTDP 400V 3N 50/60Hz 12.2 29.1... -
Page 8: Hydraulic Connection
4.3.2 Voltage Configuration of the machine The voltage configuration of the machine is stipulated on the nameplate (400V 3N~50Hz/60Hz). This configuration can be changed to 230V 1N, see fig6 and fig8. Authorised personnel only to change this configuration. 4.4 Hydraulic connection The new hoses supplied with the appliance should be used (do not reuse old hoses). - Page 9 Fig. 4. Drainage installation. 6 Fig. 5. Installation of drainage at a height using drainage pump. The drainage pump must only be installed by personnel authorised by the manufacturer, and the manufacturer does not accept liability in the event of incorrect installation.
-
Page 10: Switching On The Machine
5.1.2 Switching on the machine Before switching on the machine, check the following: The mains switch must be on. The water stop cock must be open. There must be water in the mains network. The corresponding filters must be in place. The overflow should be mounted in place. -
Page 11: Maintenance
5.1.8 Continuous wash cycle The machine you have purchased has a continuous wash cycle so that heavily soiled items can be washed for a longer period. To activate the constant wash cycle, press and hold the long cycle button for 5 seconds, switch off or open the hood slightly to stop the cycle 5.1.9 Drainage of the machine The dishwashers have two types of drainage: gravity drainage or using a drainage pump. -
Page 12: Faults, Alarms And Breakdowns
5.2.2 Rinse aid and detergent If you change the rinse aid or detergent, the settings should be adjusted accordingly. This adjustment must be carried out by qualified personnel. Only use detergents suitable for industrial dishwashers. Do not use foam-producing detergents. Detergents designed for domestic use should not be used under any circumstances. - Page 13 FAULT POSSIBLE CAUSE SOLUTION There is no power supply. Check MCB/switches and isolators are switched on The machine does The fuses have blown Call technician to analyse reason for failure not come on. On/off switch problem Press and hold for 3 seconds the on/off switch Water entrance valve closed.
- Page 14 6.1 Errors shown in display Error Indication Reason code ON/OFF LED lights up for 0.5 s and turns off Door or hood is open for 2 seconds, repeatedly. ON/OFF LED lights up twice for 0.5 s each Incorrect water level. Stipulated fill time time and turns off for 2 seconds, repeatedly exceeded.
Need help?
Do you have a question about the Storm100BTDP and is the answer not in the manual?
Questions and answers