Table of Contents

Related Manuals for Elinchrom Rotalux


Summary of Contents for Elinchrom Rotalux
- Page 1 USER MANUAL P.02 GEBRAUCHSANLEITUNG P.09 MANUEL D’UTILISATION P.17 MANUALE D’USO P.25 MANUAL DE INSTRUCCIONES P.33 GEBRUIKSAANWIJZING P.41 Rotalux РУКОВОДСТВО ПОЛЬЗОВАТЕЛЯ P.49 安全ガイ ド P.57 用户手册 P.65 Elinchrom SA Rotalux 05.2021...
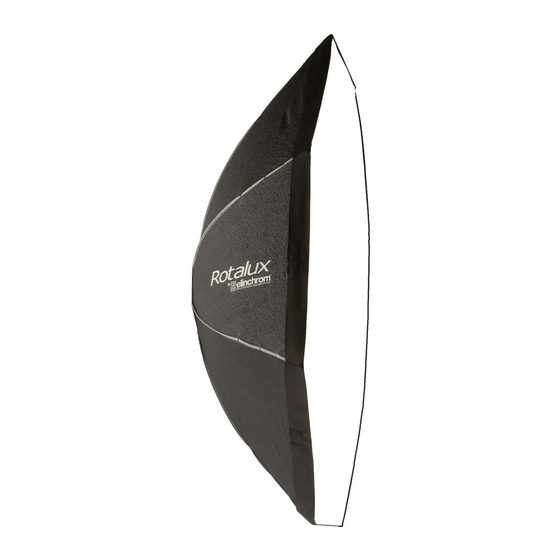
- Page 2 Rotalux Speedring with improved mechanics and extremely lightweight, only 370 g. Improved finish of the Rotalux reflector tissue with grey piping for better light efficiency. 360° revolving system. Folds down like an umbrella, without dismounting the softbox.
- Page 3 Security Advise The maximum modelling lamp wattage for all Rotalux softboxes is limited to 300W. Ensure that the Rotalux is correctly assembled and locked to the flash unit. The unit, the flash tube and accessories may become very hot during and after use! To avoid injuries, handle with isolating cloth or wait until parts have cooled down.
- Page 4 Rotalux Speedring versions with two locking options Some Speedrings offer a second thread (locking option) at the rear side, for the OCF mount, which could be used mainly with Rotalux HD versions with Velcro opening at the Speedring side. Note: Of the two threads, visible on the front and rear side of the ring, only one...
- Page 5 1.FG 1. Assembling the Rotalux Softbox: A) Place the speedring with the locking knob at the top on a firm horizontal surface. B) Pull out each of the rod sockets and move them into the 90° vertical position and release.
- Page 6 The rod sockets return to the previous horizontal position and lock. The reflection fabrics now acquires a concave tent-like curvature. The Rotalux Softbox is now ready to be mounted on the flash unit.
- Page 7 Turn the locking ring clockwise to lock the bayonet with the Rotalux Speedring attached. C) The angle of the Rotalux softbox can be adjusted with the revolving system. Unlock the locking knob of the Speedring and turn the softbox into the desired position.
Need help?
Do you have a question about the Rotalux and is the answer not in the manual?
Questions and answers