Table of Contents
Advertisement
Quick Links
Advertisement
Table of Contents

Related Manuals for Adexa CV4540


Summary of Contents for Adexa CV4540
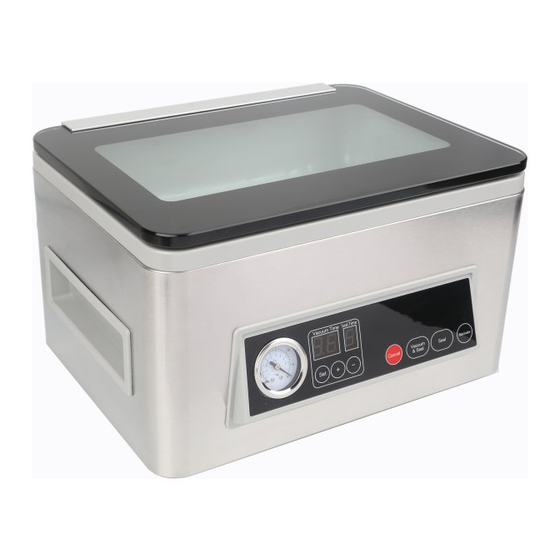
- Page 1 CV4540 VACUUM SEALER INSTRUCTIONS...
-
Page 2: Important Safeguards
IMPORTANT SAFEGUARDS When using this electrical appliance, safety precautions should always be observed, including the following: READ ALL INSTRUCTIONS 1. Carefully read all of the instructions before using this appliance and save for future reference. 2. Before plugging cord into wall outlet, or disconnecting, make sure that the cover of the machine is in unlocked condition, and unplug from outlet when not in use or before cleaning. - Page 3 11. Keep away from hot gas, heated oven, electric burner or any other hot surfaces. Do not use this appliance on wet or hot surface or near a heat source. 12. It’s better not to use an extension cord with this unit. However, if one is used, it must have a rating equal to or exceeding the fating of this appliance.
-
Page 4: Construction And Functions
CAUTION: SAVE THESE INSTRUCTIONS FOR HOUSEHOLD USE ONLY CONSTRUCTION AND FUNCTIONS 1. Vacuum&seal : At stand-by condition, it starts the automatic operation of vacuuming the bag and then automatically seals the bag when vacuum is complete; 2. Cancel: ● At working (vacuuming or sealing operations) condition, it stops the machine. - Page 5 bags immediately so that less vacuum pressure inside the bag can be achieved by the operator to avoid crushing for delicate items. 9.Marinate:W ork on vacuum 60s and no seal. 10.Vacuum Gauge: Represents the vacuum level inside the chamber. 11.Gasket: Keep air away by forming vacuum chamber with gasket.
- Page 6 OPERATING INSTRUCTIONS . Making a bag with bag roll Put out the power cord and plug to the appliance and a wall outlet,Switch turn “ON”,Vacuum screen and seal screen will display working time.Set suitable vacuum and sealing time. 1.Pull out the bag roll and cutter to the suitable length you want.---Fig.1 Fig.1 - 4 -...
-
Page 7: Vacuum Packaging With A Bag
2.Open the cover put one end of the bag on top of the sealing element and make sure that the entire short end is under bag fixer.---Fig.2 Fig.2 3.Pull down the cover and touch “ Seal” button to start make the bag. Lf done the digital tube will go to zero Fig.3 2.Open the cover. - Page 8 Fig.1 3.Check to confirm vacuum and sealing time according to the type of food and bag. 4. Pull down the cover and touch “Vacuum&Sealing” button to start the unit start to vacuum and will seal the bag automatically . If the program is complete.
- Page 9 Fig.3 NOTE: For best sealing effect, it is better to let the appliance cool down ⚫ for 1 minute before using it again. Wipe out any excess liquid or food residue in the vacuum chamber after each bag packaged. The machine can be used continuously. ⚫...
- Page 10 Working on marinate 1.Put the marinade in the bag 2.Lift the handle to open the cover and put the container on chamber. -Fig.1 Fig.1 3.Pull down the cover and touch “Marinate” button to start the unit start to vacuum. indicator LED off if finish one circulation. -Fig.2 Fig.2 4.Repeat step 3 two more.
-
Page 11: Cleaning And Maintenance
Fig.1 2.Touch the AUTO button two second to to start vacuuming– Fig. 2. To ensure there is no air leaking between the cover and the canister, use your hand to push down the cover at the beginning of the vacuuming work. - Page 12 Note: The gaskets around the vacuum chamber should be dried thoroughly before re-assembling, when re-assembling, is careful to prevent any damage, and assemble as original position to ensure no vacuum leaking. Store your vacuum sealing machine: Place the device in a flat, safe place to keep it away from children OPERATING INSTRUCTIONS I.
-
Page 13: General Instruction
extra tight vacuum marinating of food, extra tight packaging vacuum packing; II. Set sealing time Touch the seal“+”and”-” to increase or decrease sealing time. According to the thickness and materials of the bag 、the environment temperature、food type to choose suitable sealing time. Sealing time may refer to the following the sealing time selection table. -
Page 14: Troubleshooting
Always expel more air out of the bag before closing the lid and starting the vacuum pump; Always place the open end of the bag flat and streight on the sealing bar, do not ovelap or wrinkle . large and empty bag needs longer vacuum pumping time; Smaller bag vacuums quicker;... - Page 15 Check if the sealing strip damage or well installed? If damaged, please exchange the sealing strip and make sure it is well installed. Check if the edge of the bag has liquid? If yes, please clean the edge of the bag and try again Check if the vacuuming set is normal? If yes, please reset the vacuuming time set to strong.
-
Page 16: Disposal Of The Device
replacement is not covered under warranty. DISPOSAL OF THE DEVICE PROTECTION OF THE ENVIRONMENT At the end of the life of your product, it should go to a specially adapted waste-recycling centre. ENVIRONMENT PROTECTION FIRST 1. The symbol on the product or on its packaging indicates that this product may not be treated as household waste.
Need help?
Do you have a question about the CV4540 and is the answer not in the manual?
Questions and answers