Advertisement
Table of Contents
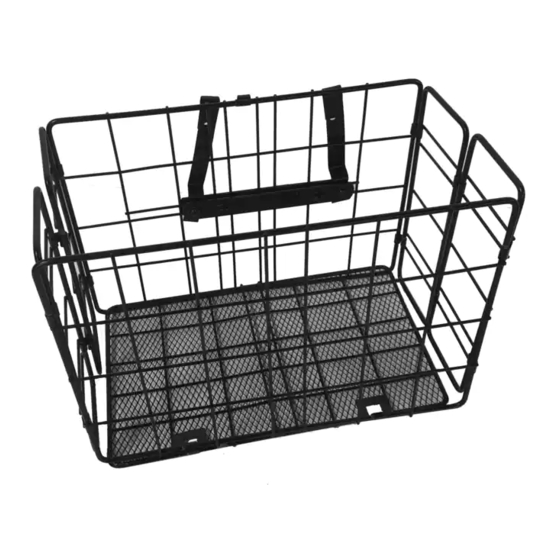
3 IN 1 BASKET MANUAL
Contents:
A x 1
B x 2
C x 6
D x 6
E x 4
F x 2
H x 4
G x 2
I x 1
K x 1
J x 1
L x 1
M x 4
Can be used as a
Front Basket
Front Basket Part A: Large Basket Hook installation for ALL bicycles
Step 1: Place one Support Bracket (H) on the inside of the basket. Then position the Large
Basket Hook (G) outside of the basket, followed by another Support Bracket (Fig1). Place
the Slide Bolt (M) in between the Support Bracket (H) and the Large Basket Hook (G),
secure it loosely using a nut (C) and washer (D). (Fig 2)
Fig. 1
Fig. 2
Advertisement
Table of Contents

Subscribe to Our Youtube Channel
Related Manuals for Everyday 073-0918-4


Summary of Contents for Everyday 073-0918-4
- Page 1 3 IN 1 BASKET MANUAL Contents: A x 1 B x 2 C x 6 D x 6 E x 4 F x 2 H x 4 G x 2 I x 1 K x 1 J x 1 L x 1 M x 4 Can be used as a Front Basket...
- Page 2 Step 2: Take the second Large Basket Hook (G) and tighten it between the two Support Brackets (H) Using (M) (C) and (D) (Fig 3 and 4) Fig. 3 Fig. 4 Step 3: Attach the remaining two Support Brackets (H) to the two Large Basket Hooks (G), positioning them below the first set.
- Page 3 Fig. 9 Fig. 10 Step 6: Loosen the brake assembly front nut enough so that the Basket Support Arm (I) can slide in front of the spacer bolt closest to the frame (Fig 11). Tighten the nut of the front brake assembly, attach the basket to the handlebars using the installed Large Basket Hooks (Steps 1-3), adjusting the height of the Basket Hooks if needed (Fig 6), and let the basket settle onto the Basket Support Arm (I).
- Page 4 Fig. 13 Fig. 14 Rack Top Basket All rear carriers may vary in dimension, please use your own discretion on whether this basket can be securely attached to your rear rack. Step 1: Set the basket on top of the rear rack. Place Support Bracket (H) inside of the bottom panel of the basket position a second Support Bracket (H) underneath the rear rack right below (Fig 15).
Need help?
Do you have a question about the 073-0918-4 and is the answer not in the manual?
Questions and answers