Advertisement
Quick Links
Advertisement

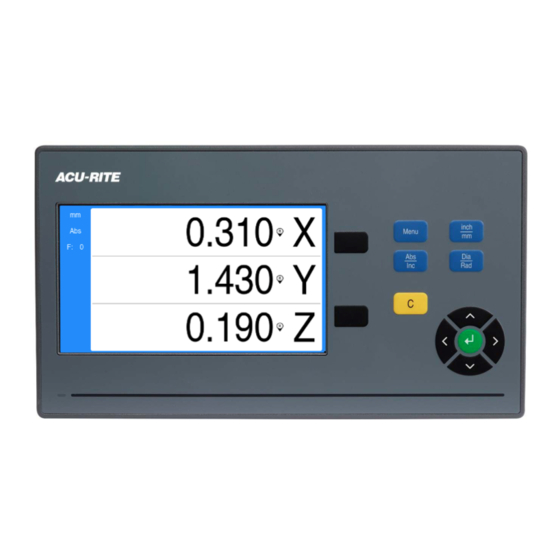
Summary of Contents for ACU-RITE DRO10X
- Page 1 Changing the Count Direction on a DRO10X...
- Page 2 Changing the Count Direction on a DRO10X Note which port the encoder you need to change is plugged into. You will need this information for later.
- Page 3 Changing the Count Direction on a DRO10X Power up the box. When prompted, press any key to continue. The power switch is located on the back, directly under the power cord.
- Page 4 Changing the Count Direction on a DRO10X Reference your encoders by moving each axes so they cross at least 2 reference marks on the glass (~3“).
- Page 5 Changing the Count Direction on a DRO10X Press the Menu button.
- Page 6 Changing the Count Direction on a DRO10X Use the up and down arrow keys to highlight the Installation Setup menu, and then press enter.
- Page 7 Changing the Count Direction on a DRO10X Use the up and down arrow keys to highlight the Encoder Setup menu, and then press the right arrow key.
- Page 8 Changing the Count Direction on a DRO10X Use the up and down arrow keys to highlight the port the encoder you want to change resolution on is plugged into, and then press enter.
- Page 9 Changing the Count Direction on a DRO10X Use the up and down arrow keys to highlight the Count Direction change menu, then press the right arrow key.
- Page 10 Changing the Count Direction on a DRO10X Use the up and down arrow keys to highlight the opposite Count Direction, and then press enter twice.
- Page 11 Changing the Count Direction on a DRO10X Hit the left arrow key three times to get back to the DRO screen. Repeat this sequence for additional encoders as needed.


Need help?
Do you have a question about the DRO10X and is the answer not in the manual?
Questions and answers