Advertisement
Changing optical filter
The description can be used for following products:
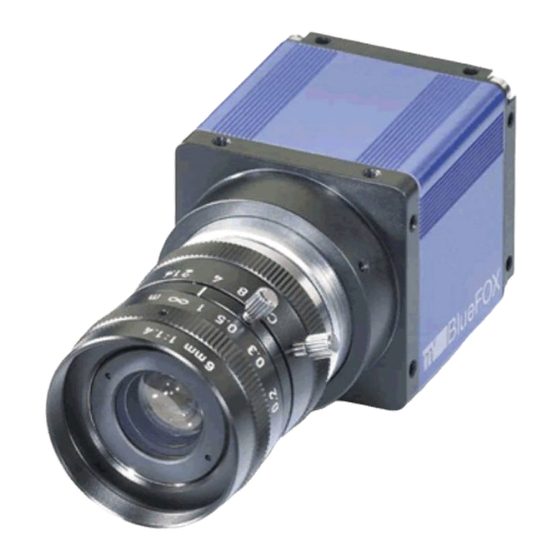
mvBlueCOGARP series
mvBlueFOX series
mvBlueLYNX series
mvBlueLYNXM series
You will need following utilities to change the filter:
pointed forceps
to remove the rubber locking ring
screw driver or similar
to remove the filter frame
allen wrench, 0.9mm
lens
PC with installed driver
Please work under the clean air while changing the filter. Otherwise, dirt on the image
area could be the consequence.
Step 1: Demounting of mount ring nut
For demounting of the mount ring nut, please
1. unfix the 3 set screws on the front plate with the aid of the 0.9mm allen wrench
( in figure 1). Afterwards
1
2. turn the mount ring nut anticlockwise from the front plate (
Step 2: Demounting of filter frame
For demounting of the filter frame
1. turn the filter frame anticlockwise from the front plate ( in figure 1) using a screw
driver or a similar tool. Set the screw driver at the groove of the filter frame.
Step 3: Changing the filter
A rubber locking ring fixes the filter in the filter frame.
1. Remove the rubber locking ring using a pointed forceps ( in figure 1). Afterwards,
2. change the filter ( in figure 1). Finally,
3. fix the rubber locking ring again.
MATRIX VISION GmbH | Talstrasse 16 | DE 71570 Oppenweiler
Telefon: +49719194320 | Fax: +4971919432288 | www.matrixvision.de
Subject to change without notice / Technische Änderungen vorbehalten – 08/2009
5
Mail: info@matrixvision.de
in figure 1).
2
3
4
I
1
Advertisement
Table of Contents

Related Manuals for Matrix Vision mvBlueCOGAR-P Series


Summary of Contents for Matrix Vision mvBlueCOGAR-P Series
- Page 1 Changing optical filter The description can be used for following products: I mvBlueCOGARP series mvBlueFOX series mvBlueLYNX series mvBlueLYNXM series You will need following utilities to change the filter: pointed forceps to remove the rubber locking ring screw driver or similar to remove the filter frame allen wrench, 0.9mm lens PC with installed driver Please work under the clean air while changing the filter. Otherwise, dirt on the image area could be the consequence. Step 1: Demounting of mount ring nut For demounting of the mount ring nut, please 1. unfix the 3 set screws on the front plate with the aid of the 0.9mm allen wrench ( in figure 1). Afterwards 1 2. turn the mount ring nut anticlockwise from the front plate ( in figure 1). Step 2: Demounting of filter frame For demounting of the filter frame 1. turn the filter frame anticlockwise from the front plate ( in figure 1) using a screw 3 driver or a similar tool. Set the screw driver at the groove of the filter frame. Step 3: Changing the filter A rubber locking ring fixes the filter in the filter frame. 1. ...
- Page 2 Figure 1 Filter mounting Step 4: Mounting filter frame 1. Turn the filter frame clockwise into the front plate using a screw driver or a similar tool. Step 5: Mounting mountring nut 1. Turn the mount ring nut clockwise into the front plate and 2. screw the set screws using the allen wrench but without fixing them. Step 6: Adjusting sharpness and fixing In the last step, you have to adjust the right distance of the mount ring nut (thus the sharpness). Please follow these steps: 1. Mount a lens and 2. connect the camera to the PC with the installed driver. 3. Start the GUI tool “ wxPropView ” and 4. display a live image. 5. Now turn the ring nut with the mounted lens in or out until you get a sharp image. 6. Afterwards, fix the three set screws with the allen wrench. MATRIX VISION GmbH | Talstrasse 16 | DE 71570 Oppenweiler Telefon: +49719194320 | Fax: +4971919432288 | www.matrixvision.de Mail: info@matrixvision.de Subject to change without notice / Technische Änderungen vorbehalten – 08/2009 2 ...
Need help?
Do you have a question about the mvBlueCOGAR-P Series and is the answer not in the manual?
Questions and answers