Table of Contents
Advertisement
Quick Links
Advertisement
Table of Contents

Subscribe to Our Youtube Channel
Related Manuals for Akaso EK7000


Summary of Contents for Akaso EK7000
- Page 1 USER MANUAL AKASO EK7000 Pro Action Camera V2.0...
-
Page 2: Table Of Contents
Overview of Modes Customizing Your EK7000 Pro Conncting to the App Offloading Your Content Playing Back Your Content Deleting Videos and Photos on Your EK7000 Pro Reformatting Your microSD Card Maintenance Your Camera Maximizing Battery Life Battery Storage and Handling... -
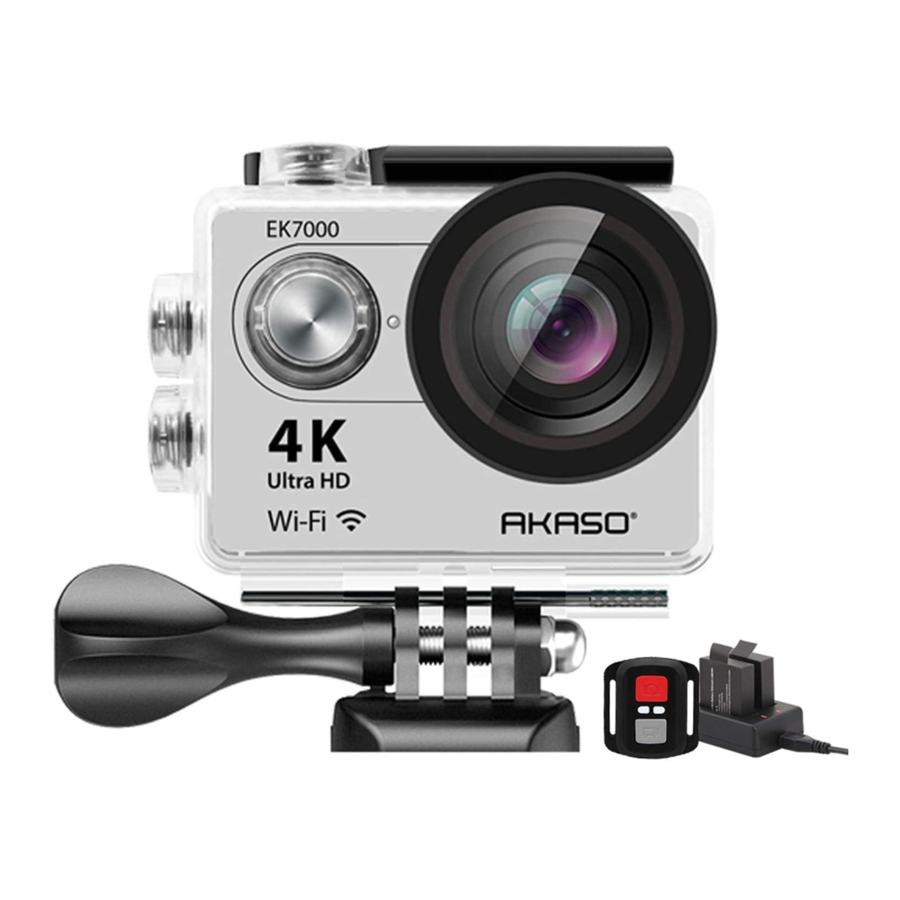
Page 3: What's In The Box
Mount 2 Mount 3 Mount 4 Mount 5 Mount 6 Mount 7 Mount 8 Mount 9 Protective Charger Helmet Mounts Battery Backdoor USB Cable Bandages Tethers Lens Cloth Quick Start Guide AKASO EK7000 Pro Action Camera Remote Quick Start Guide... -
Page 4: Your Ek7000 Pro
YOUR EK7000 PRO... - Page 5 Shutter/Select Button Lens Working/Wifi Indicator Touch Screen Power/Mode/Exit Button Up Button MicroSD Slot Speaker Micro USB Port Down/Setting Button Micro HDMI Port Battery Door Note: Camera does not record sound when it is in the waterproof case.
-
Page 6: Getting Started
GETTING STARTED Welcome to your new EK7000 Pro. To capture video and photos, you need a microSD card (sold separately). microSD CARDS Use brand name memory cards that meet these requirements: • microSD, microSDHC, or microSDXC • Class 10 or UHS-I rating •... -
Page 7: Overview Of Modes
TURNING ON/OFF Wifi To Turn On Wifi Turn on camera, press and hold Down button for three seconds to turn on Wifi. To Turn Off Wifi Press Down button to turn off Wifi. OVERVIEW OF MODES There are 5 modes: Video, Photo, Burst Photo, Time Lapse Photo and Setting. 00:00:00 | 06:02:04 Mode Video... - Page 8 Photo Mode Press Mode button once to switch to Photo Mode after you turn on camera. In Photo Mode, press Shutter button, the camera takes a photo. 0 | 3206 Photo Burst Photo Mode Press Mode button twice to switch to Burst Photo Mode. In Burst Photo Mode, press Shutter button, the camera takes 3 photos per second.
- Page 9 Time Lapse Photo Mode Press Mode button several times to switch to Time Lapse Photo Mode. In Time Lapse Photo Mode, press Shutter button, the camera takes a serial of photos at 2s/3s/5s/10s/20s/30s/60s intervals. 0 | 3206 Time Lapse Photo Setting Mode Press Down button to switch to Setting Mode.
-
Page 10: Customizing Your Ek7000 Pro
CUSTOMIZING YOUR EK7000 PRO Video & Photo Setting 1. Video Resolution: 1080P 60fps, 1080P 30fps, 720P 120fps, 720P 60fps, 4K 25fps, 2.7K 30fps Default setting is 1080P 60fps. Note: If you turn on image stabilization, then select 4K 25fps or 2.7K 30fps video resolution, image stabilization will be turned off... - Page 11 If you record for 5 minutes and do not press the Shutter button to stop recording and save, the camera records a new 5-minute interval by recording over your previous 5 minutes of footage. When the microSD card is full, the new files will cover the old one if loop recording is on.
- Page 12 10. Burst Photo: 3Photos Burst captures up to 3 photos in 1 second, so it is perfect for capturing fast-moving activities. 11. Time Lapse Photo: 2S/3S/5S/10S/20S/30S/60S Default setting is Unlimited. Time Lapse Photo captures a series of photos at specified intervals. Use this mode to capture photos of any activity, then choose the best ones later.
- Page 13 8. Power Save: Off/1min./3min./5min. Default setting is 3 minutes. Powers off your EK7000 Pro after a period of inactivity to save battery life. 9. Format: No/Yes Default setting is No. To keep your microSD card in good condition, reformat it on a regular basis.
-
Page 14: Conncting To The App
2. Connect the Wifi “EK7000 Pro” and enter the password on your smartphone WLAN setting. 3. Open AKASO GO App, tap “+” icon on the upper right corner. Add “EK7000 Pro” and click the “Live Preview”. 4. Your camera will be connected to the AKASO GO App. -
Page 15: Playing Back Your Content
TV. With this method, playback resolution depends on the resolution of the device and its ability to play back that resolution. VIEWING VIDEOS AND PHOTOS ON YOUR EK7000 Pro 1. Turn on camera. 2. Tap video file icon at the left corner of the screen to enter playback mode. -
Page 16: Deleting Videos And Photos On Your Ek7000 Pro
1080P/60 5376x3024 DELETING VIDEOS AND PHOTOS ON YOUR EK7000 PRO 1. Enter playback mode. 2. Tap video file icon or photo file icon 3. Tap Forward or Backward icon to locate the video or photo file you want to delete. -
Page 17: Maintenance Your Camera
MAINTENANCE YOUR CAMERA Follow these guidelines to get the best performance from your camera: 1. For best audio performance, shake the camera or blow on the mic to remove debris from the microphone holes. 2. To clean the lens, wipe it with a soft, lint-free cloth. Do not insert foreign objects around the lens. -
Page 18: Battery Storage And Handling
BATTERY STORAGE AND HANDLING The camera contains sensitive components, including the battery. Avoid exposing your camera to very cold or very hot temperatures. Low or high temperature conditions may temporarily shorten the battery life or cause the camera to temporarily stop working properly. Avoid dramatic changes in temperature or humidity when using the camera, as condensation may form on or within the camera. -
Page 19: Remote
REMOTE Photo Button Video Button Splashproof only, not waterproof VIDEO To record Video, verify the camera is in Video mode. To start recording: Press the Grey Video Button. The camera will emit one beep and the camera light will flash while recording. To stop recording: Press the Grey Video Button again. - Page 20 CR2032 BATTERY REPLACEMENT FOR EK7000 PRO REMOTE 1. Use a 1.8mm Phillips tip screwdriver to remove the 4 screws on the back cover of the remote, allowing you to open it. 2. Remove another 4 screws on PCB board. 3. Lift the PCB board and slide out the battery, as shown in the picture.
-
Page 21: Mounting Your Camera
5. Install all 4 screws back onto the PCB board. 6. Install all 4 screws back into the cover. MOUNTING YOUR CAMERA Attach your camera to helmets, gear and equipment. -
Page 23: Contact Us
CONTACT US For any inquiries with AKASO products, please feel free to contact us, we will respond within 24 hours. E-mail: cs@akasotech.com Tel: (888) 466-9222 (US) Mon-Fri (except holiday) 9am-5pm (EST) Official website: www.akasotech.com...
Need help?
Do you have a question about the EK7000 and is the answer not in the manual?
Questions and answers