Advertisement
Quick Links
Advertisement

Related Manuals for CAME SADRIN 205


Summary of Contents for CAME SADRIN 205
- Page 1 BI205-BI205W-BI410-BI410W- BI615-BI615W-BI820-BI820W- BI825-BI825W Installation manual FA00526-EN...
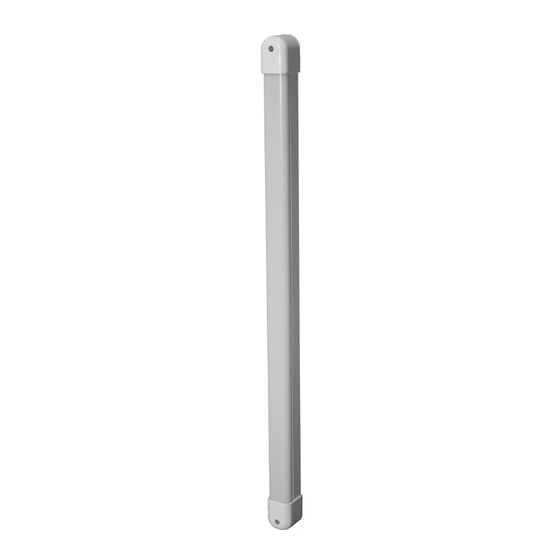
- Page 2 1. FEATURES Each individual beam is formed by two parallel beams 4 cm distant, this system allows to eliminate all the false alarms caused by insects (flies, butterflies etc..) That can be laid at the TX or RX LED, so to get the alarm condition is necessary to obscure both the rays that compose the beam.
- Page 3 2. MOUNTING 1. Remove devices from the pipe by applying pressure on the board to facilitate delivery; 2. Remove the caps and remove the cover extruded. If you need to reduce the length of profile cutting and taking care to avoid metal slag from falling onto electronic circuits;...
- Page 4 7. Open the grooves present on the cap and on the cover, to allow the passage of the cable from the outside of the barrier; CABLE CASHED Round grooves on the bottom for cable VIEWABLE CABLE Grooves on the walls for cables Grooves on the walls for cables...
- Page 5 8. On the bottom cover of the column to make a small incision to ensure drainage of rainwater that could accumulate inside the closing; 9. Attach the whole structure to the wall; you can make small adjustments both horizontally and vertically thanks to the holes located on the caps;...
-
Page 6: Installation
3. INSTALLATION Remove the caps and remove the cover extruded. If you need to reduce the length of the profile cut, being careful to avoid metal slag from falling onto electronic circuits. Drill the aluminum profile at two ends (for the barriers longer may require additional holes, in which case it may be necessary to temporarily disconnect the connection cable) and secure the profile to the wall. - Page 7 Power and control that the SYNC LED lights are flashing on the both circuit SADRIN TX and SADRIN RX. In the case where only the TX LED is blinking, check the connections of the synchronism. Test the barrier interrupting a pair of beams at a time making sure the ALARM LED is lit.
- Page 8 4. CONNECTIONS Use shielded cables and connect the shield to the negative logic supply-12VDC (GND). In addition to the ordinary supply, tamper and alarm relay, you MUST link between the transmitter and the receiver SADRIN TX - SADRIN RX the two-wire synchronous (+sync TX to + SincRX) (-sync TX to, -sync RX). Tamper Tamper Supply...
-
Page 9: Technical Characteristics
The shield of this cable must be connected to the negative of 13.8 VDC to all columns. N.B. Cable 12Vdc 6. TECHNICAL CHARACTERISTICS MODEL SADRIN 205 SADRIN 410 SADRIN 615 SADRIN 820 Max range outdoor Blak 15m; White 5m Sinchronism... - Page 10 COMMERCIAL PRODUCT Came S.p.A. – Via Martiri Della Libertà 15 – IT-31030 DOSSON DI CASIER (TV) TEL (+39) 0422 4940 – FAX (+39) 0422 4941 – – info@came.com www.came.com...
Need help?
Do you have a question about the SADRIN 205 and is the answer not in the manual?
Questions and answers