Advertisement
Table of Contents
Sunpan Item No: 106893
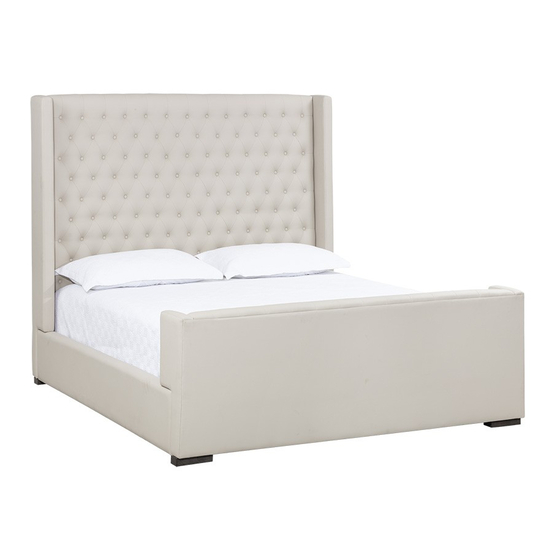
Sunpan Product Name: BRITTANY QUEEN - DILLION CREAM
Please visit our website www.sunpan.com for more great products.
For assembly questions please call 1-800-787-1019 (or +1-416-736-0094) outside North America or email to info@sunpan.com
NO.
A
B
C
D
E
F
G
H
I
J
STEP
Attach Siderails (C) to Footboard (B) and Headboard (A) using Long bolts (G) and
3
Washers (i) - Do not fully tighten bolts at this point
Thread Short bolts(H) through washers (I) inserts Short bolts(H) loosely into footboard(B)
and Headboard (A) Slide Centrail Rail (E) on to Bolts (H) - Now fully tighten all bolts
4
lay slats (D) on the bed and insert screws (F) to top and bottom slat
5
ASSEMBLY INSTRUCTION
Before you begin, please layout all parts and ensure you have the correct count.
DESCRIPTION
Headboard
Footboard
Siderails
Slats
Central Rail
Screws
Long Bolts For Siderails
Short Bolts For Center Bar
Washers
Allen Key
ITEMS NEEDED NOT INCLUDED
Screw Driver
ASSEMBLY INSTRUCTIONS
DESCRIPTION
arounf the bed
PARTS LIST
QUANTITY
ILLUSTRATION
1
1
2
1
1
4
12
4
16
1
1
ILLUSTRATION
1/2
Advertisement
Table of Contents

Summary of Contents for SUNPAN BRITTANY QUEEN DILLION CREAM 106893
- Page 1 Sunpan Product Name: BRITTANY QUEEN - DILLION CREAM Please visit our website www.sunpan.com for more great products. For assembly questions please call 1-800-787-1019 (or +1-416-736-0094) outside North America or email to info@sunpan.com PARTS LIST Before you begin, please layout all parts and ensure you have the correct count.
- Page 2 Assembly complete ASSEMBLY TIPS: Use two people to assemble Please checks parts and hardware before assembling. Follow each instruction step by step. Place a protective pad or piece of cardboard on the floor while assembling your item on top of it. Remove all parts from the carton and separate them into part numbers/groups as indicated on the part list.


Need help?
Do you have a question about the BRITTANY QUEEN DILLION CREAM 106893 and is the answer not in the manual?
Questions and answers