Table of Contents
Advertisement
Advertisement
Table of Contents

Subscribe to Our Youtube Channel
Related Manuals for TEFAL SPHERICOOK


Summary of Contents for TEFAL SPHERICOOK
- Page 1 SPHERICOOK Multicooker Model RK745840 www.tefal.com...
- Page 2 14&15...
- Page 3 Fig.1 Fig.2 Fig.3a Fig.3b 10cups MAX. Fig.4 Fig.5 Fig.6 Fig.7 cups MAX. Fig.8 Fig.9 Fig.10 Fig.11 Fig.12 Fig.13 Fig.14 Fig.15 Fig.16 Fig.17 Fig.18 Fig.19...
-
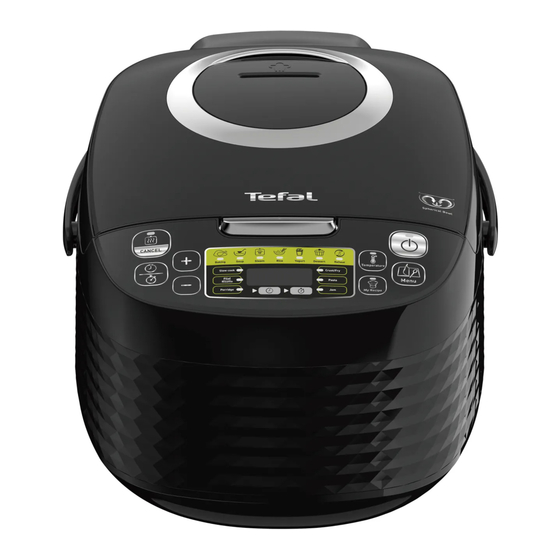
Page 4: Control Panel
CONTROL PANEL 15e 15g 15d 15f DESCRIPTION 1 Steam basket f “Cooking status” indicator 2 Water Level markings for g “Start” key h “Menu selection” key cooking rice 3 Removable bowl i “Temperature” key 4 Measuring cup j “My recipe” key 5 Rice spoon 15 Function indicators 6 Soup spoon... - Page 5 IMPORTANT SAFEGUARDS SAFETY INSTRUCTIONS IMPORTANT: Before using this product please ensure that you read the safety instructions first. Keep the instructions safe. • This appliance is not intended to be operated by means of an external timer or a separate remote- control system.
- Page 6 (including children) with reduced physical, sensory or mental capabilities, or lack of experience and knowledge, unless they have been given supervision or instruction concerning use of the appliance by a person responsible for their safety. • Children should be supervised to ensure that they do not play with the appliance.
- Page 7 • The appliance must not be immersed in water or any other liquid. • Use a damp cloth or sponge with diswashing liquid to clean the accessories and parts in contact with foodstuff. Rinse with a damp cloth or sponge. Dry accessories and parts in contact with food with a dry cloth.
-
Page 8: Connecting To The Power Supply
• Do not get face and hands close to the steam outlet. Do not obstruct the steam outlet. • For any problems or queries please contact our Customer Relations Team or consult our web site. • The appliance can be used up to an altitude of 4000 m. -
Page 9: Protect The Environment
• Never try to operate the appliance when the bowl is empty or without the bowl. • Do not remove the bowl while the appliance is working. • Do not put the appliance directly onto a hot surface, or any other source of heat or flame, as it will cause a failure or danger. -
Page 10: Before The First Use
BEFORE THE FIRST USE Unpack the appliance • Remove the appliance from the packaging and unpack all the accessories and printed documents. Remove all stickers on the outside. • Open the lid by pushing the opening button on the housing – fig.1. Read the Instructions and follow them carefully. - Page 11 After starting the cooking program, if you wish to change the selected cooking program because of an error, press «KEEP WARM/CANCEL» key and re-choose the program you want. Only use the inner bowl provided with the appliance. Do not pour water or put ingredients in the appliance without the bowl inside.
- Page 12 CONTROL PANEL 1. START KEY • Press to start the cooking process. 2. MENU KEY • Under standby status, press the <Menu> key to cycle through the following functions: Roasting Soup Steam Rice Yogurt Baking Reheat ...
- Page 13 4. “+/-” KEYS • Use these buttons to adjust the cooking time (+/- 1, 5 or 15 mins) and delayed start time (+/- 5 mins). You cannot adjust the cooking time in “Rice, Risotto” mode and cannot set a delayed start time in “Browning, Yogurt, Reheat”...
-
Page 14: Steam Function
• For best results serve the porridge immediately after it is cooked. Although it can be left on the keep warm setting for a short time, it will soon begin to thicken and you may need to stir in some additional hot liquid. -
Page 15: Roasting Function
ROASTING FUNCTION • Press <Menu> key to select function <Roasting>. The screen displays the default cooking time, the “Start” light will flash red. • You can change the cooking time by pressing “Preset/Timer” key first and then press “+” and “-” keys. Press “Temperature” key to select the temperature. -
Page 16: Slow Cook Function
BROWNING FUNCTION • Press <Menu> key to select function <Browning>. The screen displays the default cooking time, the “Start” light will flash red. • You can change the cooking time by pressing “Delayed start/Timer” key first and then press “+” and “-” keys. Press “Temperature” key to select the temperature. - Page 17 • Press “Start” key. The mulitcooker will start the “Yogurt” cooking program and the “Start” light will come on. The screen will display the remaining cooking time. • At the end of cooking, the multicooker will “beep” three times. Note: There is no Keep Warm function at the end of the “Yogurt” program. The preset function to delay the start of cooking cannot be used with the “Yogurt”...
- Page 18 • All the equipment used in the yogurt making process should be sterilised using Milton sterilizing solution or cleaned in a dishwasher. Sterilising is important to prevent the introduction of undesirable airborne organisms which could interfere with the incubation of the culture, and results in runny yogurt which will not set.
- Page 19 BAKING FUNCTION • Press <Menu> key to select function “Baking” the screen displays the default cooking time, the “Start” light will flash red. • You can change the cooking time by pressing “Delayed start/Timer” key first and then press “+” and “-” keys. Press “Temperature” key to select the temperature.
- Page 20 • At the end of cooking, the multicooker will “beep” three times and begin the keep warm program, the “Keep Warm” indicator will come on and the screen will display the time for which the keep warm function has been active. TIPS FOR COOKING PERFECT RICE.
- Page 21 This table below gives a guide to cooking white rice: COOKING GUIDE FOR WHITE RICE* Water level in Measuring cups Weight of rice* Serves the bowl (+ rice) 300 g 2 cup mark 3 – 4 600 g 4 cup mark 5 –...
- Page 22 PASTA FUNCTION • To cook pasta it is IMPORTANT to wait until the water reaches the right temperature before adding pasta. • Fill the bowl with boiling water from a kettle to the required level. Do not add the pasta. Close the lid. Note: You can use cold water instead of boiling water but this will lengthen the water heating time considerably.
-
Page 23: Reheat Function
REHEAT FUNCTION • This function is intended to reheat cooked food only. Do not use for raw food or reheating frozen food. Do not use for reheating frozen food. • Press <Menu> key to select function <Reheat>. The screen displays the default cooking time, the “Start”... -
Page 24: Cleaning And Maintenance
“Keep warm / Cancel” light will go off. To set the automatic keep warm function again, press the “Keep warm / Cancel” key again for 5 seconds. • The maximum keep warm time is 24 hours. Recommendation: to keep the food in the best condition limit the “Keep Warm”... - Page 25 Bowl, steam basket • Scouring powders and metal sponges are not recommended. • If food has stuck to the bottom of the removable bowl, you may put water in the bowl to soak for a while before washing. • Dry the bowl carefully. Taking care of the bowl For the bowl, carefully follow the instructions below: •...
- Page 26 TECHNICAL TROUBLESHOOTING GUIDE Problem Causes Solutions Control panel Check the appliance is Appliance not lights off and no plugged in at the socket, plugged in. heating. and is switched on. Problem with the Control panel connection of the Send to authorised lights off and indicator light or service center for repair.
- Page 27 Problem Causes Solutions Refer to the rice cooking table for the water quantity. Insufficiently Rice undercooked Always add rice to the simmered. or overcooked. cooking bowl first, then add water to the water level mark on the inside of the bowl. The keep warm function has been cancelled by user...
- Page 28 4 – 28 3203000109...
Need help?
Do you have a question about the SPHERICOOK and is the answer not in the manual?
Questions and answers