Advertisement
Quick Links
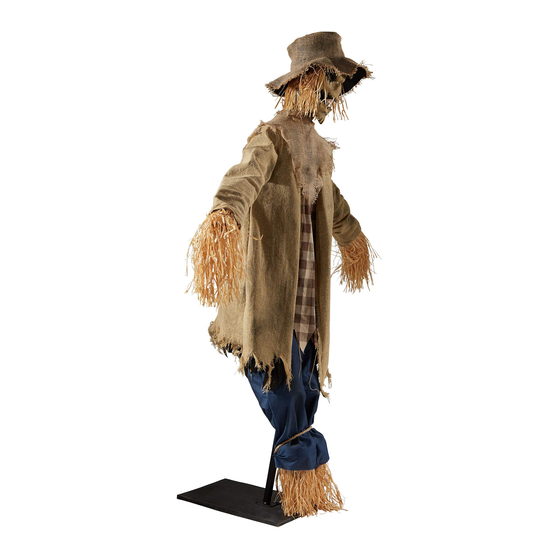
WARNING: DO NOT TURN ON THE PROP UNTIL FULLY ASSEMBLED. STAY CLEAR OF THE PROP WHILE OPERATING.
A
D
C
PARTS:
A: Wood base
B: Pants
C: Pole with mechanism
D: Springs
E: Knee form with foam (2x)
Assembly:
1. Place the pants (Part B) on the base (Part A) with the pole
support mount going through the rope. See Fig. 1.
2. Fully extend pole with mechanism (Part C). See Fig. 2.
3. Attach springs (Part D) to the pole with mechanism
(Part C). See Fig. 3.
4. Attach the pole with mechanism (Part C) to the base
(Part A), match A to A, by going through the opening in
the back of the pants (Part B). Spring pin will lock
in place. See Fig. 4.
5. Attach knee form with foam (Part E) to the pole with
mechanism (Part C) by inserting the metal into the hole in
the plastic piece located on the pole with mechanism
(Part C). Secure on both sides with the zip ties provided
(Part F). See Fig. 5a and 5b.
6. Attach loops on the pants (Part B) to the plastic hooks on
the pole with mechanism (Part C). See Fig. 6.
7. Attach support pole (Part G) to pole with mechanism
(Part C). Spring pin will lock in place. See Fig. 7.
8. Attach the head with shoulder form (Part H) to the support
pole (Part G), matching C to C. See Fig. 8.
9. Secure the head with shoulder form (Part H) to the support
pole (Part G) using the screws (Part I) provided.
See Fig. 9.
JACK STRAW
Installation and Operating Instructions
Keep all plastic and wire parts away from children.
B
E
N
F: Zip ties
G: Support Pole
H: Head with shoulder form
I:
Screws
J:
Coat with IR sensor
K: Right Arm
H
F
G
I
O
1
3
5a
J
K
M
L:
Left Arm
M:
Control Box
N:
Sand Bag
O:
Adapter
2
4
5b
L
Advertisement

Related Manuals for Spirit Halloween JACK STRAW


Summary of Contents for Spirit Halloween JACK STRAW
- Page 1 JACK STRAW Installation and Operating Instructions Keep all plastic and wire parts away from children. WARNING: DO NOT TURN ON THE PROP UNTIL FULLY ASSEMBLED. STAY CLEAR OF THE PROP WHILE OPERATING. PARTS: F: Zip ties Left Arm A: Wood base...
- Page 2 10. Connect metal chain from the back of the head with shoulder form (Part H) to the chain from the pole with mechanism (Part C) using the provided hook and loop on the chains. See Fig. 10. 11. Put the coat with IR sensor (Part I) on the shoulder form (Part H) and secure by aligning the Velcro on the shoulder form (Part H) to the Velcro on plaid fabric of the coat with IR sensor (Part J).
- Page 3 • Non-rechargeable batteries are not to be recharged. • The supply terminals are not to be short-circuited. Distributed by DO NOT RETURN THIS ITEM TO THE STORE! Spirit Halloween 6826 Black Horse Pike If experiencing technical difficulties, please email: Egg Harbor Township, NJ STOP DrZombie@spirithalloween.com, or call...
Need help?
Do you have a question about the JACK STRAW and is the answer not in the manual?
Questions and answers