Table of Contents
Advertisement
You are advised to record the following information to allow quick service.
Date of purchase :
Name of shop :
Date : year month day
Tel : (
)
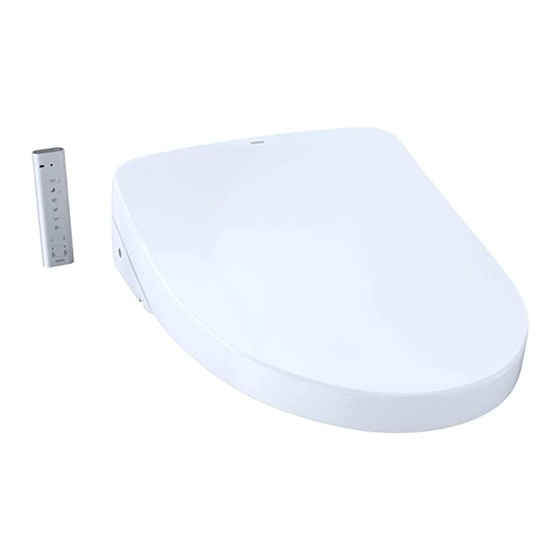
WASHLET
SW3056AT40, SW3056
SW3046AT40, SW3046
SW3054AT40, SW3054
SW3044AT40, SW3044
■ Thank you for your recent purchase of this product.
Please read the enclosed information to ensure the safe use of your product.
■ Be sure to read this Instruction Manual before using your product and keep it in a
safe place for future reference.
2020.11.13
D07B68
Instruction Manual
Advertisement
Table of Contents


Need help?
Do you have a question about the SW3056AT40 and is the answer not in the manual?
Questions and answers