Advertisement
1
2
1
1
2
1
1
January 2018
IMO_473_EN_v1
Replacing the repair lock - when installed
Undo three screws.
1.
[1] M4 x 12
[2] M4 x 8
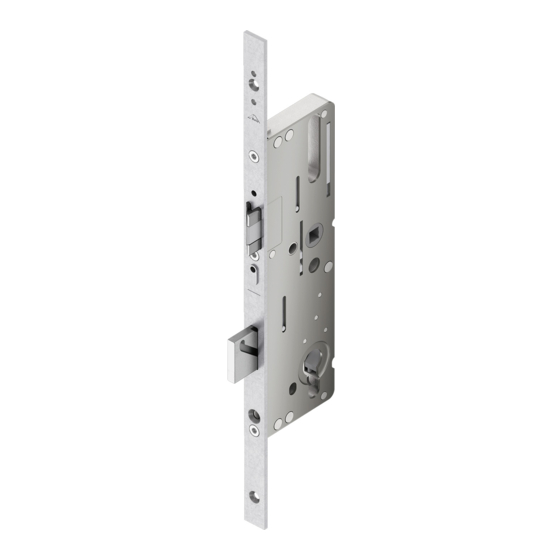
Remove the main lock from the faceplate.
2.
Insert the repair lock with "R" marking into the
3.
faceplate.
Mount the push rod in the carrier of the repair
4.
lock.
Assemble using three screws.
5.
[1] M4 x 12
[2] M4 x 8
Torque: max. 4 Nm
Door
Roto Safe
C 600 | Repairing the main lock
Note
The system certificate and warranty become
void when the main lock is replaced by the
repair lock.
Note
Position the repair lock so that it is flush
with the push rod and faceplate.
Note
For further information, see IMO_457.
EN
Subject to change.
Advertisement
Table of Contents

Related Manuals for Roto Safe C 600


Summary of Contents for Roto Safe C 600
- Page 1 Assemble using three screws. [1] M4 x 12 [2] M4 x 8 Torque: max. 4 Nm Note For further information, see IMO_457. January 2018 IMO_473_EN_v1 Door Roto Safe C 600 | Repairing the main lock Subject to change.
- Page 2 Insert the faceplate into the door profile. Ensure that it is flush. Screw in all screws. Fit the cylinder and handles. Note For further information, see IMO_457. January 2018 IMO_473_EN_v1 Door Roto Safe C 600 | Repairing the main lock Subject to change.
Need help?
Do you have a question about the Safe C 600 and is the answer not in the manual?
Questions and answers