Table of Contents
Advertisement
Advertisement
Table of Contents

Related Manuals for Breadman CORNER BAKERY TR888


Summary of Contents for Breadman CORNER BAKERY TR888
- Page 1 INSTRUCTION MANUAL CORNER BAKERY BREAD & DESSERT MAKER MODEL NUMBER TR888...
-
Page 2: Table Of Contents
Polarized Plug ...3 Power Outage ...4 Before Your First Use ...4 Your Corner Bakery Bread & Dessert Maker ...5 Control Panel ...6 Using the Breadman ® ...7-9 Kneading and Baking Cycles ...10 Program Specification Chart...11 Making Dough and Baking Bread ...12-14 Using the Delay Bake Timer ...15... -
Page 3: Important Safeguards
READ AND SAVE THESE INSTRUCTIONS WARNING: A risk of fire and electrical shock exists in all electrical appliances and may cause personal injury or death. Please follow all safety instructions. IMPORTANT SAFEGUARDS When using electrical appliances, basic safety precautions should always be followed includ- ing the following: READ ALL INSTRUCTIONS. -
Page 4: Additional Important Safeguards
Do not use this appliance for other than its intended use. ELECTRIC POWER If electric circuit is overloaded with other appliances, your bread maker may not operate properly. The bread maker should be operated on a separate electrical circuit from other operating appliances. -
Page 5: Power Outage
During the Bread programs, if the bread maker loses power before the baking process begins, you may try starting the bread maker at the beginning of the program again for all programs except Fast Bake™. If using Dough program, you may also try starting it at the beginning of the program again. -
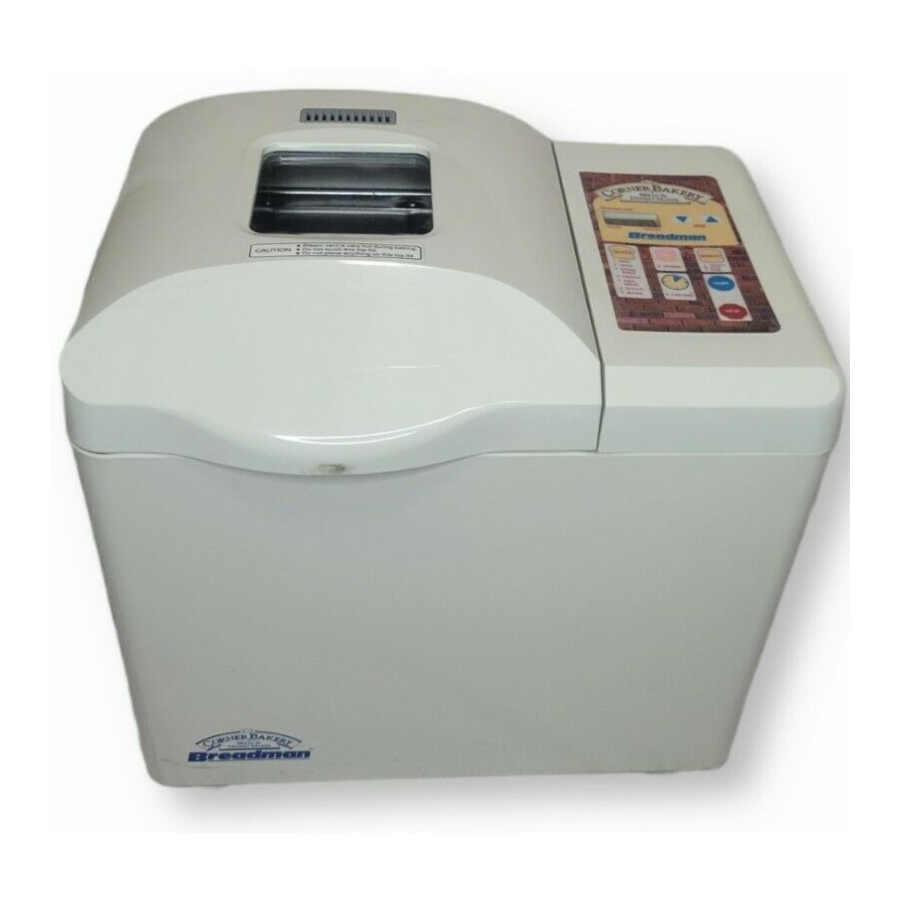
Page 6: Your Corner Bakery Bread & Dessert Maker
YOUR CORNER BAKERY BREAD & DESSERT MAKER The illustrations in this Instruction Manual are for information purposes only. You may find your bread maker and parts look different, however, the steps for operation are the same. 1. Pan Handle 2. Kneading Blade... -
Page 7: Control Panel
CONTROL PANEL A. Display Window Indicates the number of the program, crust color (if using programs 1-5) and amount of time left for completion of program. Indicates display signals. B. SELECT Press until program number is visible in Dis- play Window for all programs except Dessert and Fast Bake™. -
Page 8: Using The Breadman
Breadman Bakery Bread & Dessert Maker, or in a conventional oven. until it locks into place. add the ingredients BEFORE inserting the Bread Pan into the Oven Chamber. - Page 9 USING THE BREADMAN • Use oven mitts when working with bread or any part of the Operating Tips • Wipe off crumbs and clean the Breadman • Unplug the Breadman • It is normal for the Viewing Window to collect moisture •...
- Page 10 USING THE BREADMAN • To protect young children, keep the Breadman Caution • Use the Breadman • To avoid burns, stay clear of the Steam Vent during Knead- • ALWAYS HANDLE THE HOT BREAD PAN OR BAKING • Never use metal utensils with the Breadman •...
-
Page 11: Kneading And Baking Cycles
Fast Bake™ packaged bread mixes. or cheese. this program. During the first 20 minutes, the bread maker is preheating prior to first knead. which results in a crisp crust and a coarse, chewy interior. Index of the Corner Bakery Cookbook. Simply omit the... -
Page 12: Program Specification Chart
Process 1 - Delay timer 3:50 13:00 3:50 13:00 2 - Preheat 3 - Mix 2 min 2 min 4 - 1st knead 5 min 5 min 5 - Display time for beep to stir* 6 - Rest 5 min 5 min 7 - 2nd knead 12 min... -
Page 13: Making Dough And Baking Bread
Programming Note: Use plastic lid for Butter program only. The following are the general steps for using your bread maker. Depending on the pro- gram or recipe you choose, some steps may not apply or there may be additional steps. - Page 14 STEP 4 Insert Bread Pan until it fits securely into bottom of bread maker with the marking facing the front of the bread maker. This will provide a more even airflow during baking/cooking. FRONT STEP 5 Close the Lid.
- Page 15 Bread Pan. Close Lid. STEP 8 The bread maker will beep when bread or dough is done. Press STOP and remove the Bread Pan using oven mitts. If you do not stop the unit and remove the bread, it will automat-...
-
Page 16: Using The Delay Bake Timer
After one minute, 9:29 is displayed. The timer will continue to count down in 1 minute increments. Note: The bread maker will start when the timer has counted down to the start time for the program to... -
Page 17: Butter
Place Butter Lid on Bread Pan. Use Butter Lid for Butter program only. HEAVY WHIPPING CREAM STEP 4 Insert Bread Pan until it fits securely into bottom of bread maker with the marking facing the front of the bread maker. This will provide more even air- flow. - Page 18 STEP 7 Press the START button. The program time remaining is displayed and counts down. STEP 8 The bread maker will beep when butter is done. Press the STOP button and remove the Bread Pan. STEP 9 Without removing Butter Lid, tilt the Bread Pan, pouring the buttermilk off the butter.
-
Page 19: Dessert
Ingredients Liquids STEP 4 Insert Bread Pan until it fits securely into bottom of bread maker with the FRONT marking facing the front of the bread maker. This will provide a more even air- flow during bak- ing/cooking. FRONT... - Page 20 Add ingredients quickly and evenly over batter to prevent heat loss. Close Lid. STEP 8 The bread maker will beep when dessert is done. Press STOP and remove the Bread Pan using oven mitts for all desserts except cheese- cakes. See special...
-
Page 21: Cleaning Instructions
CLEANING INSTRUCTIONS CAUTION: Always unplug the bread maker and allow to cool completely before clean- ing. Carefully unpack the bread maker and remove all packaging materials. Clean-up of bread maker 1. Unplug and allow to cool before cleaning. 2. Remove the Bread Pan from inside the bread maker. -
Page 22: Storing
STORING • All removable parts should be thoroughly cleaned and dried. • Store bread maker with Kneading Blade inside Bread Pan TROUBLESHOOTING Bread and Dough Possible Solution Symptom The height and shape of bread may differ depending on the Why does the ingredients, room temperature and length of the timer cycle. - Page 23 Dessert Possible Solution Symptom The height and shape of desserts may differ depending on the Why does the ingredients. Accurate measurement of ingredients is essential height and shape to make delicious desserts. of the desserts vary? This can happen as the Kneading Blade is detachable. Use a The Kneading non-metal utensil to remove it.
-
Page 24: Bread And Dough Check List
Baking results: A. Bread maker does not operate/ingredients not mixing B. Smoke emitted from steam vent/burning smell C. Sides of bread collapse/bottom is damp D. Bread rises too much/coarse texture E. Bread falls/coarse texture Short & dense texture G. Slices uneven & sticky Check list: 1. -
Page 25: Suggestions
22. Make sure yeast is fresh and room temperature. 23. For all programs, except Fast Bake™, use active dry/rapid or Quick•Rise™ yeast in equal amounts. Follow bread maker yeast directions. See Fast Bake™ directions. 24. Liquid temperature should be 80°F/27°C for all programs except Fast Bake™... -
Page 26: In-Warranty Service Information
IN-WARRANTY SERVICE INFORMATION Please refer to warranty statement to determine if in-warranty service applies. This appliance must be serviced by a Breadman ® authorized service center. Unauthorized service will void warranty. If an authorized service center is not available locally, your appliance may be returned, postage prepaid, to our National Service Center at the address shown in the back of this book. -
Page 27: Specifications
SPECIFICATIONS Power supply Heater Kneading Motor Dimension (WxDxH) Weight 120 V ~ 60 Hz 430W 131 / 2 " x 10" x 131 / 2 " Approx. 19 lbs. -
Page 28: Warranty
Legal Rights: This warranty gives you specific legal rights, and you may also have other rights which vary from state to state. For more information on Salton products: visit our website: www.breadman.com, or email us at: breadman@saltonusa.com or eSalton.com © 2003 Salton, Inc. All Rights Reserved. - Page 30 Corner Bakery Bread & Dessert Maker, ® Columbia, MO 65205-7366 Monday—Friday 8am—5pm CST For more information on Salton, Inc. products, E-mail us at: breadman@saltonusa.com http://www.breadman.com TR888 Printed in China Monday—Friday 8am—5pm CST please write or call: Salton, Inc. P.O. Box 7366 1-800-233-9054 OR, visit our website: or www.eSalton.com...
Need help?
Do you have a question about the CORNER BAKERY TR888 and is the answer not in the manual?
Questions and answers