Alesis 2 User Manual
Micro series
Hide thumbs
Also See for 2:
- Reference manual (103 pages) ,
- Setting up (12 pages) ,
- Instruction manual (7 pages)
Advertisement
Quick Links
THE
ALES'S
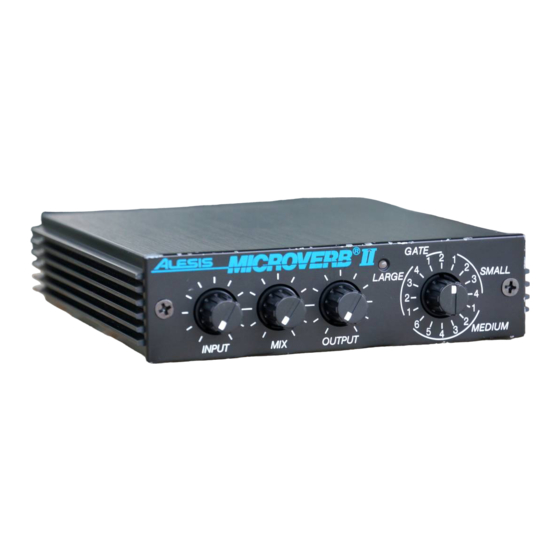
MICRO SERIES
USER'S GUIDE
FEATURING
NN,trEi,||/I'EE/R'IJ
a J a a - a
f -
J
-
a -
t -
^rr,trDl'ltt t;rrrlF'D.@
aJaa-a
tv
-ltaaa
a -!
I
A'i',,!E,'|)'F,frJE'
aJaaata
rv
tlltlt
-
ft'r|'t'l)Ecl
aJaa-a
rlt
--
^,I,^Ef)El'/l'AIIAED@
aJaa-a
tv-taa
all'
!v-t
I
rt'r|l'if1),trrrE
,.',tD
a J a a - r a
t -
v t t -
G . t J a .
Advertisement


Need help?
Do you have a question about the 2 and is the answer not in the manual?
Questions and answers