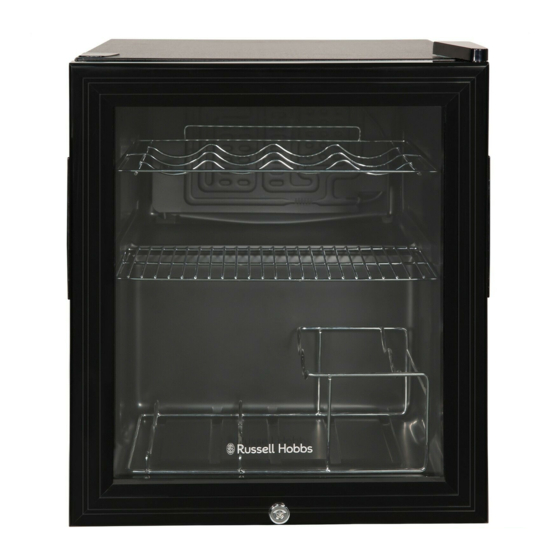
Glass Table Top Wine Cooler
Instruction Manual
Model number(s):
RHGWC1B-C (-LCK) & RHGWC3SS-C (-
LCK)
For Customer Services & Spare Parts please call 0345 208 8750
or visit us at https://mda.russellhobbs.com
IMPORTANT:
RETAIN FOR FUTURE REFERENCE
r6.2


Need help?
Do you have a question about the RHGWC1B-C and is the answer not in the manual?
Questions and answers