
Related Manuals for Pelgrim STM550RVS


Summary of Contents for Pelgrim STM550RVS
- Page 1 Steamer Handleiding User Guide Four Vapeur Anleitung Dampfgarer Manual Steamer STM550RVS STM550MAT...
- Page 2 In the PELGRIM line of products, you will also find a wide range of cookers, hobs, ventilation hoods, dishwashers, microwave ovens and built-in refrigerators, which can be coordinated with your new PELGRIM steamer.
-
Page 3: Table Of Contents
Editorial p. 2 Contents p. 3 Steam cooking Overview p. 4 The appearance of your steamer p. 5 Accessories p. 6 Installing your steamer Electrical connection p. 7 Build-in p. 8 Demo mode p. 9 Setting the clock p. 10 Programming for immediate steaming p. -
Page 4: Steam Cooking
Steam cooking Overview Steam cooking presents nothing but advantages if you follow the instructions for use. Healthy and natural, steam cooking preserves the full flavour of foods. A delicate sauce or aromatic herb seasonings add that something extra that makes the difference. This kind of cooking releases no odours. -
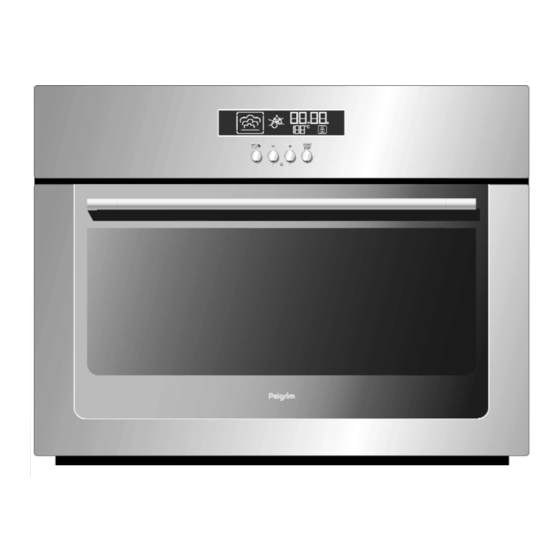
Page 5: The Appearance Of Your Steamer
The Appliance Display Control panel Water intake tube Tank Steam generator Gutter Close-up of control panel Duration and temperature selection button Time and temperature adjustment button (-) Time and temperature adjustment button (+) Start/Stop button Keypad locking Steam cooking symbol Water circuit problem indicator Temperature indicator Duration and time... -
Page 6: Accessories
Accessories Perforated stainless steel dish (fig. 1) Pierced stainless steel cooking dish to prevent contact between food and the condensation water. Stainless steel dish (fig. 2) Stainless steel dish for recovering condensation water. fig. 1 When steaming vegetables, potatoes. fish or meat: fig. -
Page 7: Electrical Connection
Before connecting the steamer In the case of connections with an electric Warning: receptacle, it must remain accessible after Ensure that your appliance has not installation of the appliance. suffered any damage during transport The oven’s neutral conductor (blue wire) must (deformed seal or door, etc.). -
Page 8: Build-In
Build-in 550 mini 1. Place the appliance in the nook. The appliance must be horizontal. Check the position. 2. For greater stability, attach the steamer in the cabinet with two screws through the holes provided for this purpose on either side of the front inner panels. -
Page 9: Demo Mode
Demo mode Activating Set the time to 00:00. Confirm with button “START”. fig.1 Press the and – buttons simultaneously for 10 seconds until “DEMO ON” is displayed. The demo mode is activated. fig.2 Deactivating Set the time to 00:00. Confirm with button “START”. fig.1 Press the and –... -
Page 10: Setting The Clock
Setting the clock Press the button until the clock flashes (2 seconds) fig.1 Press the + or – buttons to set the time. fig. 2 Confirm with the “START” button. fig. 3 If the time is not confirmed using the START button, it is automatically saved after one minute. -
Page 11: Programming For Immediate Steaming
Programming for immediate steaming The water contained in the tank arrives in the cavity via a pipe. This Operating water is transformed into steam when it comes into contact with a principle hot surface located in the lower part of the cavity: this is the steam generator. - Page 12 Programming for immediate steaming with temperature change After setting the cooking duration (fig 1) press the button fig.1 The temperature flashes; you can change it from 55 °C to 100 °C using the + and - buttons. Confirm using the “START” button (fig. 2). fig.
- Page 13 Changing steaming During steaming, you can adjust the steaming temperature temperature as follows. Press the button until the temperature flashes rapidly. Adjust the temperature with the + and - buttons and confirm with button “START”. Changing the steaming During steaming, you can adjust the steaming time as follows.
-
Page 14: Locking Display
It is possible to lock the display. The lock can only be used after Locking display steaming, when the time of day is displayed. Open your steamer door, press the “Start/Stop” button and hold for several seconds. A beep is emitted and a padlock appears on the screen. -
Page 15: Using The Timer
Using the timer Timer Your steamer is equipped with an electronic timer that can be used independent of the steamer functions. Press the + or - button for a few seconds. 0m00s flashes. fig.1 Set the duration required (max. 59 mins 50 seconds) by pressing the +/- buttons. -
Page 16: Cooking Chart
FUNCTIONS Temperature STEAMING STEAMING EXAMPLES °C Steam cooking mode most often used For cooking fragile Delicate whole fish food (trout) The meat remains Cooking delicate fish iridescent, the (sardine fillets, red collagen does not mullet) appear Cocotte eggs; stuffed tomatoes. Ramekins, For cooking custard creams, etc. - Page 17 Steaming chart FOOD TIMES °C PREPARATIONS NOTES whatever the quantity Artichokes (small) Placed upside down in the dish 40 to 45 min. 100 For tips only, decrease cooking Asparagus 35 to 40 min. 100 • These times time depend on the Broccoli In small bunches type, size and...
- Page 18 FOOD TIMES °C PREPARATIONS NOTES whatever the quantity Northern pike Whole (1 kg) 25 to 30 min. Cod/hake Steaks (180 g)* 13 to 15 min. Sea bream Whole (1kg) 20 to 25 min. • *Steaks: round Haddock Filets 15 min. slices of fish of 2 to 3 cm in Herring...
-
Page 19: Caring For Your Steamer
Caring for your steamer Maintenance Cavity (after each use) Wipe the cavity with a dry cloth after the steam generator has cooled or let the cavity air dry by leaving the door open. Water intake tube (once a month) Remove the water intake tube by turning it toward you. Remove any hard-water deposits that may be inside (using a thin, pointed object such as a thin skewer or a knitting needle). -
Page 20: Changing The Interior Lighting
Changing the interior lighting The bulb is located at the back right of your steamer’s cavity. Disconnect your steamer before performing any task on the bulb to avoid the risk of electric shock. - Turn the view port a quarter turn to the left. - Unscrew the bulb in the same direction. - Page 21 - The demo mode is - Deactivate the demo The steamer can not be activated. mode, see page 9. switched on. In all circumstances, if your efforts are not sufficient, contact the Service Department (see Pelgrim guarantee card or www.pelgrim.nl).
- Page 24 CZ5700267-00 03/10...
Need help?
Do you have a question about the STM550RVS and is the answer not in the manual?
Questions and answers