Sign In
Upload
Download
Add to my manuals
Delete from my manuals
Share
URL of this page:
HTML Link:
Bookmark this page
Add
Manual will be automatically added to "My Manuals"
Print this page
×
Bookmark added
×
Added to my manuals
Manuals
Brands
Holybro Manuals
GPS
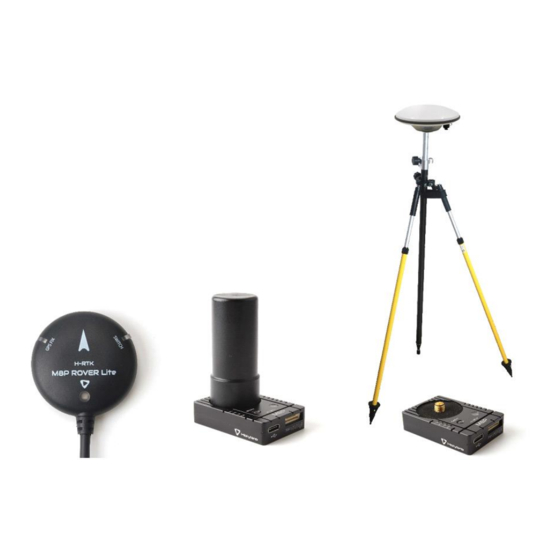
H-RTK M8P GNSS
Full manual & installation manual
Holybro H-RTK M8P GNSS Full Manual & Installation Manual
Hide thumbs
1
Table Of Contents
2
3
4
5
6
7
8
9
10
11
12
13
14
15
16
17
18
19
20
page
of
20
Go
/
20
Contents
Table of Contents
Bookmarks
Advertisement
Quick Links
1
Table of Contents
2
Introduction
3
Plug and Play Installation
4
Updating Your Gps Unit
5
Using U-Center for Real Time Recording and Playback
6
Using U-Center for Diagnostics
Download this manual
H-RTK M8P & F9P GNSS
Full Manual & Installation Guide
V1.2
H-RTK
Page | 1
Table of
Contents
Previous
Page
Next
Page
1
2
3
4
5
Advertisement
Need help?
Do you have a question about the H-RTK M8P GNSS and is the answer not in the manual?
Ask a question
Questions and answers
Related Manuals for Holybro H-RTK M8P GNSS
GPS Holybro M9N Quick Start Manual
(3 pages)
GPS Holybro H-RTK F9P GNSS Full Manual & Installation Manual
(20 pages)
This manual is also suitable for:
H-rtk f9p gnss
H-rtk m8p rover lite
H-rtk m8p helical
H-rtk m8p base
H-rtk f9p rover lite
Print
Rename the bookmark
Delete bookmark?
Delete from my manuals?
Login
Sign In
OR
Sign in with Facebook
Sign in with Google
Upload manual
Upload from disk
Upload from URL


Need help?
Do you have a question about the H-RTK M8P GNSS and is the answer not in the manual?
Questions and answers