Advertisement
Quick Links
Product User Manuals
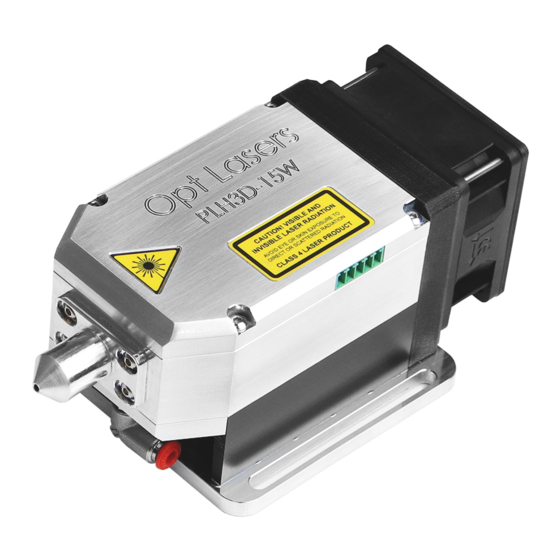
PLH3D-15W Engraving Laser Head - User's
Contact and Shipping:
Tomorrow's System Sp. z o.o.
Okulickiego 7/9 hala G39
05-500 Piaseczno
Poland
tel.: +48 515 180 752
e-mail:
contact@optlasers.com
Copyri ght © 2020 by Tomorrow's Sys tem Sp. z o.o. Al l Ri ghts Res erved.
Manual
Company Information:
Tomorrow's System Sp. z o.o.
Pułaskiego 125/35
15-337 Białystok
Poland
NIP: PL5423238556
REGON: 200866868
Advertisement

Subscribe to Our Youtube Channel
Related Manuals for Opt Lasers GRAV PLH3D-15W Series


Summary of Contents for Opt Lasers GRAV PLH3D-15W Series
- Page 1 Product User Manuals PLH3D-15W Engraving Laser Head - User's Manual Contact and Shipping: Company Information: Tomorrow's System Sp. z o.o. Tomorrow's System Sp. z o.o. Okulickiego 7/9 hala G39 Pułaskiego 125/35 05-500 Piaseczno 15-337 Białystok Poland Poland tel.: +48 515 180 752 NIP: PL5423238556 e-mail: REGON: 200866868...
-
Page 2: Technical Specifications
Support a nd Ma nua l s Technical Specifications Item Typical Value Comments Optical Power 15 W = 25°C Ambient Center Wavelength 445 nm Working Distance 4 mm (0.157") Distance from the tip of air nozzle Beam Spot Width 180 µm (0.007") 40 x 54 x 86.5 mm Dimensions (L x W x H), with nozzle attached... - Page 3 Support a nd Ma nua l s Dimensions and Pinout 3 / 6...
-
Page 4: Electrical Information
Support a nd Ma nua l s Electrical Information Important: PLH3D-15W-Series engraving laser head should be powered with a high-quality power supply without anything else connected. Please note: connecting the laser head to the same power supply unit as a stepper motor or any other high-impedance equipment is not recommended. -
Page 5: Maintenance
Support a nd Ma nua l s Maintenance 1. Nozzle Removal For cutting materials thicker than 3.5 mm the air nozzle should be removed. To remove the air nozzle, unscrew it as shown in the images below. Important: Never unscrew or loosen the screws shown in the image below. The part that they are holding is factory aligned. - Page 6 Support a nd Ma nua l s 3. Cleaning the Lens We recommend regular inspections of the lens surface cleanliness before laser processing operations. The front surface of the lens is easy to clean in case it has become dirty during your recent engraving or cutting operations.
Need help?
Do you have a question about the GRAV PLH3D-15W Series and is the answer not in the manual?
Questions and answers