Advertisement
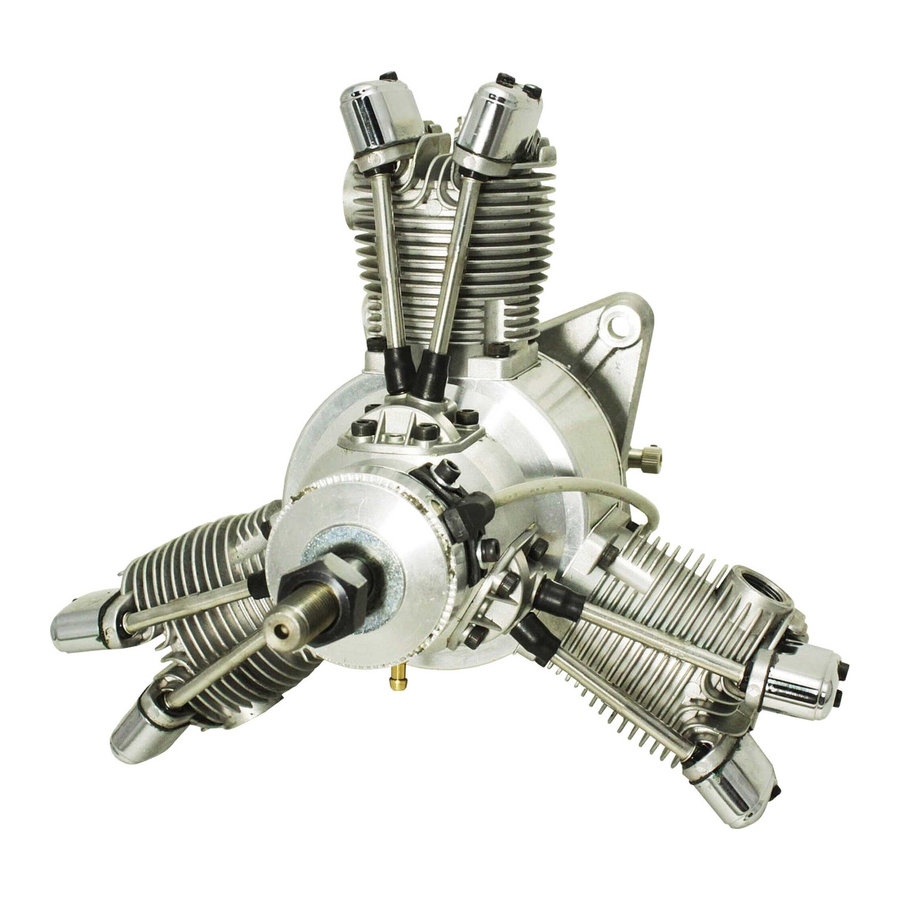
FG-60R3/73R5 Conversion mount installation manual
Content: ●Conversion mount ●M4x14 Cap screw to fix the mount x 6pcs
You will also need: ●Stand-off mount(mount spacer) x4pcs
●※
1
stand-off mount as shown in the right figure.)
●※
2
●Anti-loosening glue
1. Detach the Throttle-extension bar loosening set screws.
3. Detach the carburetor together with the joint plate removing the
cap screw from the bottom side.
M5 bolt x4pcs (Select adequate length according to the
M5 nut (Flange nut is recommended) x 4pcs
※
※
2. Detach the engine mount of Right side removing cap screws.
4. Detach the engine mount of Left side removing cap screws.
-1-
Conversion
mount
4~5mm
1
Stand-off mount
Flange nut(Recommended)
2
Firewall
Advertisement
Table of Contents

Subscribe to Our Youtube Channel
Related Manuals for Saito FG-60R3


Summary of Contents for Saito FG-60R3
- Page 1 FG-60R3/73R5 Conversion mount installation manual Conversion mount Content: ●Conversion mount ●M4x14 Cap screw to fix the mount x 6pcs Firewall You will also need: ●Stand-off mount(mount spacer) x4pcs ●※ M5 bolt x4pcs (Select adequate length according to the 1 stand-off mount as shown in the right figure.) 4~5mm ●※...
- Page 2 ① ⑥ ③ ④ ⑤ ② 5. Attach the conversion mount surely using the M4x14 screws. 6. Attach the carburetor together with the plate tightening the cap Tighten all the screws in the sequence as shown in the above picture. screw from the bottom side. 10. Apply anti-loosening glue to 7. Attach the throttle extension 8. Beforehand fix 4pcs of M5 9. Put on the engine inserting 4 bar to the carburetor. bolts※ as stud bolts using the bolts in the mounting holes. tip of the bolts before putting nuts. pronged T nuts already placed on backside of the firewall. NOTE: If the length of the 4 bolts are not adequate, you would not be able to attach a nut due to its thickness. 11. Attach 4 nuts※ to fix the engine. Flange nuts have enough 12. Finally tighten the nuts with a frictional surface which help prevention from loosening. spanner.
Need help?
Do you have a question about the FG-60R3 and is the answer not in the manual?
Questions and answers