Open Door Series Installation & User Manual
Hide thumbs
Also See for Door Series:
- Installation & user manual (12 pages) ,
- Installation & user manual (12 pages)
Advertisement
Quick Links
Advertisement

Related Manuals for Open Door Series


Summary of Contents for Open Door Series
- Page 1 DOOR SERIES DOOR ONE - INSTALLATION & USER GUIDE...
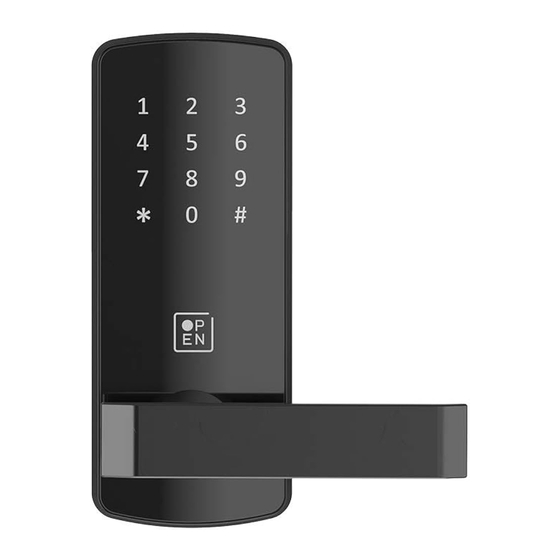
- Page 2 Door one Battery Panel (back) Capacitive Touch Backlit Keypad Glass Display Solid Metal Body Handle Emergency keys Micro USB port for emergency DOOR SERIES DOOR ONE - INSTALLATION & USER GUIDE...
- Page 3 In the box Strike plate Dustbox Spindle Spring Allen key Emergency keys DOOR SERIES DOOR ONE - INSTALLATION & USER GUIDE...
-
Page 4: Technical Specs
Communication 75mm x 184mm Zinc Alloy 2.5 kg BLE 4.0 Power Battery life Max Operating temp. Warranty 4 x 1.5V AA batteries 8 months 80 °C 1 year FREE Certifications RoHS DOOR SERIES DOOR ONE - INSTALLATION & USER GUIDE... - Page 5 Hold up the locking tab. Push and rotate the latch inside the mortise and release. Mechanical key override The keyhole for emergency keys is accessible by unscrewing the grub and removing the handle. DOOR SERIES DOOR ONE - INSTALLATION & USER GUIDE...
-
Page 6: Installation
You’ll need : A drilling machine Install the mortise cartridge as shown and secure with two screws. NOTE : Remember to place the ‘strike plate’ and ‘dust box’ in the door frame cartridge. DOOR SERIES DOOR ONE - INSTALLATION & USER GUIDE... - Page 7 Insert the ‘external unit’ into the drilled holes. Affix the ‘internal mounting plate’ from the back and secure with two screws. DOOR SERIES DOOR ONE - INSTALLATION & USER GUIDE...
- Page 8 ‘internal unit’. Affix the ‘internal unit’ with the help of 3 screws to the back of the door. NOTE : Connect the cable and tuck it into the internal unit cavity. DOOR SERIES DOOR ONE - INSTALLATION & USER GUIDE...
- Page 9 Load four AA non-rechargeable alkaline batteries into the battery unit and close it with the back panel. Your door one is ready for use! DOOR SERIES DOOR ONE - INSTALLATION & USER GUIDE...
- Page 10 Unlocked All passcode accesses DELETE ALL Ganesh Karthik FULL ACCESS 8496258 Rahul Raunak TIMED ACCESS 9846 David Sequeira TIMED ACCESS 654823 Your lock is unlocked Bhavya Mandanna ONE TIME ACCESS 6484514 DOOR SERIES DOOR ONE - INSTALLATION & USER GUIDE...
- Page 11 Create access and access rights to your lock Share one-time or permanent access with others remotely View 24/7 Access logs View, manage and delete passcodes View battery life and receive low battery alerts DOOR SERIES DOOR ONE - INSTALLATION & USER GUIDE...
- Page 12 security made simple www.openapp.com...
Need help?
Do you have a question about the Door Series and is the answer not in the manual?
Questions and answers